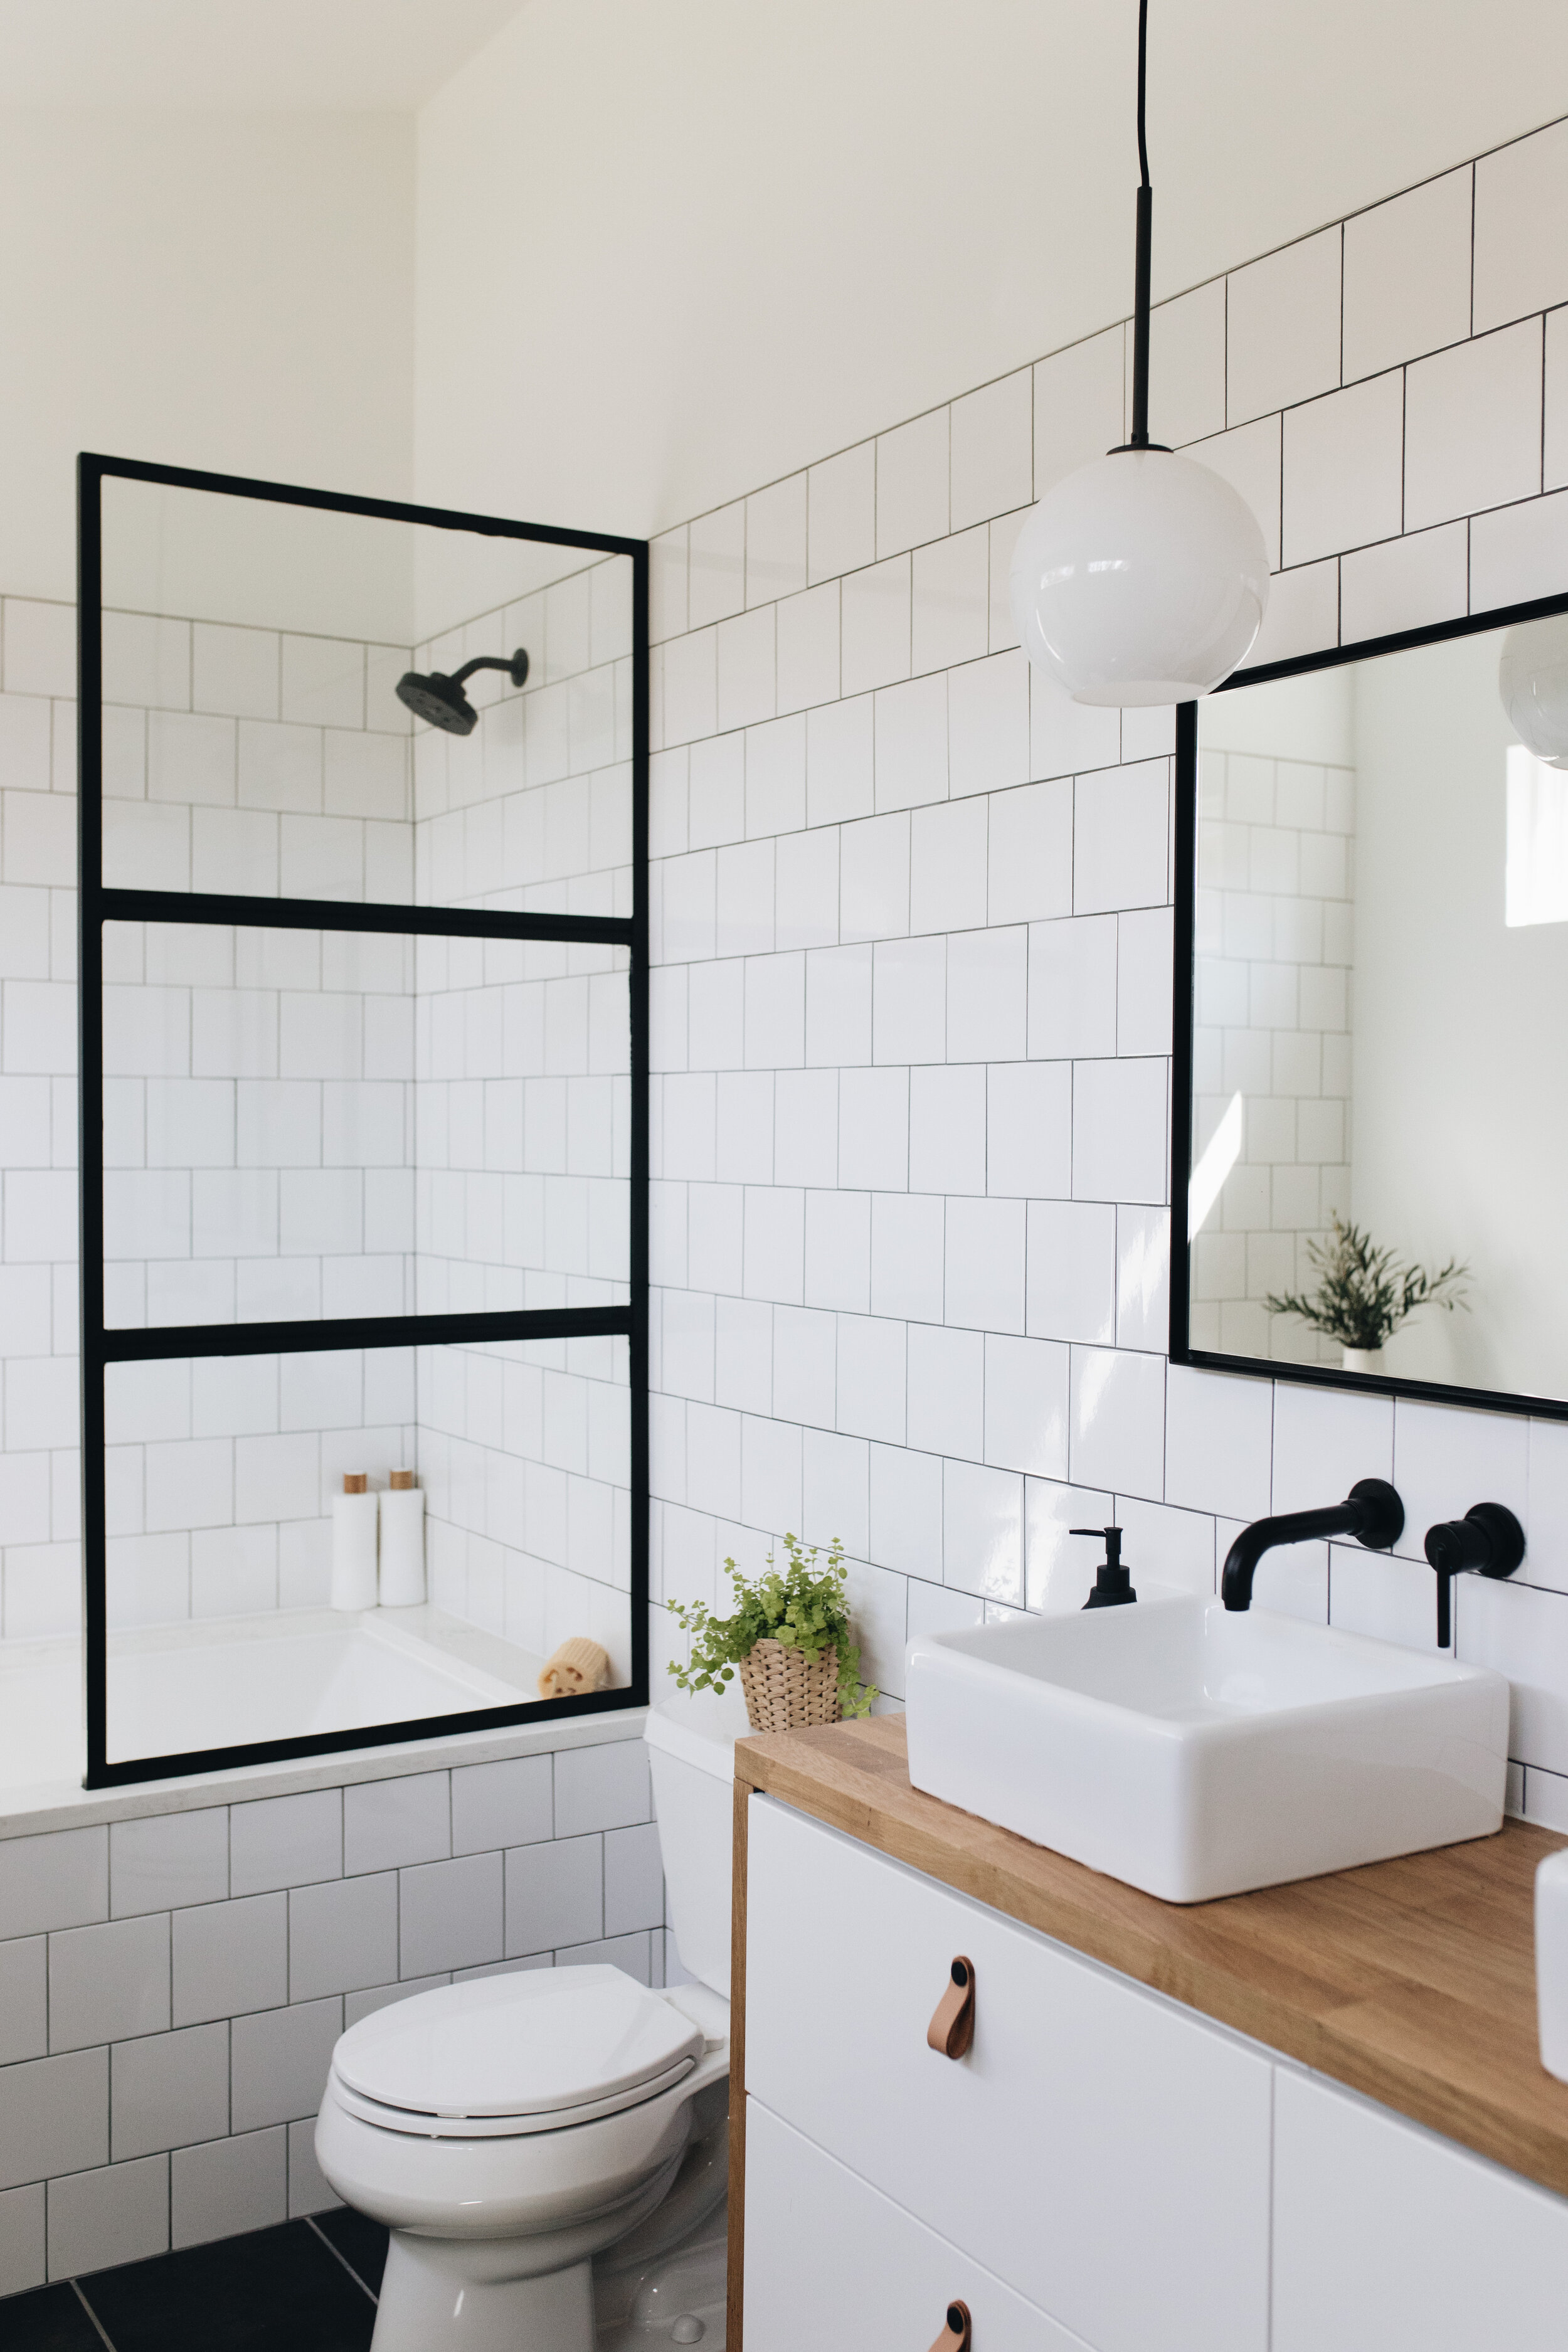
Where did you purchase your master bathroom shower panel?
When we were first designing our master bathroom in 2018, modern shower glass panels were definitely a look - but they weren’t easily accessible to the public. After a few unsuccessful internet searches, we realized the panel would need to be custom-made. My husband, Jarrod, works in the manufacturing industry - so thankfully he knew of several tradesmen that could help his design come to life. It was a very complex process and it included hiring a welder, painter, and ordering and installing our own glass pieces. But you’re lucky - you don’t have to go through all the insane steps we did. Wayfair and Home Depot actually now sell glass shower panels very similar to ours! Now keep in mind, these are shower panels and not tub panels. Unfortunately, tub panels are still hard to come by and you may need to still have them custom made.
You can find similar shower panels here:
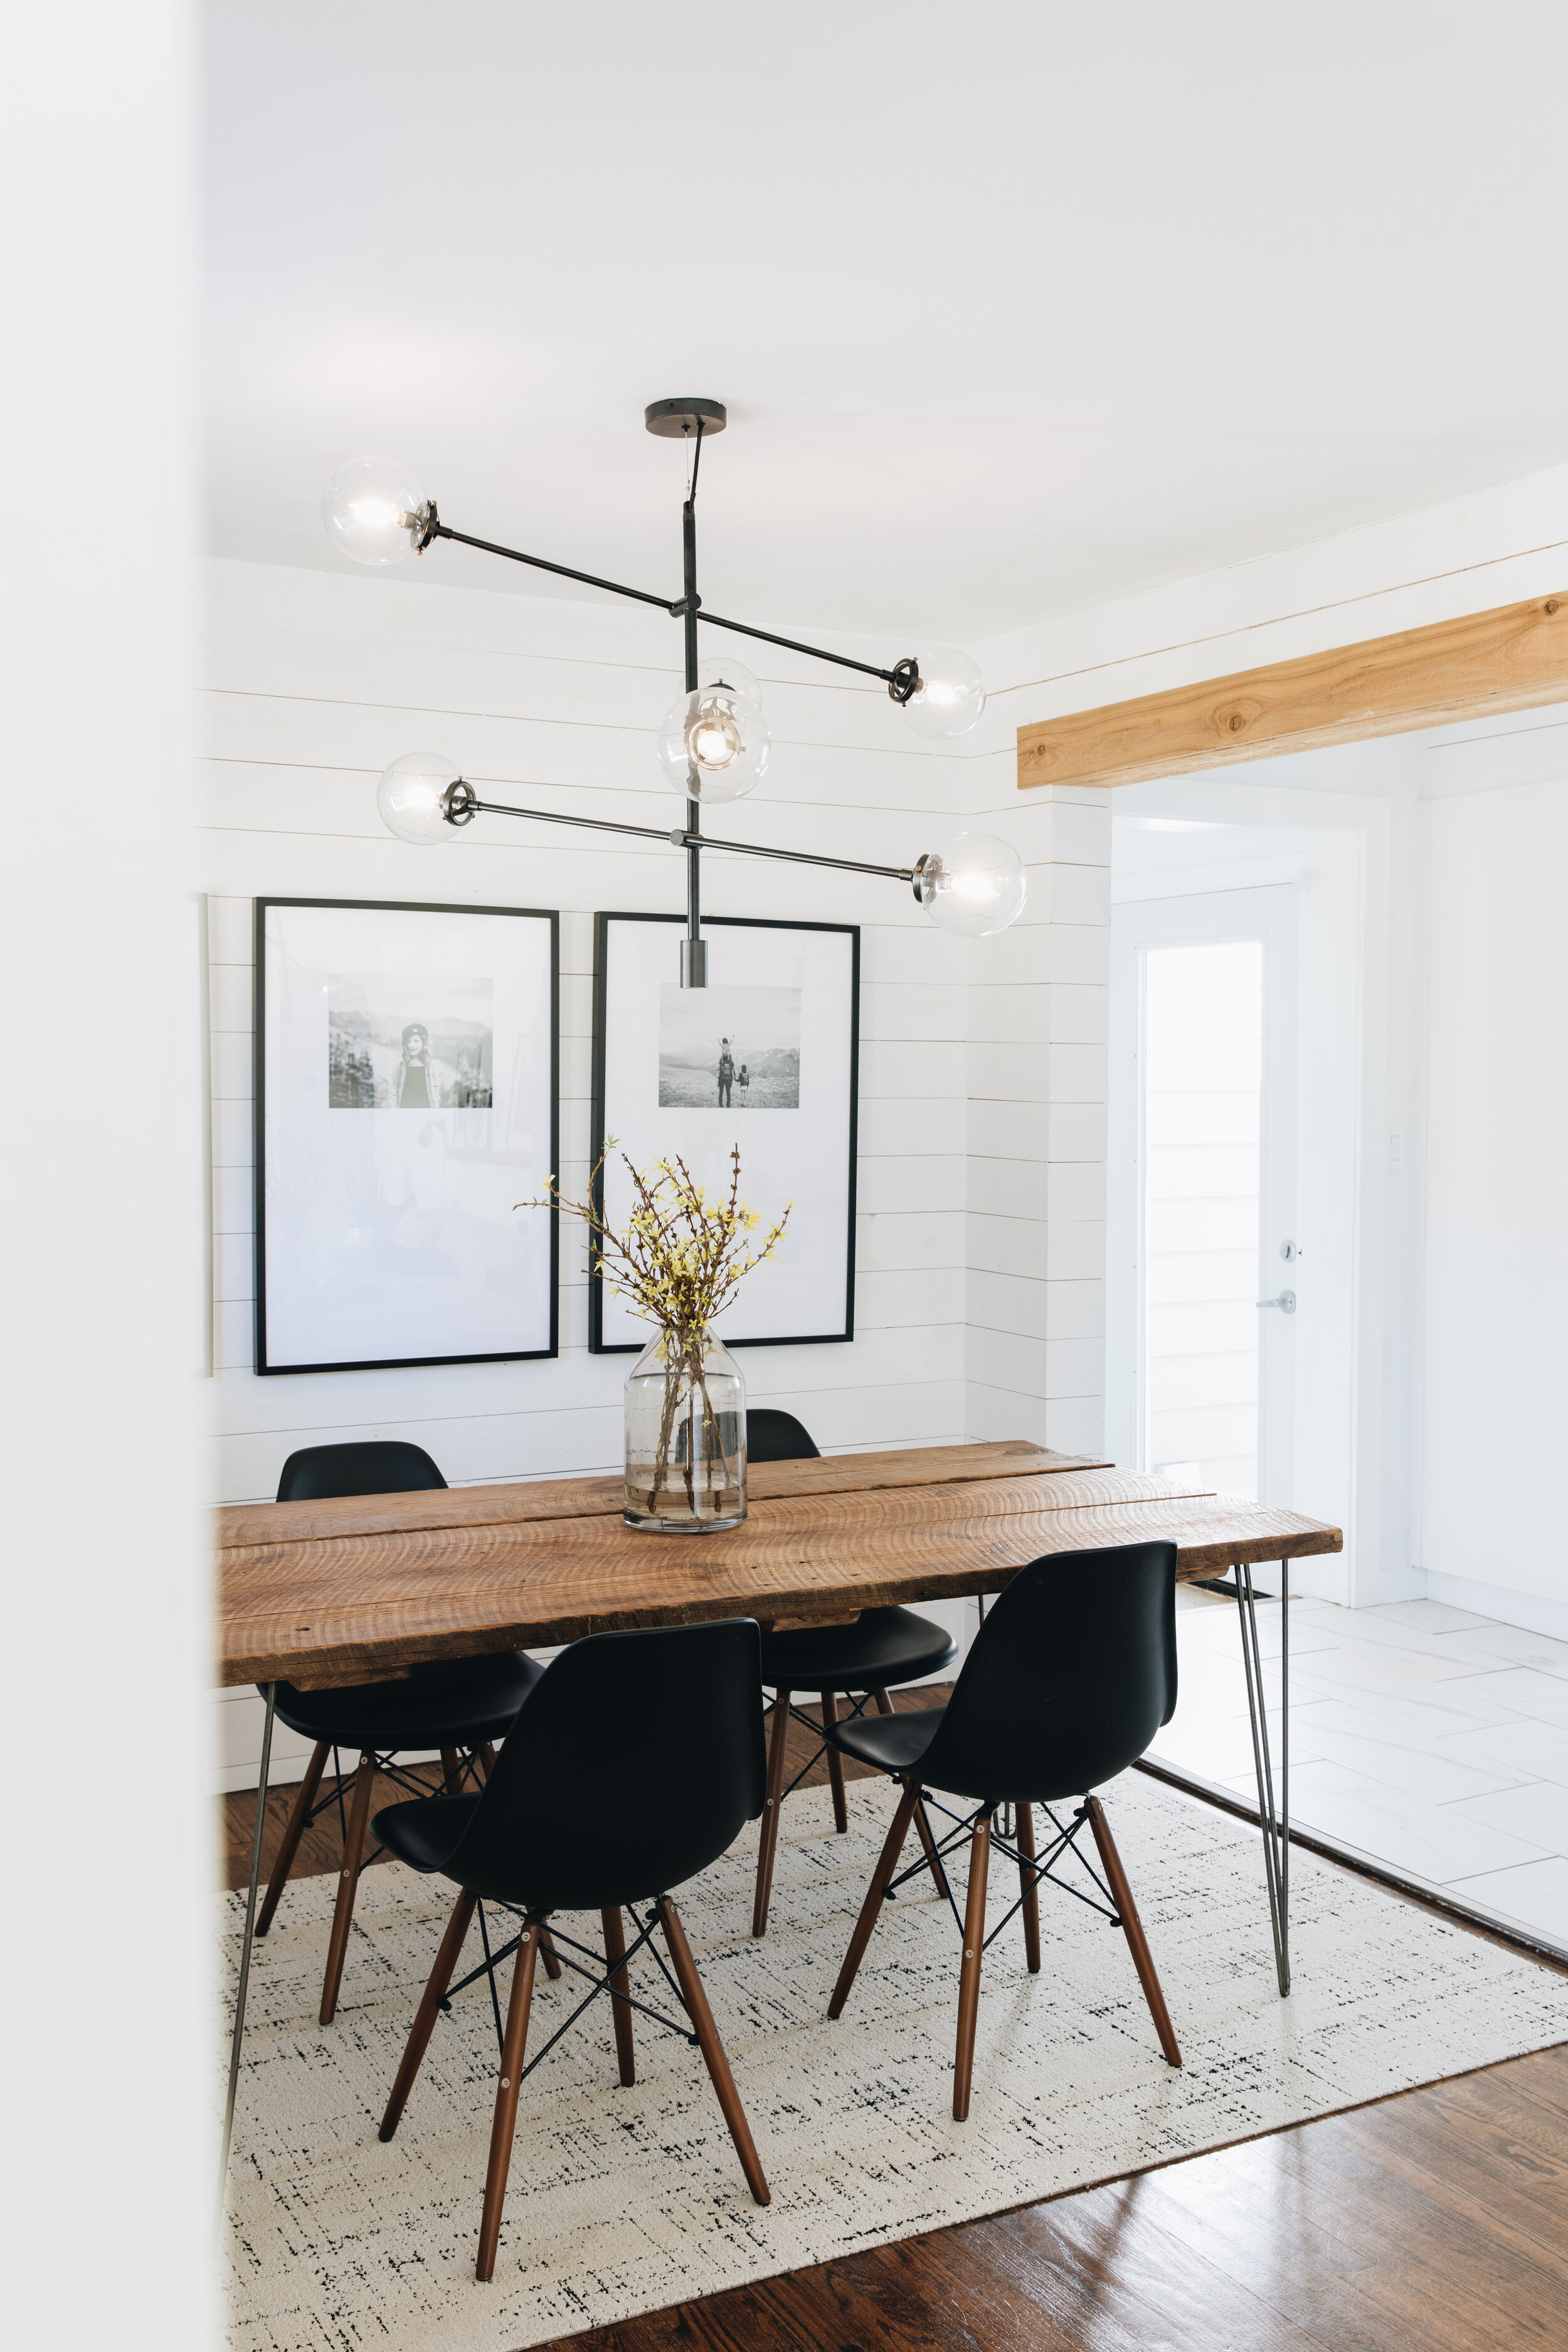
What type of wood & stain did you use for your dining table?
We purchased the wood from a local reclaimed wood shop. The wood is vintage heart pine and we didn't have to stain it. To protect it from heat and moisture, we used Minwax Paste Finishing Wax. Note: you may experience a wax build-up if your wood has lots of texture like ours did. Don’t fret - all you have to do is get a hair dryer to help melt the wax and allow it to spread evenly. Our table is heat and water resistant - which makes mealtime especially worry-free! Our hairpin legs are from Etsy and you can find them here.
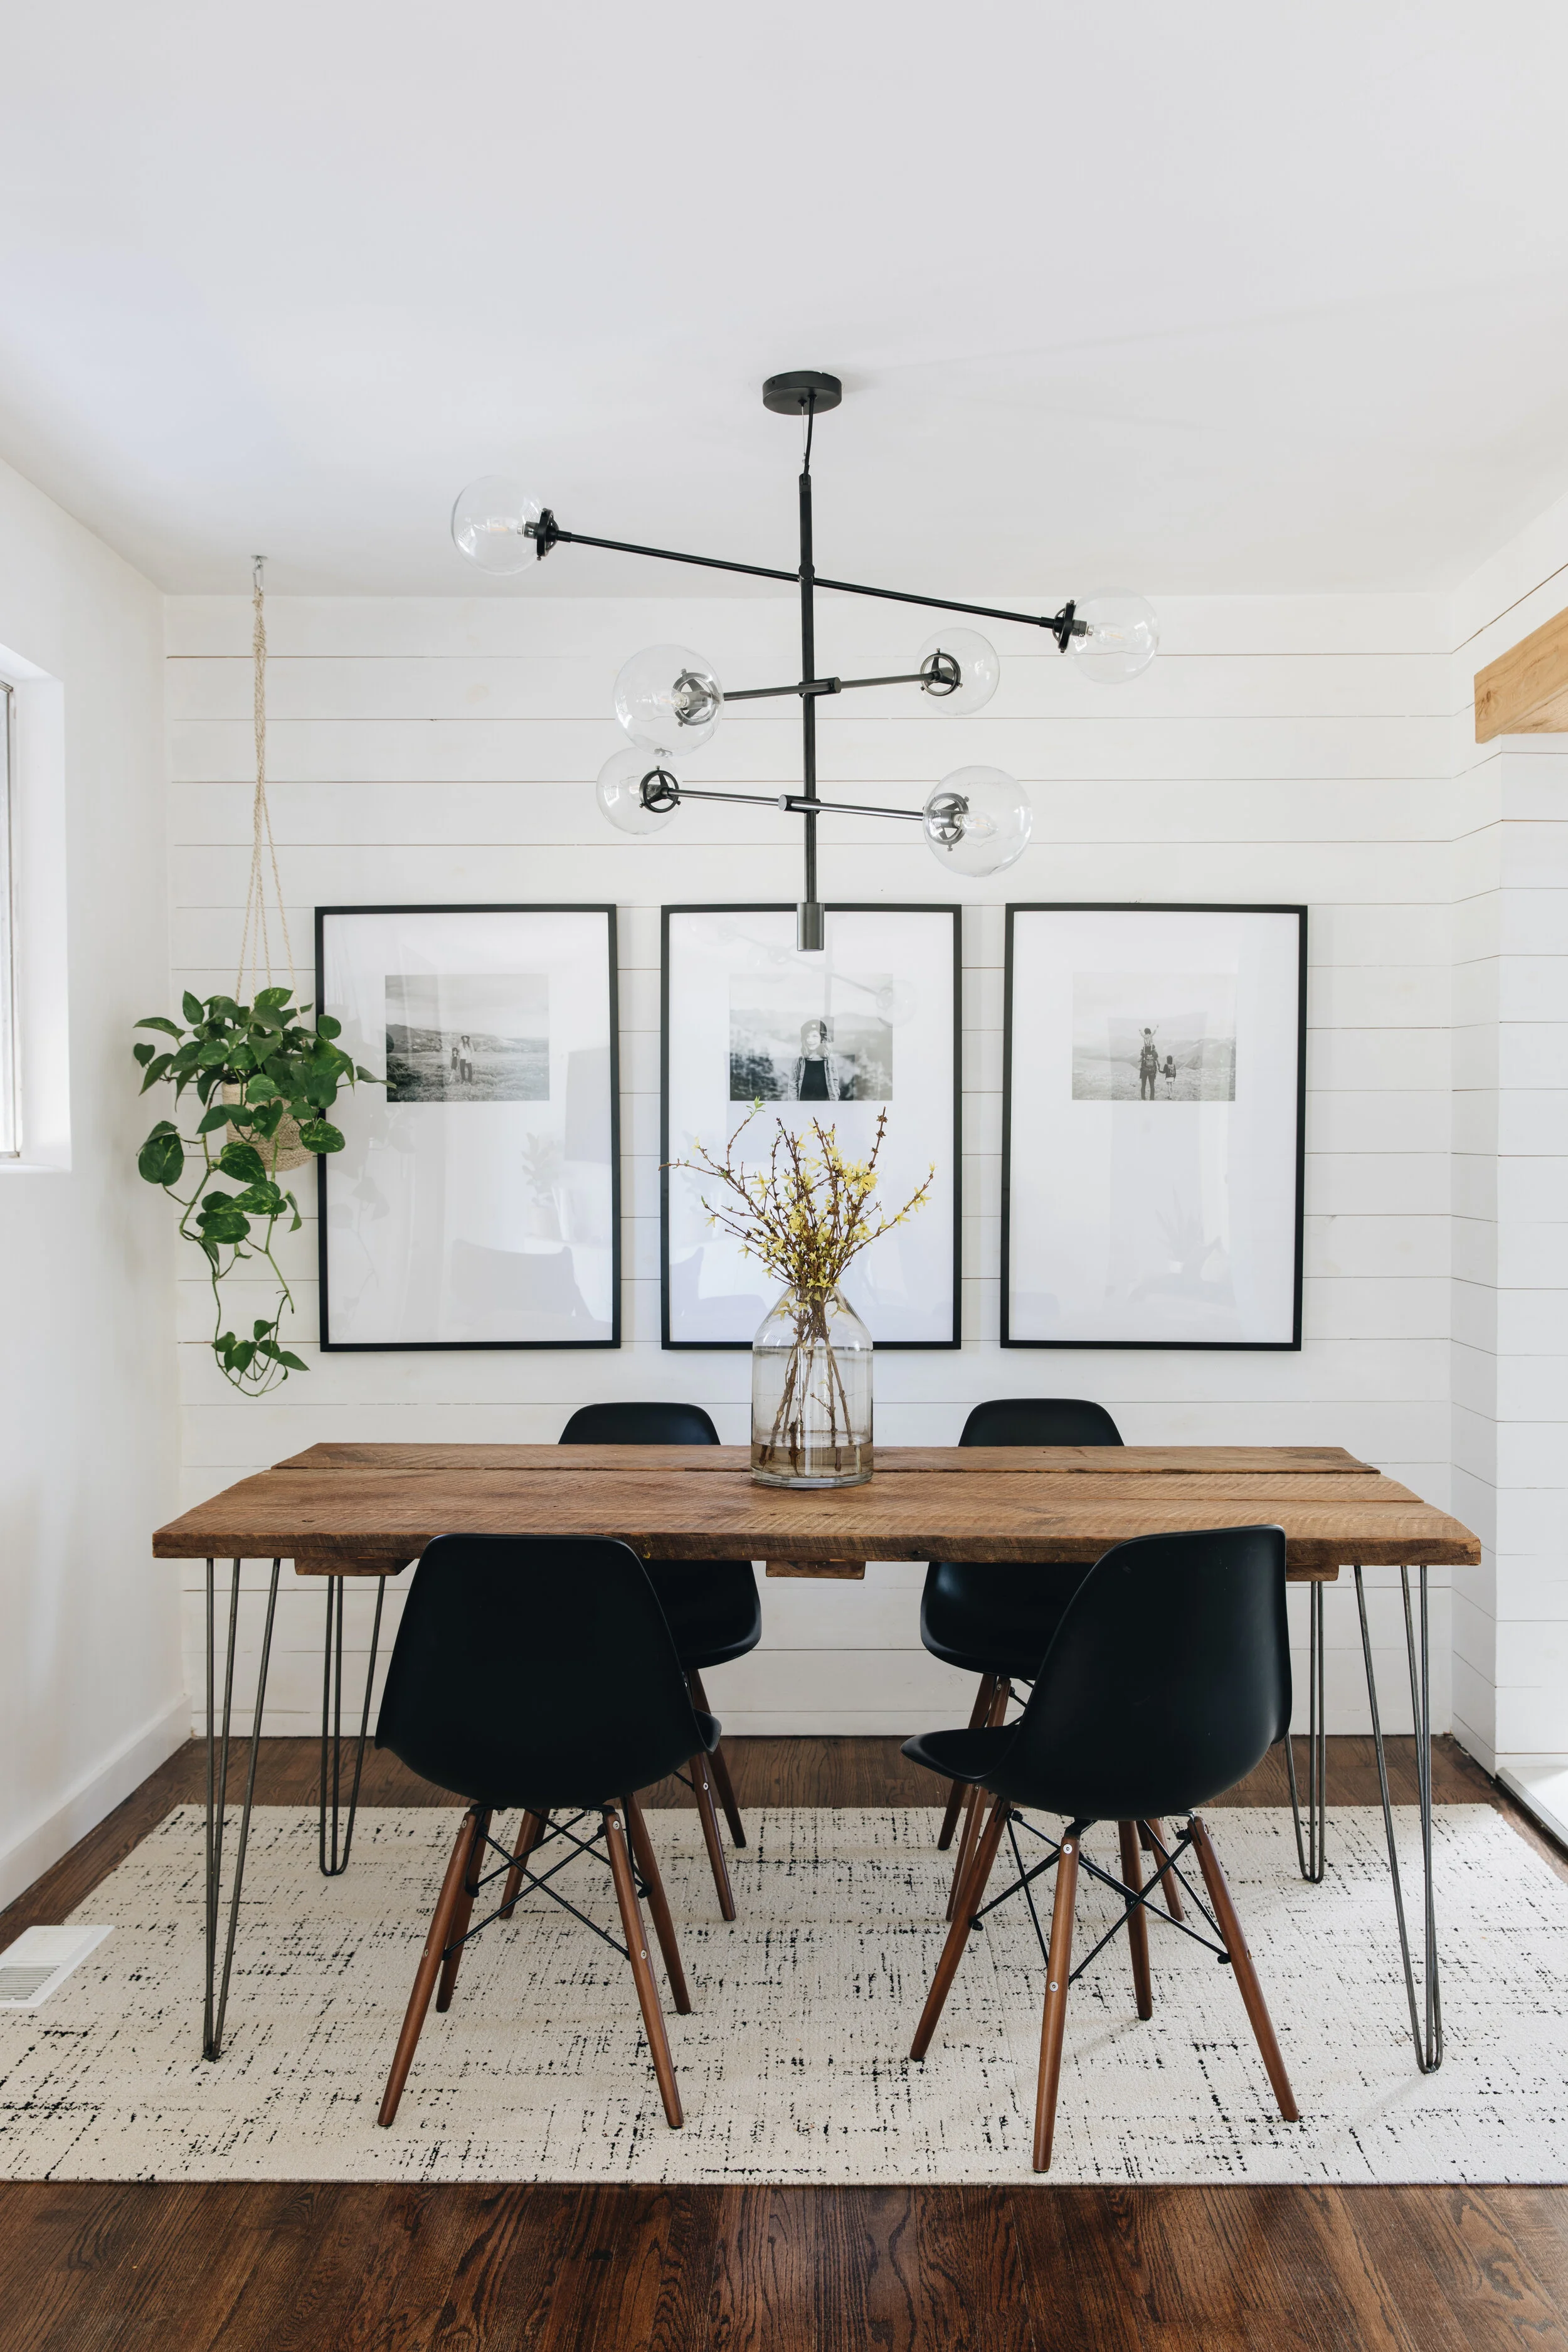
Where did you purchase your dining room frames and mats?
Our frames are the Ikea Ribba Black frame and you can find them here. Our mats are from Matboard & More and are the Economy Mat by Berkshire #BW222 Smooth White. Here are the exact dimensions we ordered: size 24” x 36”: Opening Size 13 ½" x 10½" Bottom Margin 20 ¼.” Make sure you select a single mat and not the double mat. This mat opening is made for an 11x14 image.

Tell me more about your floating bathroom vanity!
(I’m going to pass the keyboard over to Jarrod, who is going to get into the nitty-gritty details of how he “hacked” this IKEA Godmorgon bathroom cabinet)
The Floating Drawers:
When we remodeled our first bathroom, we knew we wanted to cantilever the storage unit to float the storage off the ground. Since then, it’s kinda been a theme. We’ve thrown away so many plastic ikea legs over the years. Furniture legs can be such a prominent visual element that fights to make a statement we aren’t interested in stating. To float this cabinet, extra 2x blocking was added inside the wall and a few extra horizontal pieces were added inside the counter. Using the right fasteners is very important here. Also if you’re a one man/woman install team, using a cleat board against the wall and blocks to sit the unit on during installation are very helpful.
Waterfall Cladding:
We knew that we wanted to keep the material pallet limited for this project. Introducing a white stone option around the sink basins wasn't the way we wanted to go. White oak has always been one of my favorite woods for its dense structure, beautiful long grain and warm color. IKEA offers wood countertop material that can be cut to length and width. I used a simple straight edge and skill saw to make all of these cuts. It’s important to note that there are better tools for this project but if you are a weekend warrior like I am, they could be cost prohibitive. Track saws and table saws are expensive but more appropriate tools for this kind of work. These IKEA countertops come with one finished end and several strips that can be used to conceal the exposed core on cut ends. Attaching and finishing these ends can go a lot of different ways. I prefer using General Finishes Waterbased Clear Polyurethane in a Satin finish. To attach the end, there’s also a plethora of options but I prefer using contact adhesive applied liberally. Use a brayer/roller to ensure the joint is pressed tightly and all air is removed from the glue seam. The vertical sides are the trickiest part. Use a square to ensure each cross cut is perpendicular to the face of the counter surface. I cut my pieces a little long, clamped them temporarily into place and scribed (traced) the bottom edge of the counter onto the inside of the counter board. I planned to cut the raw cut edges facing the floor so they’d be out of sight when installed. To complete the install, I used the clamps again to ensure the part was located correctly and to spread the construction adhesive I used between the board and the side of the drawer unit. I removed the drawers from the storage unit and ran several screws from the inside. Make sure the screw length is just shy of the thickness of the countertop and the storage unit sides. Otherwise, the sharp points of the screws will poke through the counter material. Because this is a natural porous material in a high moisture area, it’s important to wipe the surface down with mineral oil every 6-8 months. I prefer using Boos Mystery Oil. We also use this on the walnut in our kitchen. It’s NSF listed and safe for food contact so that makes it toothbrush friendly.
Sink Basins
We tried really hard to buy sink basins from IKEA but there just wasn't a shape that we could get on board with. Most of what was available at the time had geometry that was unnecessarily curvy or complicated. Our sink vessels are made by Kraus and can be purchased on Amazon. It was a tough call to deviate from the modular IKEA system but there’s no real reason you can’t cross pollinate brands. The risky part that requires a little research is the potential part interference between the sink drain and the drawers.
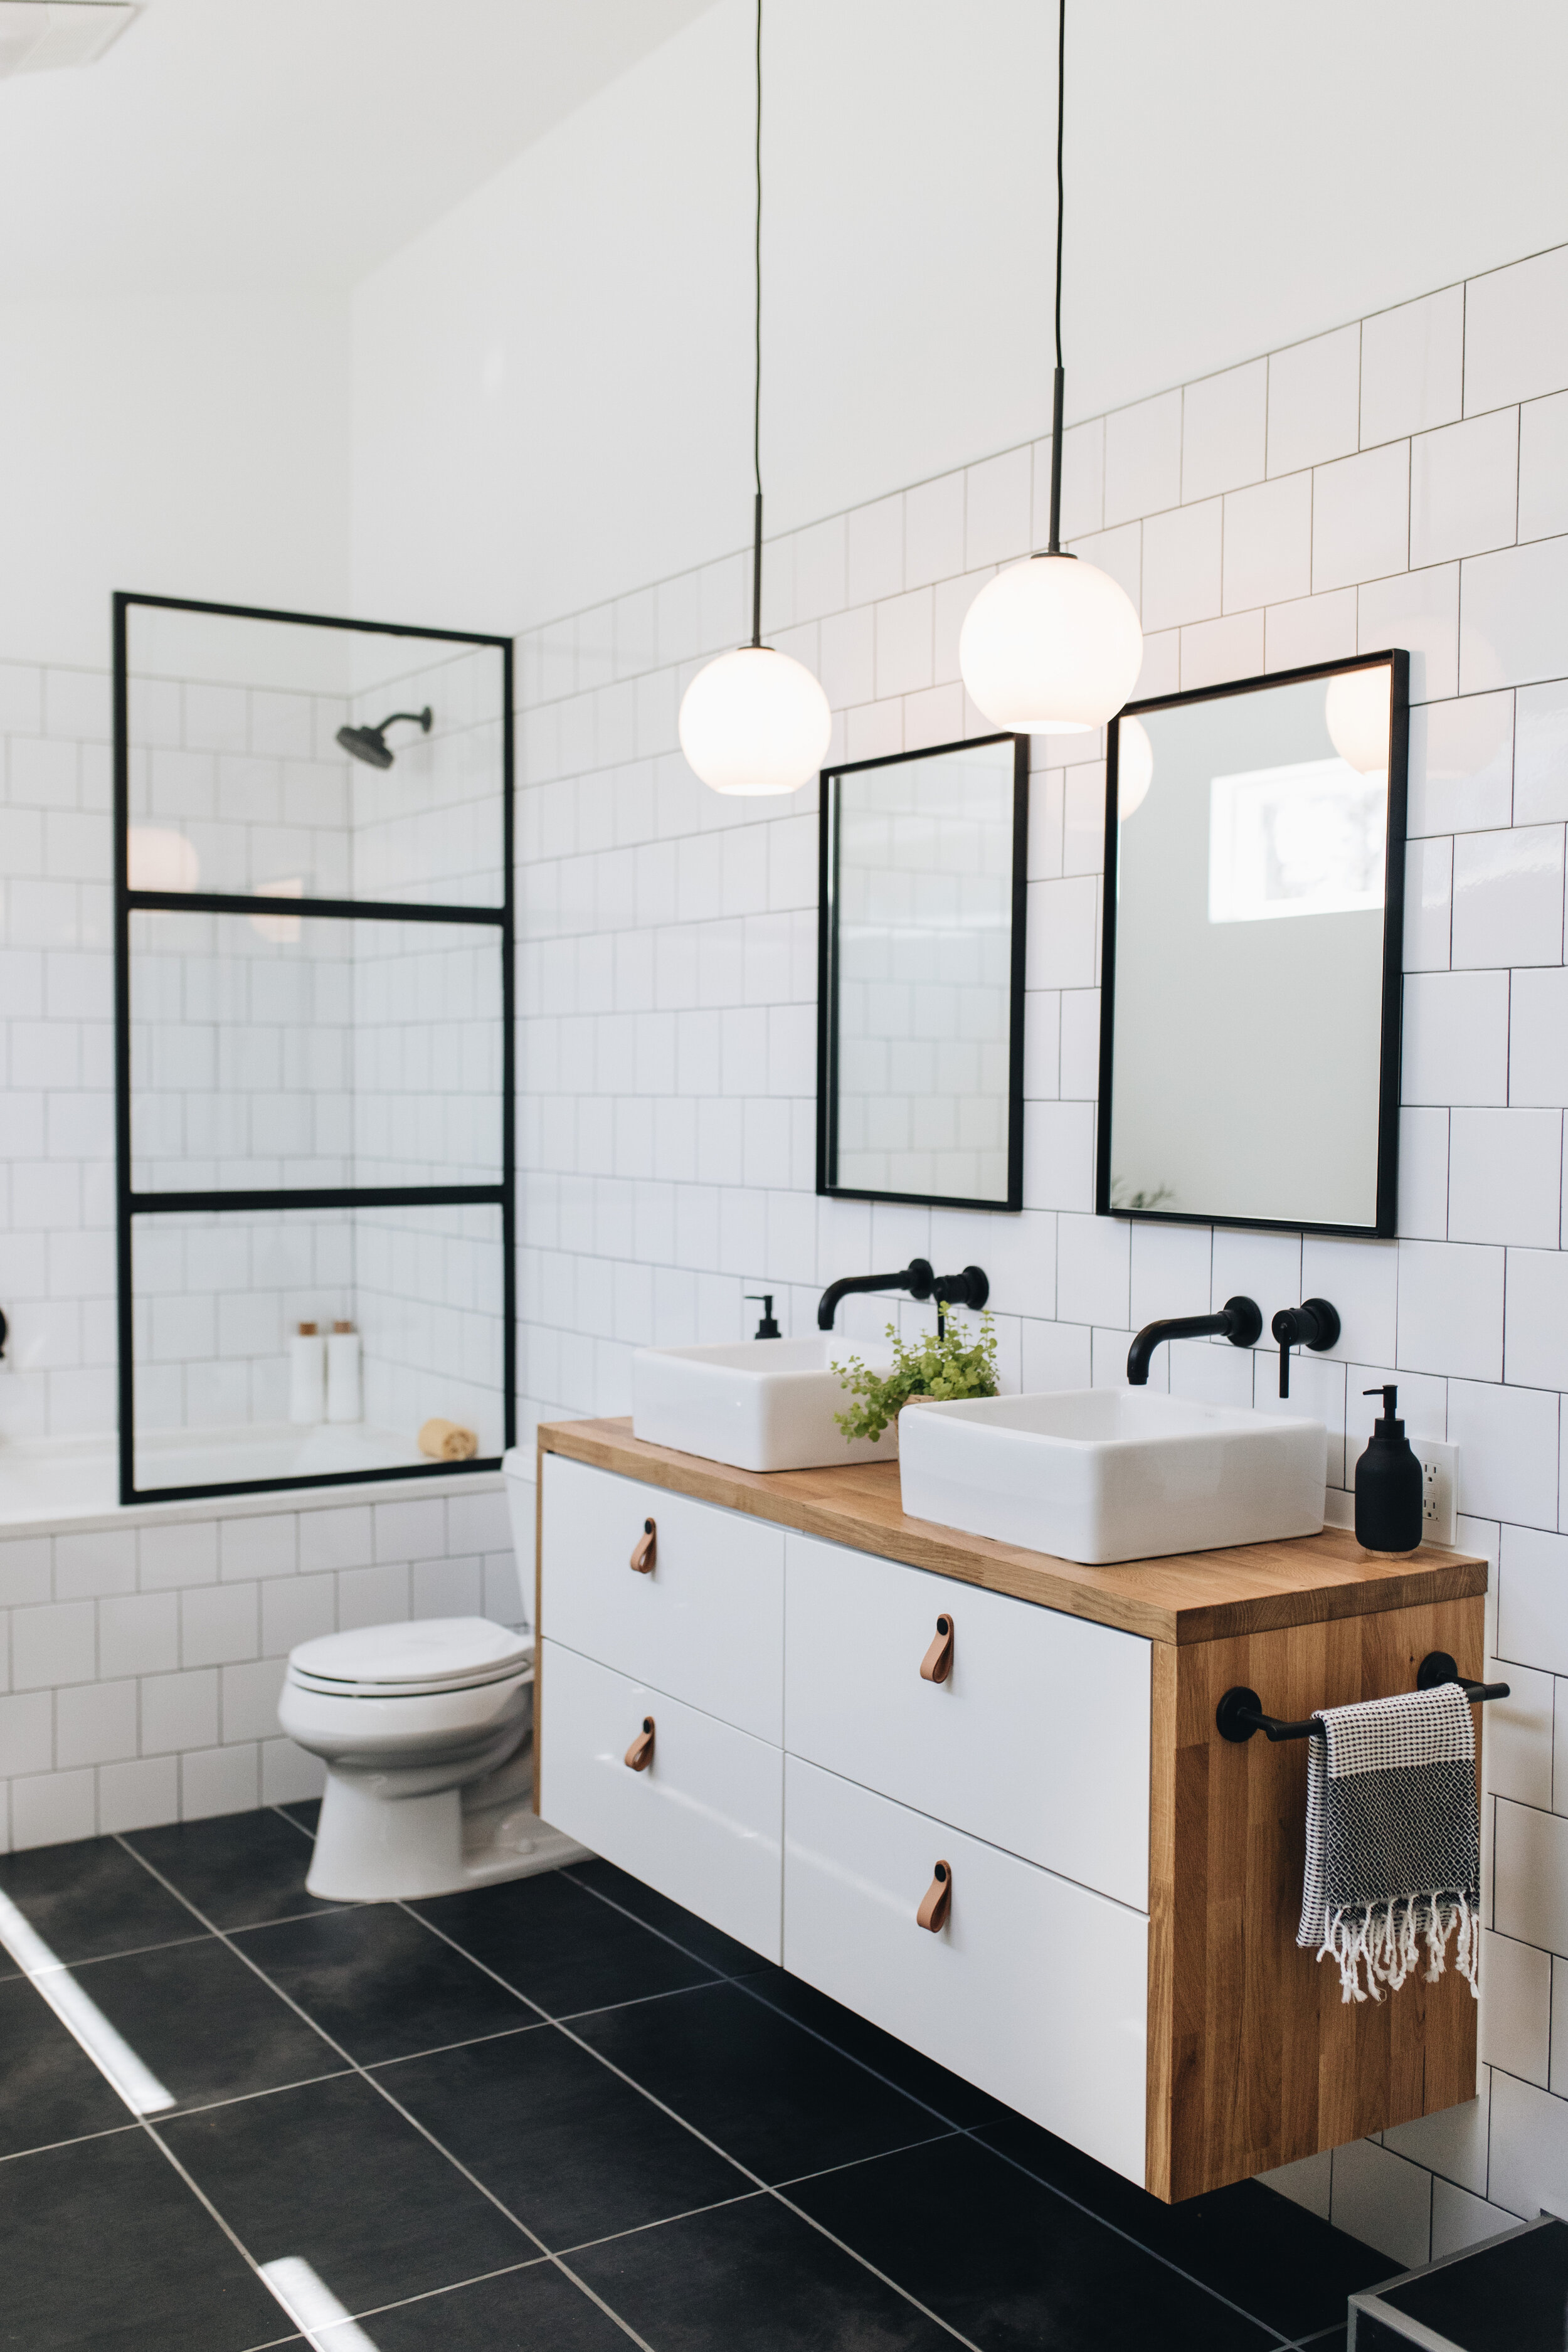
Behind the Scenes Photos of Waterfall Counter Installation:


Where did you purchase your dining room chairs?
We purchased this set of dining chairs from Amazon. In every home we’ve owned, we’ve always had at least one Eames style chair. True story: we once owned a real Eames rocker and sold it - big mistake there. But after the kids got older, finding a space for the blue rocking chair (we had purchased it for my son’s nursery when I was pregnant) in a tiny house was tricky. I wished I had simply asked a family member to store it so we could pass it down our kids when they have kids. Our Eames rocker actually went up in value, and we were able to sell it for more than what we bought it for - 10 years later! I think investing in originals is always a great idea. But then again, a set of 4 chairs for less than $200 is hard to pass up.