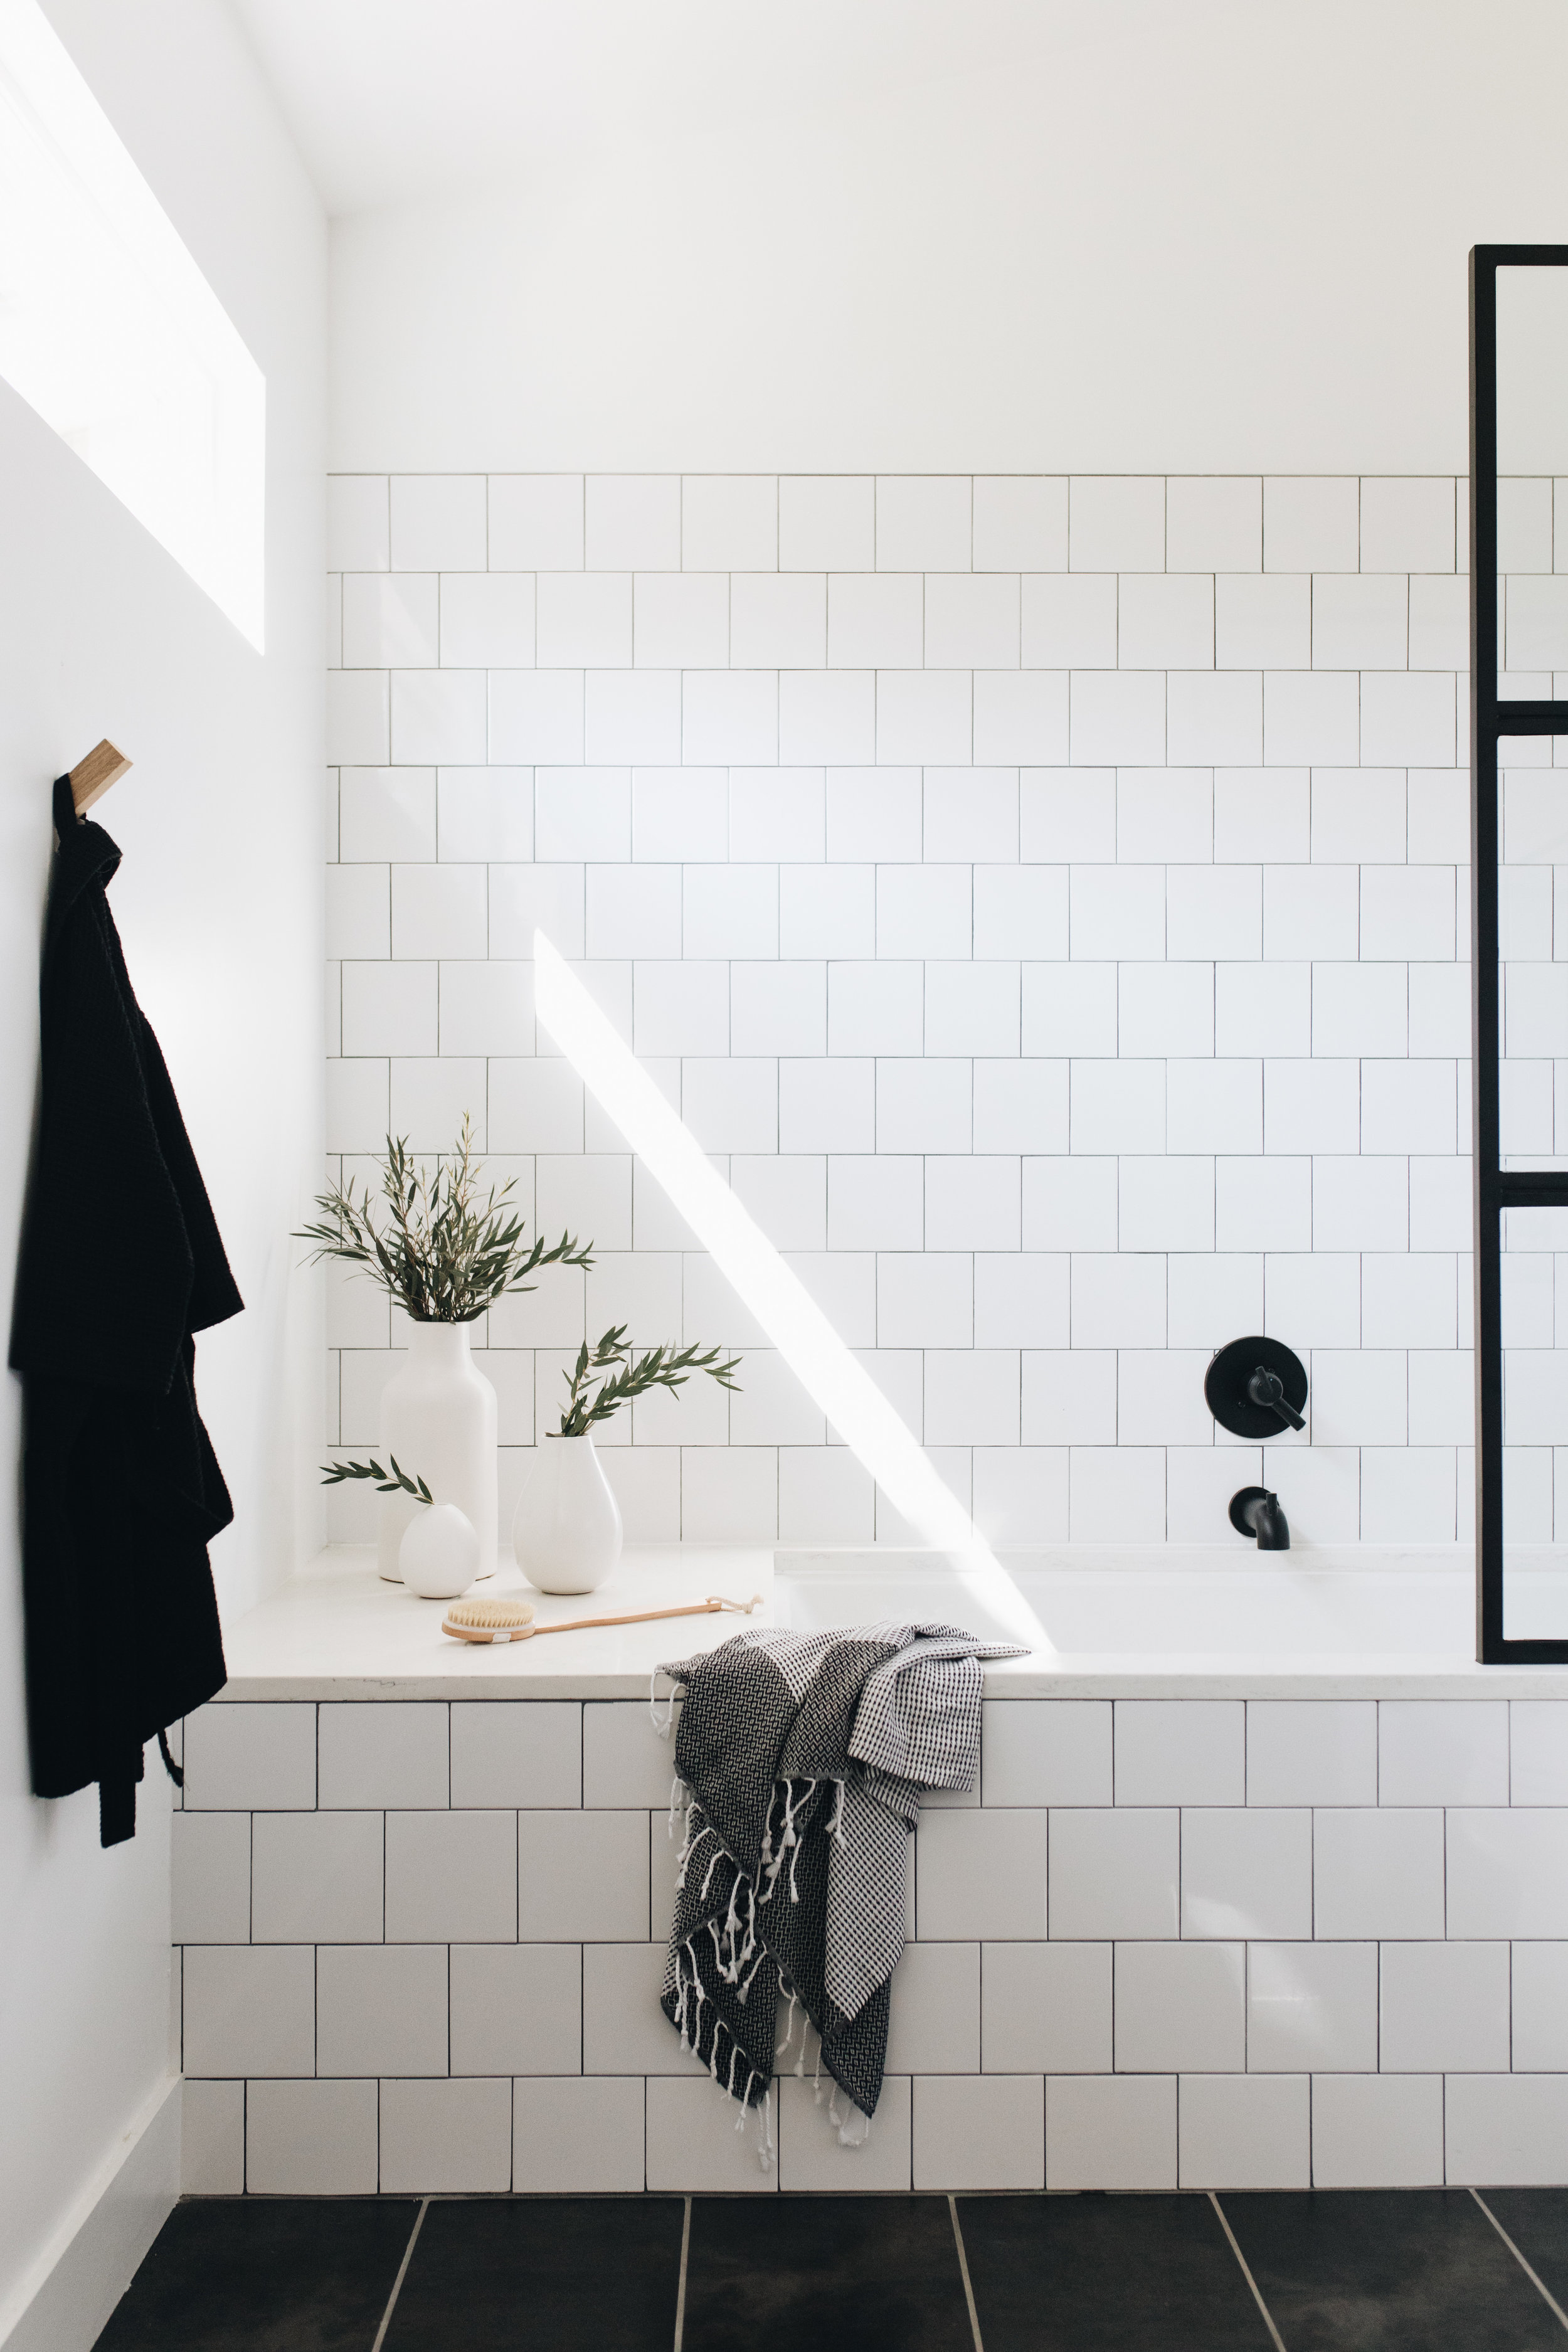
Get your Light Right: I recently bought an expensive light kit since I began working with a few commercial clients this year. And for some jobs it absolutely necessary. But for most of my smaller project interior shoots I shoot mostly with natural light. Also…don’t forget to turn off lamps and overhead lights since often times they make your images appear too warm. But if you are in an indoor environment and don’t have the option to turn off the lights, don’t fret! Adjust your white balance to compensate for the overhead lights and you will do just fine.
Use Manual Mode: Using the manual mode on your camera is a must when taking photos indoors. Back in 2009, when we got our first DSLR I used Aperture Priority mode a lot when taking photos of my son. I will say that mode works great - but only when the lighting is absolutely perfect. Chances are, when shooting indoors (unless you’re inside a greenhouse) the light isn’t going to perfect. You’ll need to familiarize yourself with ISO, your internal light meter, white balance, shutter speed, and aperture. Good news is, there are PLENTY of guides online to help you and guess what? That’s pretty much how I learned! So if a technology-impaired person like myself can learn the ropes of manual mode - you can too!
Your Tripod is Your Friend: Shooting interiors is a lot different than shooting people. When taking portraits of people or families I often use a shallow depth of field anywhere between f1.8 and f2.8 for that nice bokeh effect. However, when shooting interiors want you want every little detail to be in focus. So grab your tripod, crank up that fstop and slow down that shutter speed. I’ve heard from some experts that often times they take an exposure that last anywhere from 1-3 minutes! If you set your shutter speed really low, a trigger or remote would also come in handy so your hand doesn’t shake the camera when you release your shutter.
Use Your In-Camera Grid: THIS IS SO IMPORTANT. There is nothing that irks me more than seeing an image where the horizons aren’t straight. Luckily our cameras (even our camera phones) have a built-in grid that help you align your photo properly. I will say that sometimes I don’t always get it right in-camera. Good news, Lightroom has a one-click option that can correct most crooked images. You simply go to Develop-Transform-Auto. It’s that simple!
Shoot Straight On: This phrase was burned into my brain after working with my friend Kate at Southern Living. We had cubicles right next to each other and each time she had a call with a photographer and they were discussing shot lists - she always reminded the photographer : PLEASE SHOOT STRAIGHT. No funky angles, no wide angle lenses, just shoot straight and simple. So if you find yourself lying on the floor when taking photos of your home…do me a favor and stand up. You want there to be an equal balance of floor and ceiling. If I need an image of the entire room, I usually back myself into a corner and try to aline the opposite corner with the one of the vertical lines of my camera grid. My rule is thumb - is that the image of your space will be 100% more inviting and authentic if taken from the perspective of the human eye when walking into a space.


