Hello friends! I am so excited to share these images with you! Sooo...I've been in this mode of self-discovery lately and while this may sound indulgent it's actually been pretty healing and has allowed me to shift my focus outside myself. I'm sure you've heard the buzz around town, but this quest of self-discovery is a direct result of me finding my Enneagram number (4w5).
For the first time in several months, I've experienced a slow season with work. And although I LOVE free time (don't put me in a box!) I've found that weeks without places to be and people to photograph left me feeling a little empty and isolated. I began to doubt myself and my abilities as a creative. I was also finding myself in a dark corner, waiting for a rescuer instead of looking outside myself to find others that need rescuing themselves. When I was listening to a podcast about my Enneagram number, they spoke about these very things! And about how our type NEED a creative outlet to thrive! I began to learn that I am not uniquely flawed, that others in my number group struggle with the EXACT same things. As a result of find out these things about myself I set out on a journey to a) create for myself even when work is slow (i.e. take photos for THIS BLOG!) and b) start to make more of an effort in my friendships.
Ya'll...when I did those two things, two beautiful things happened.
This blog.
I made new friends.
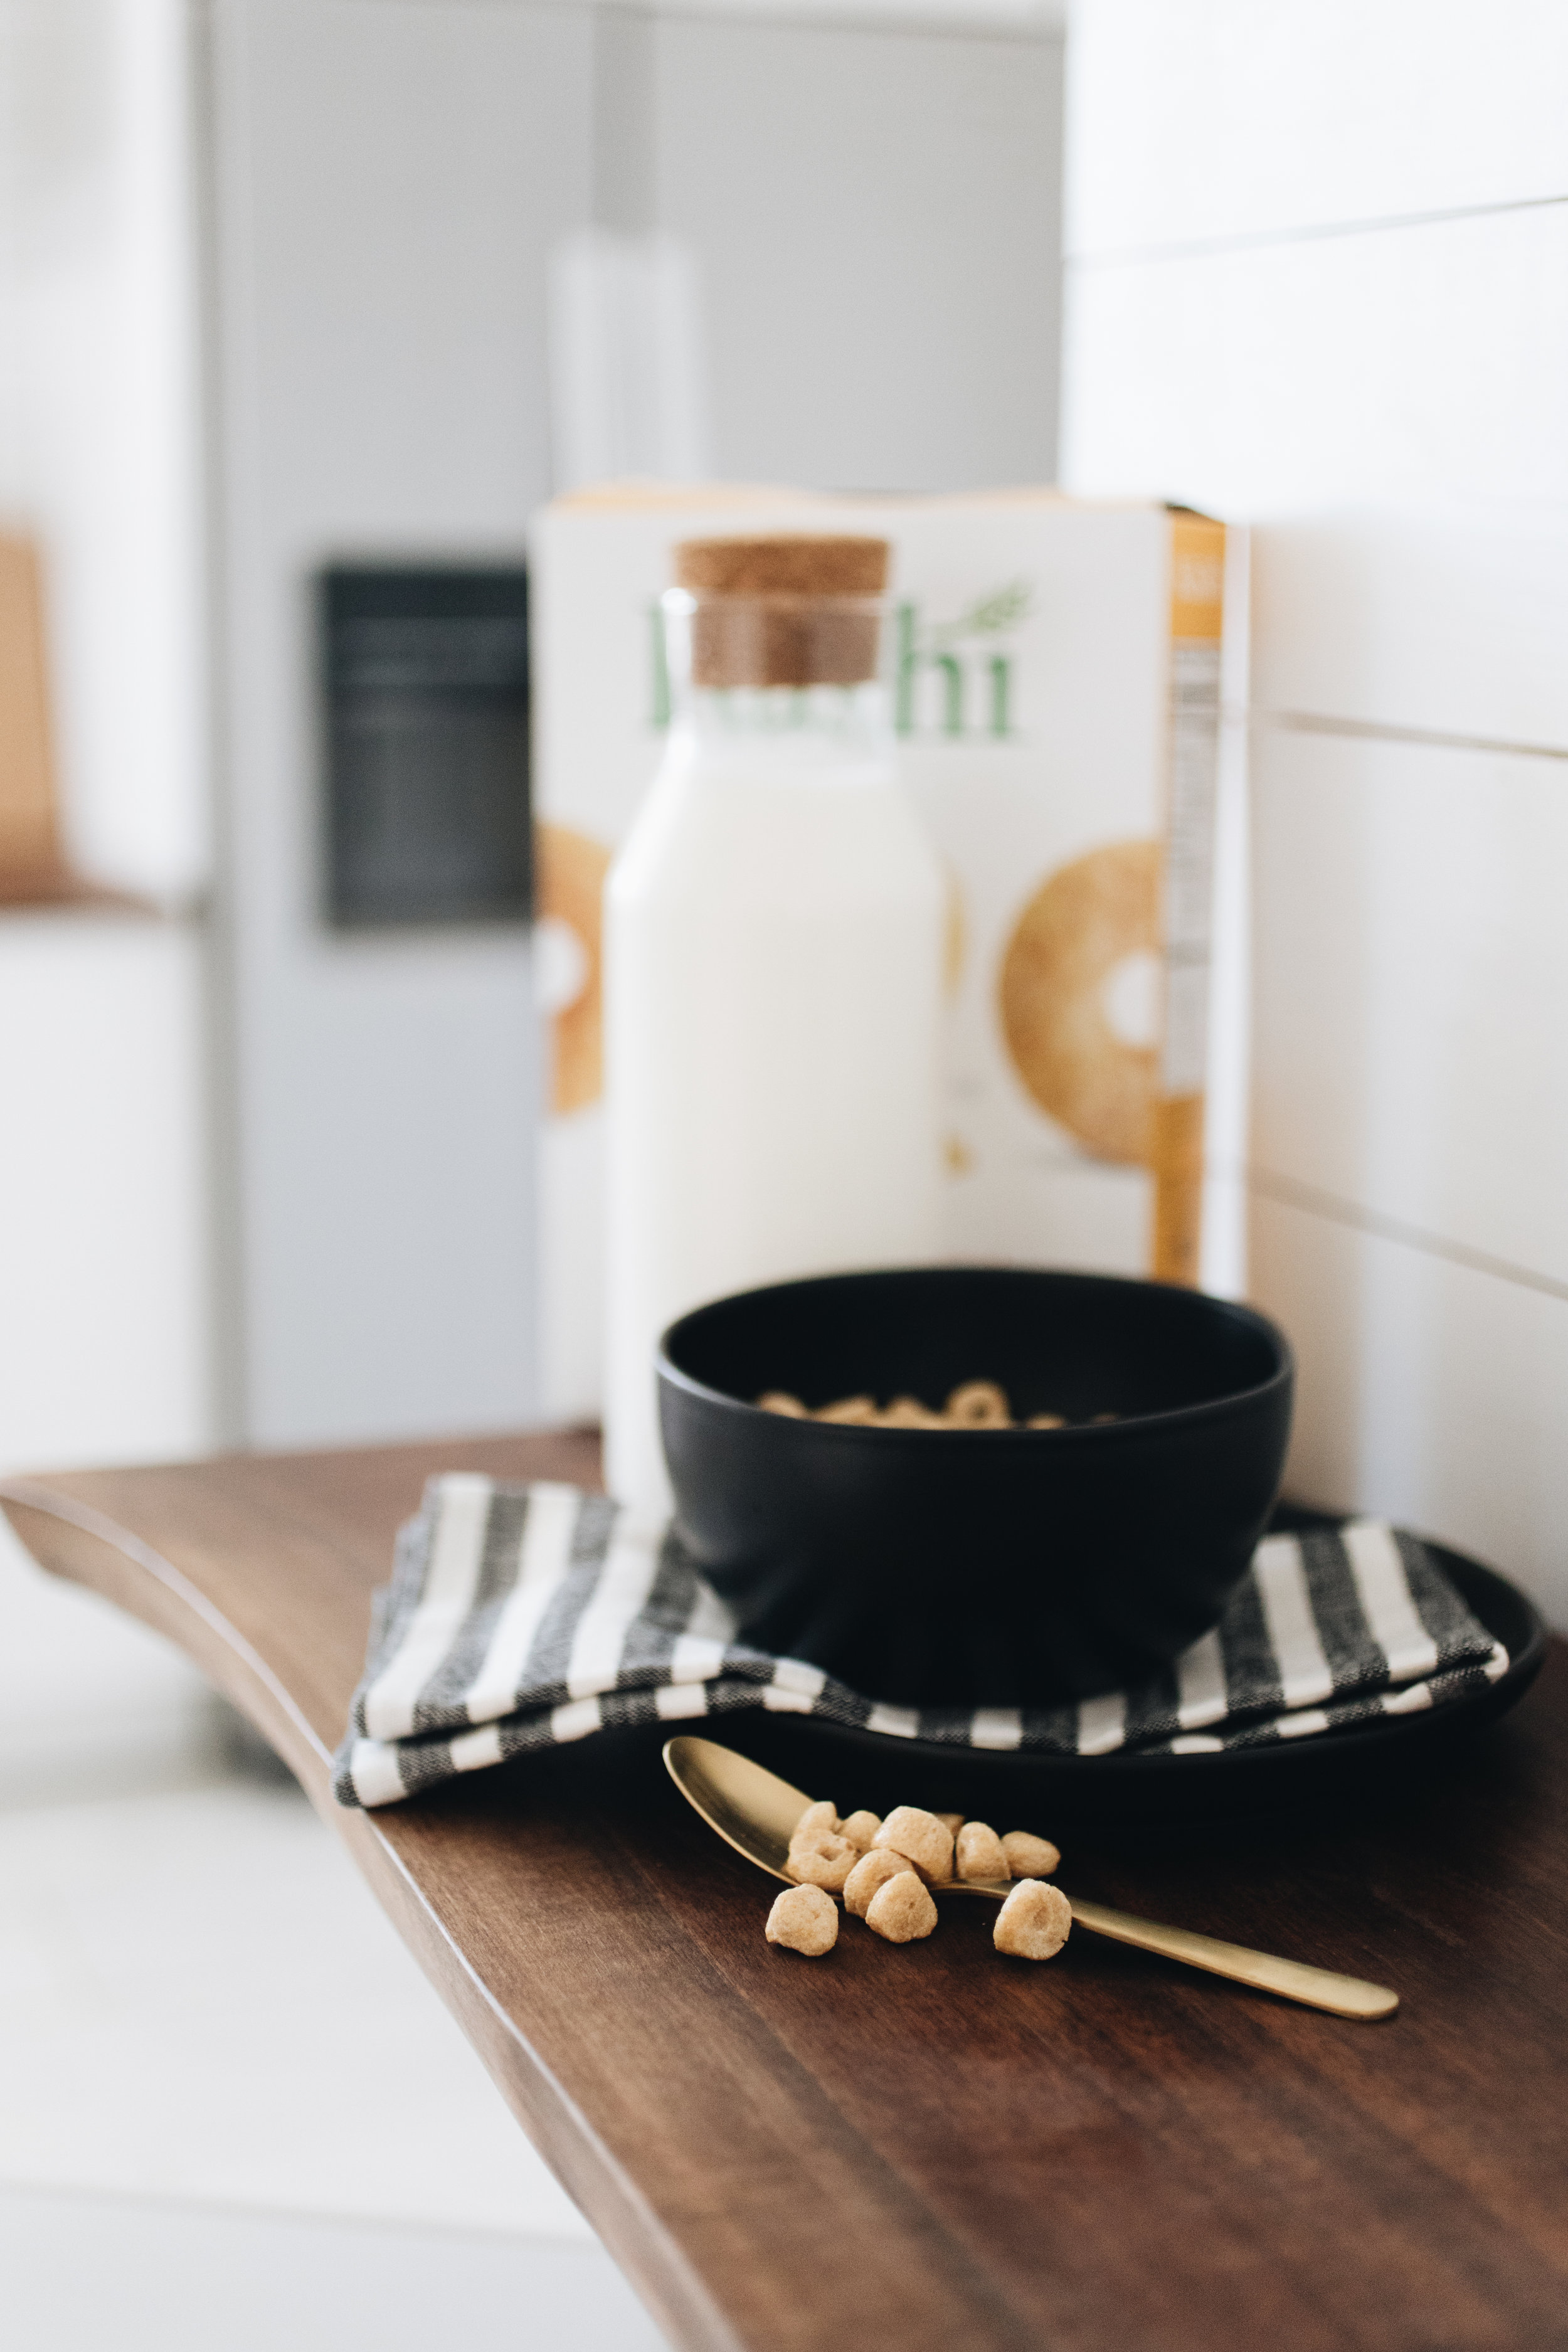
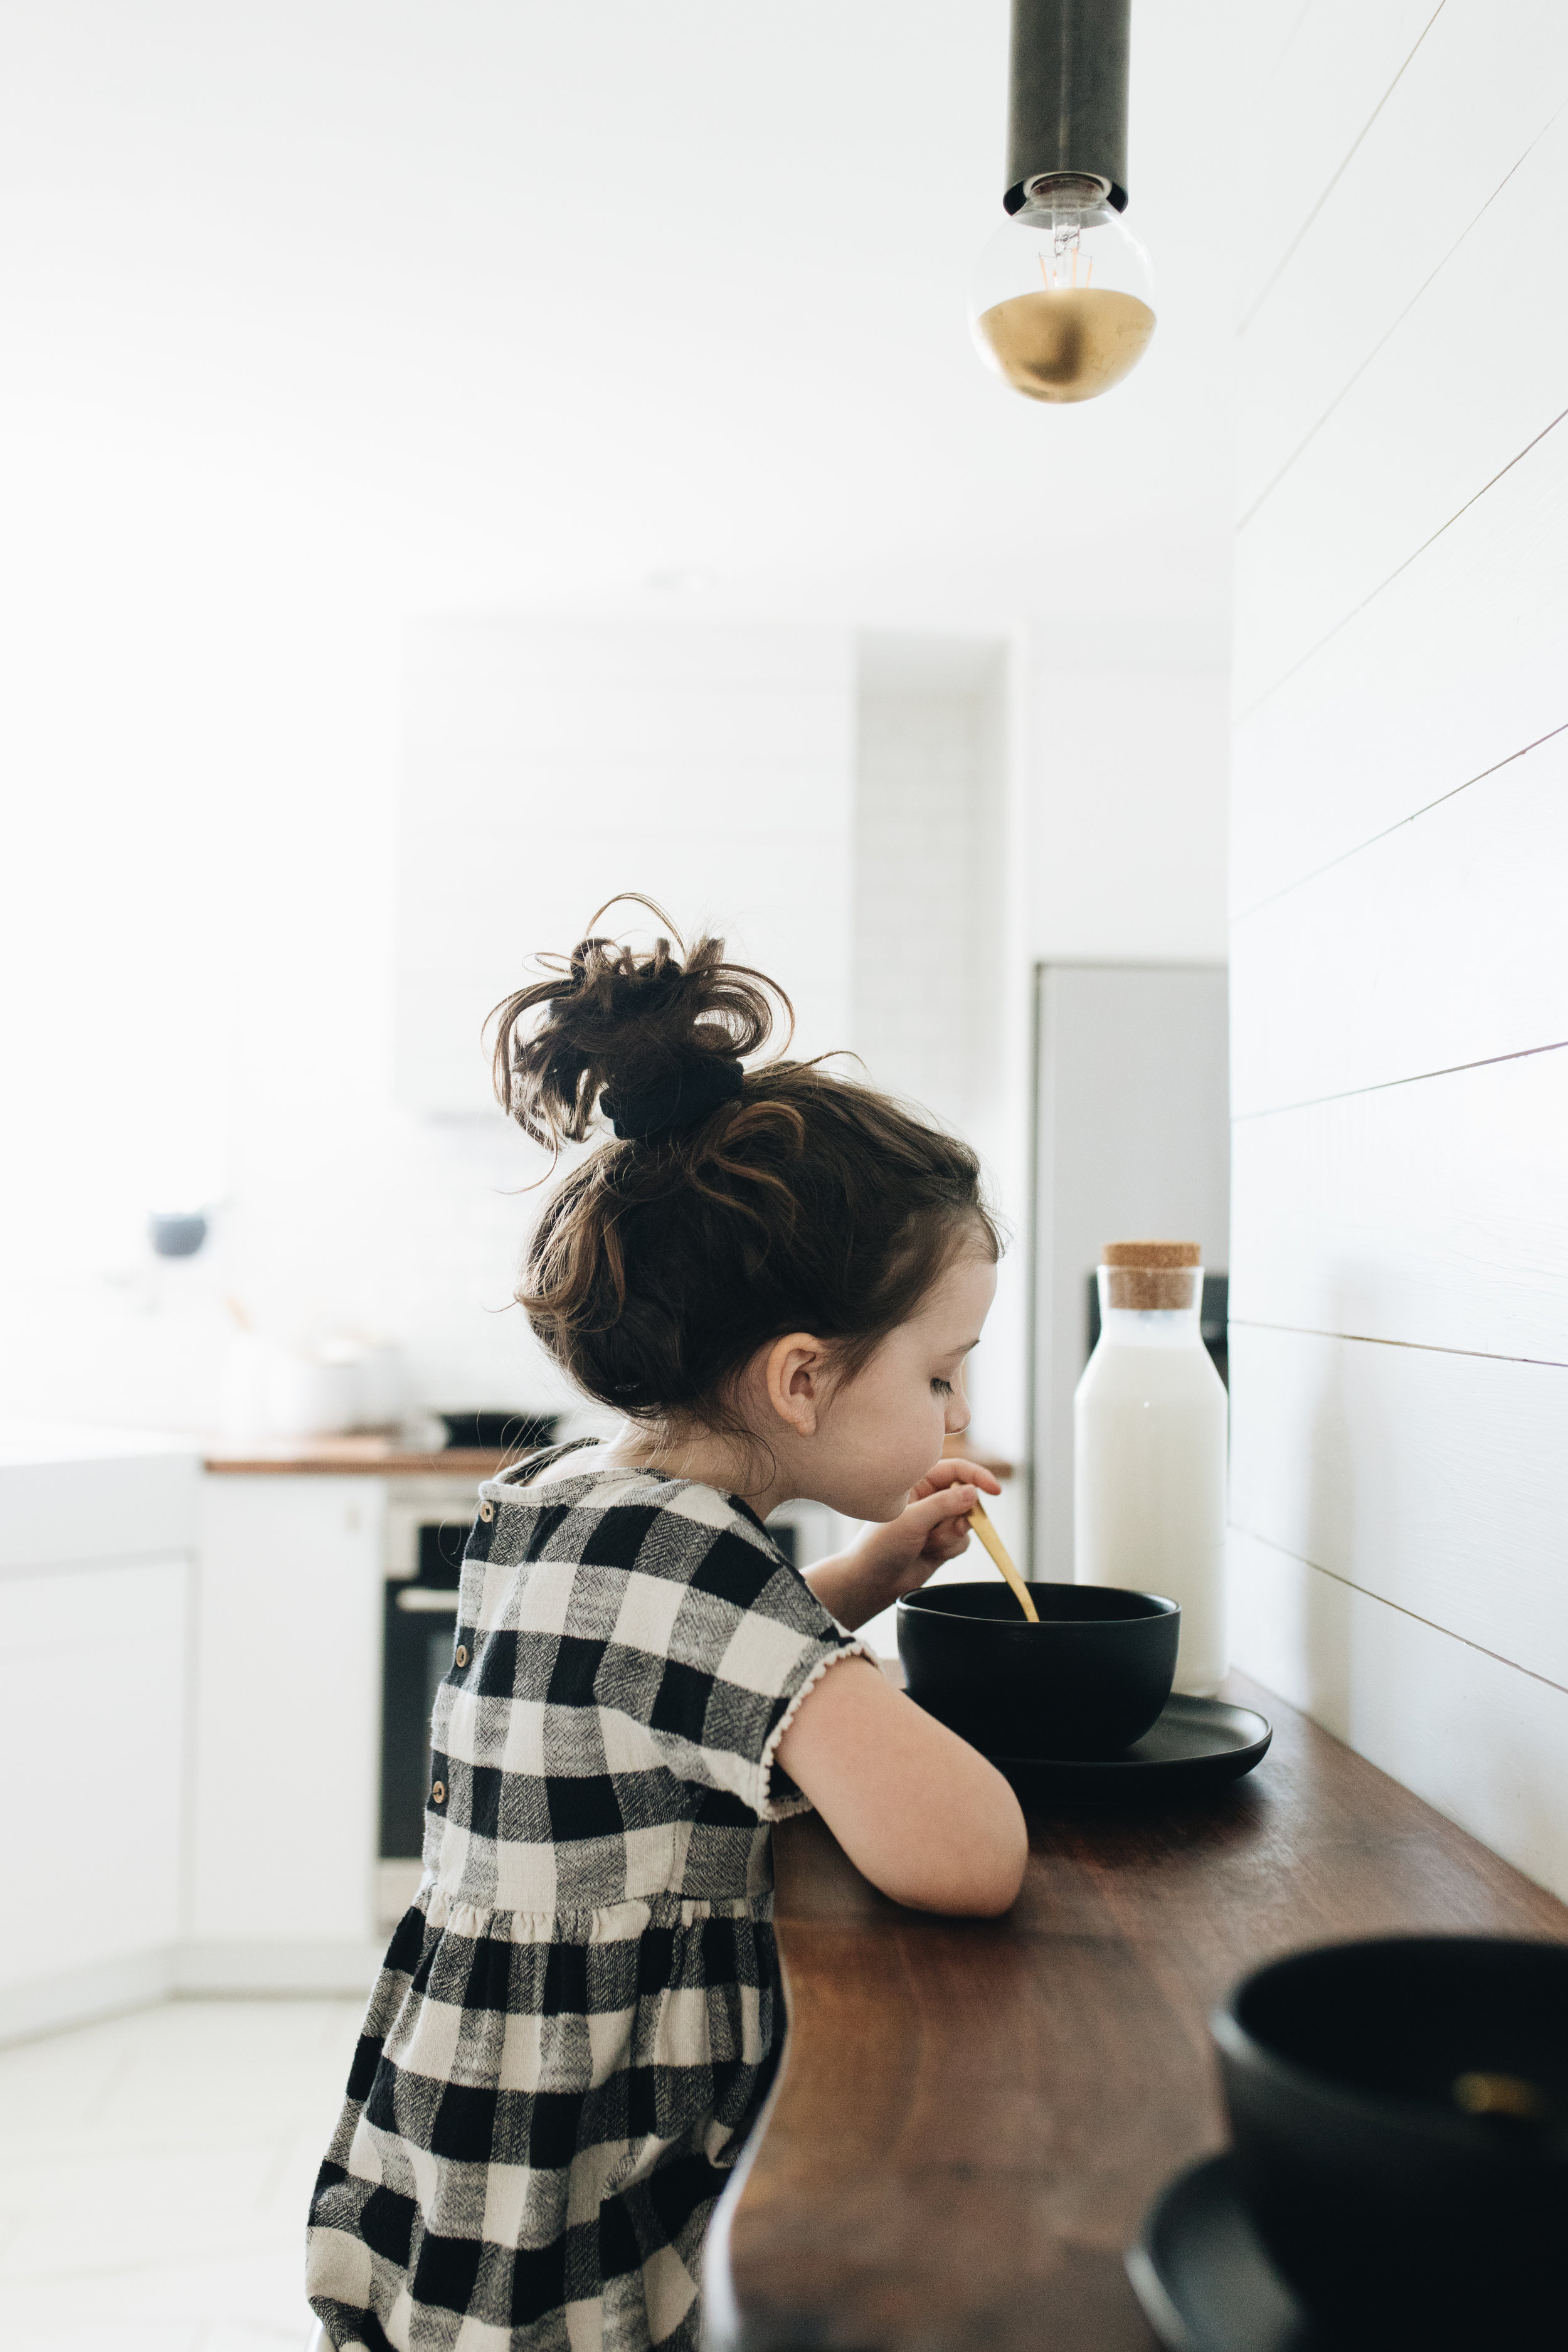
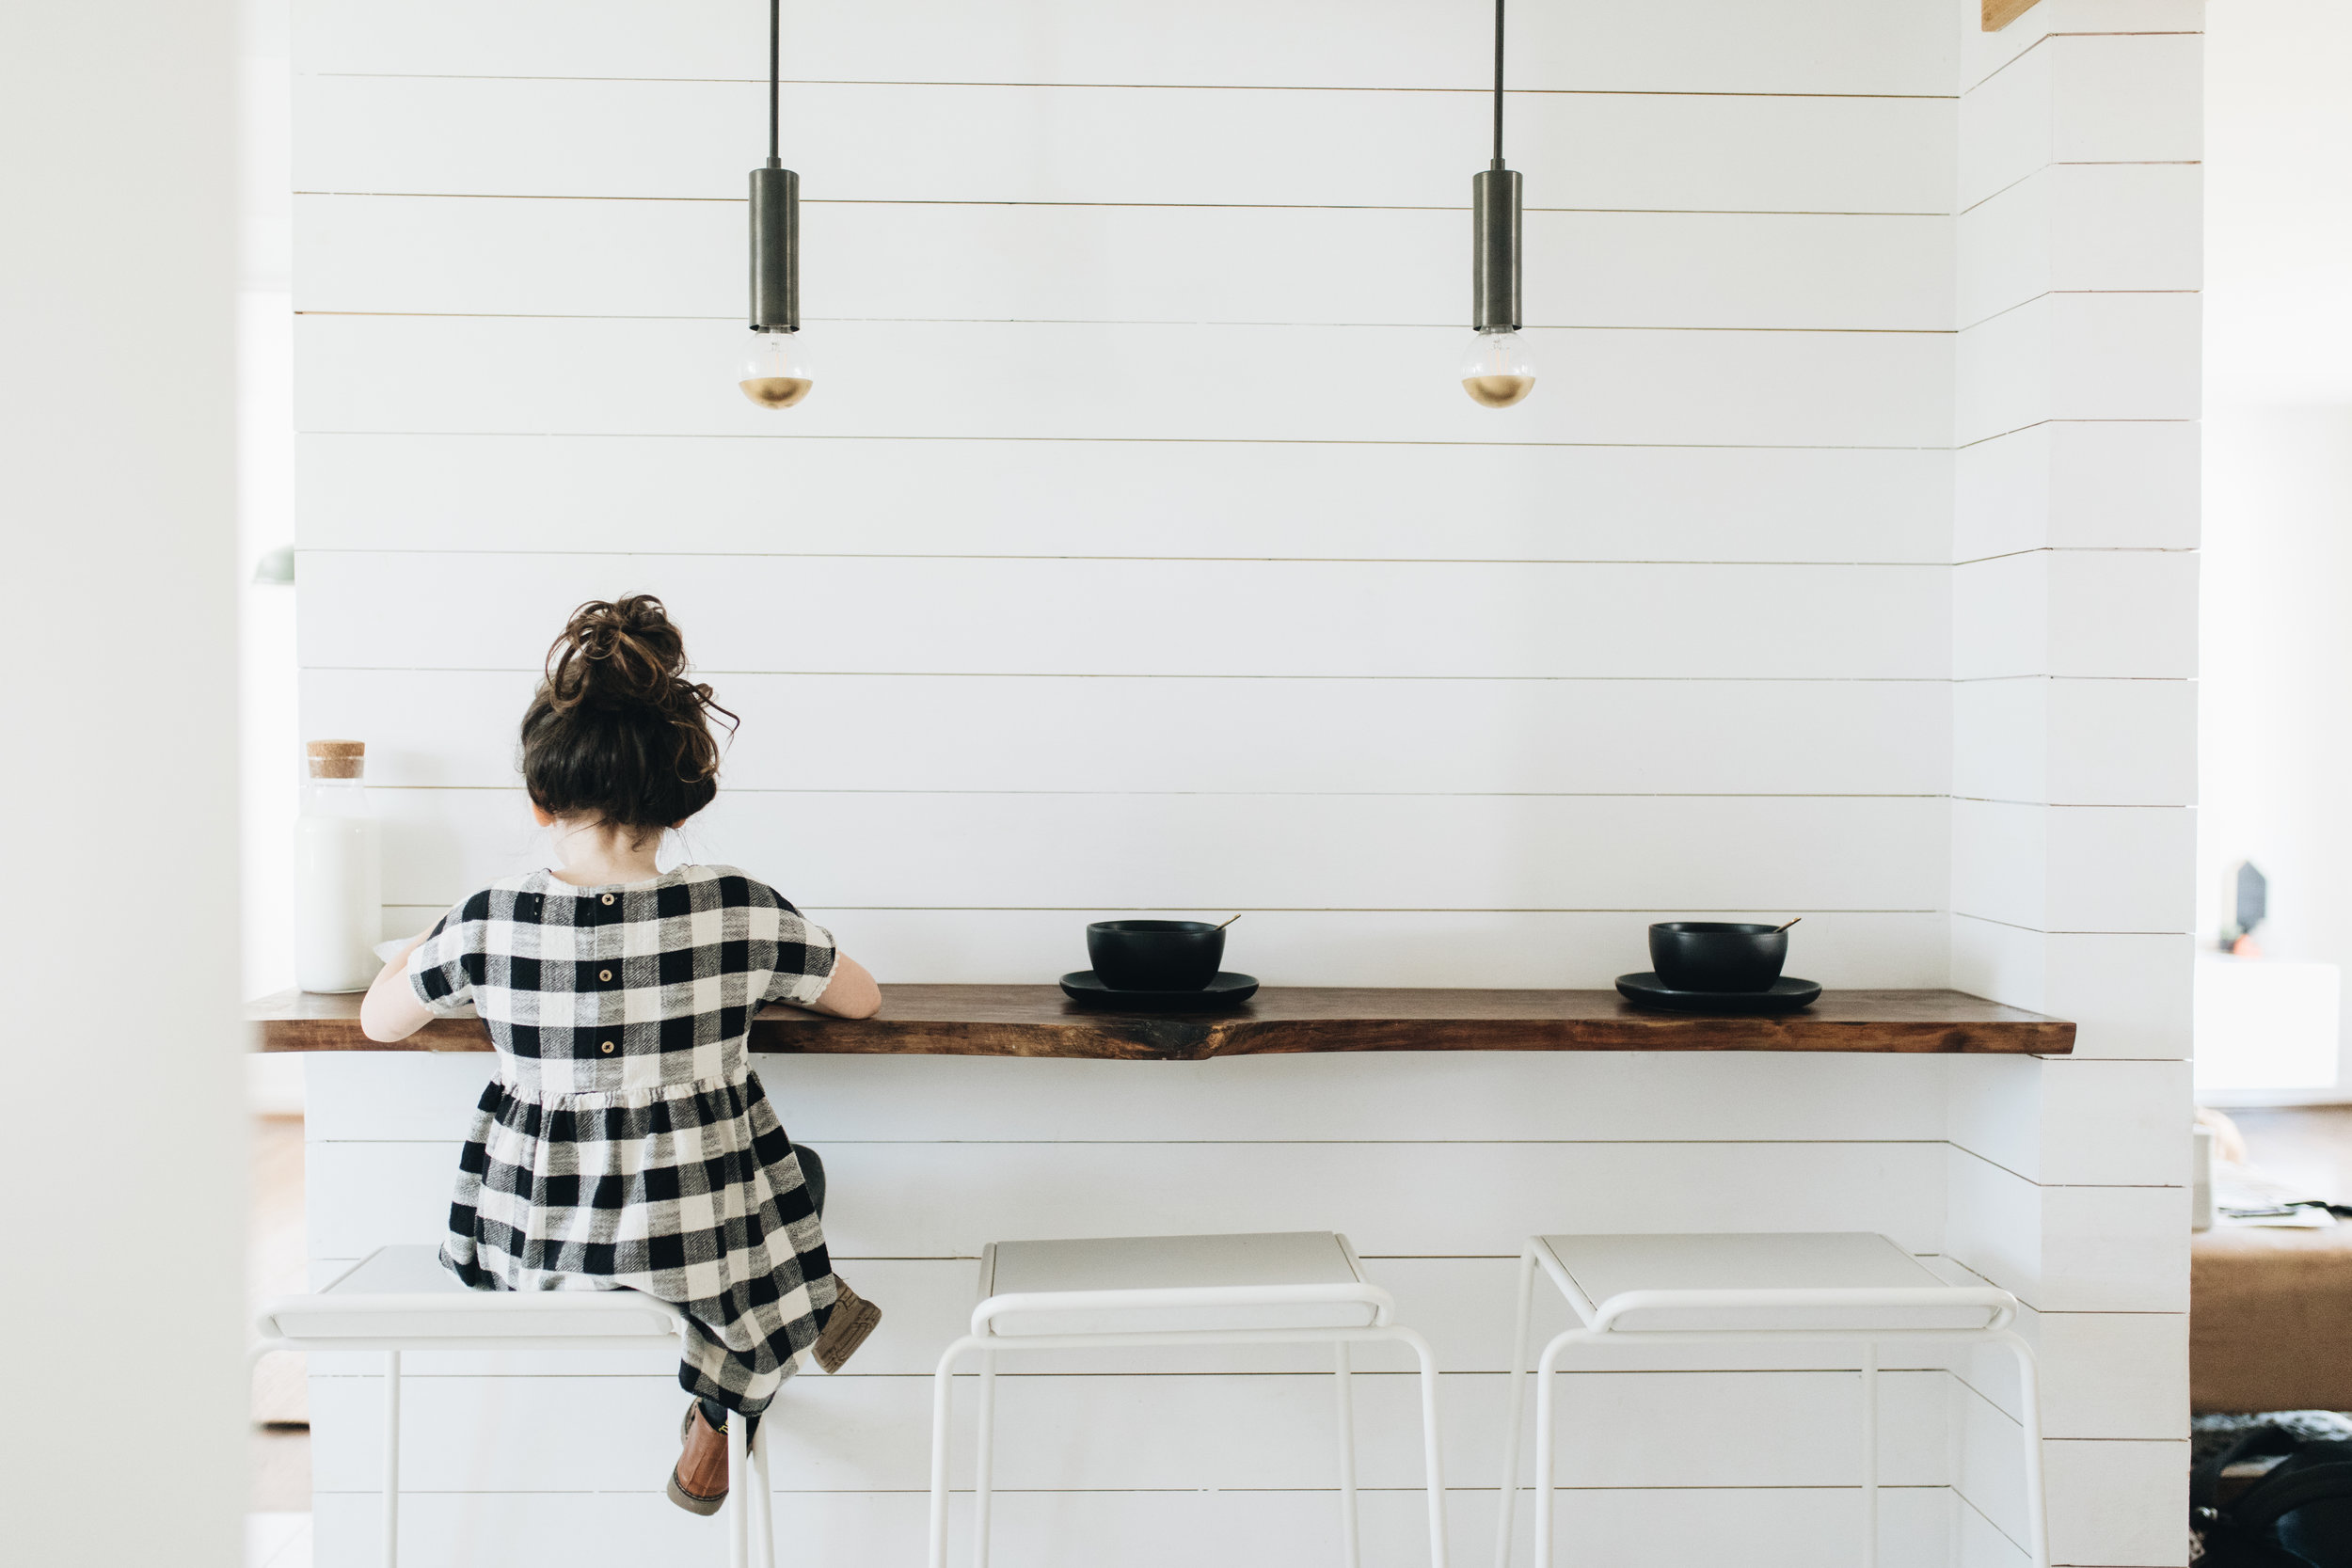
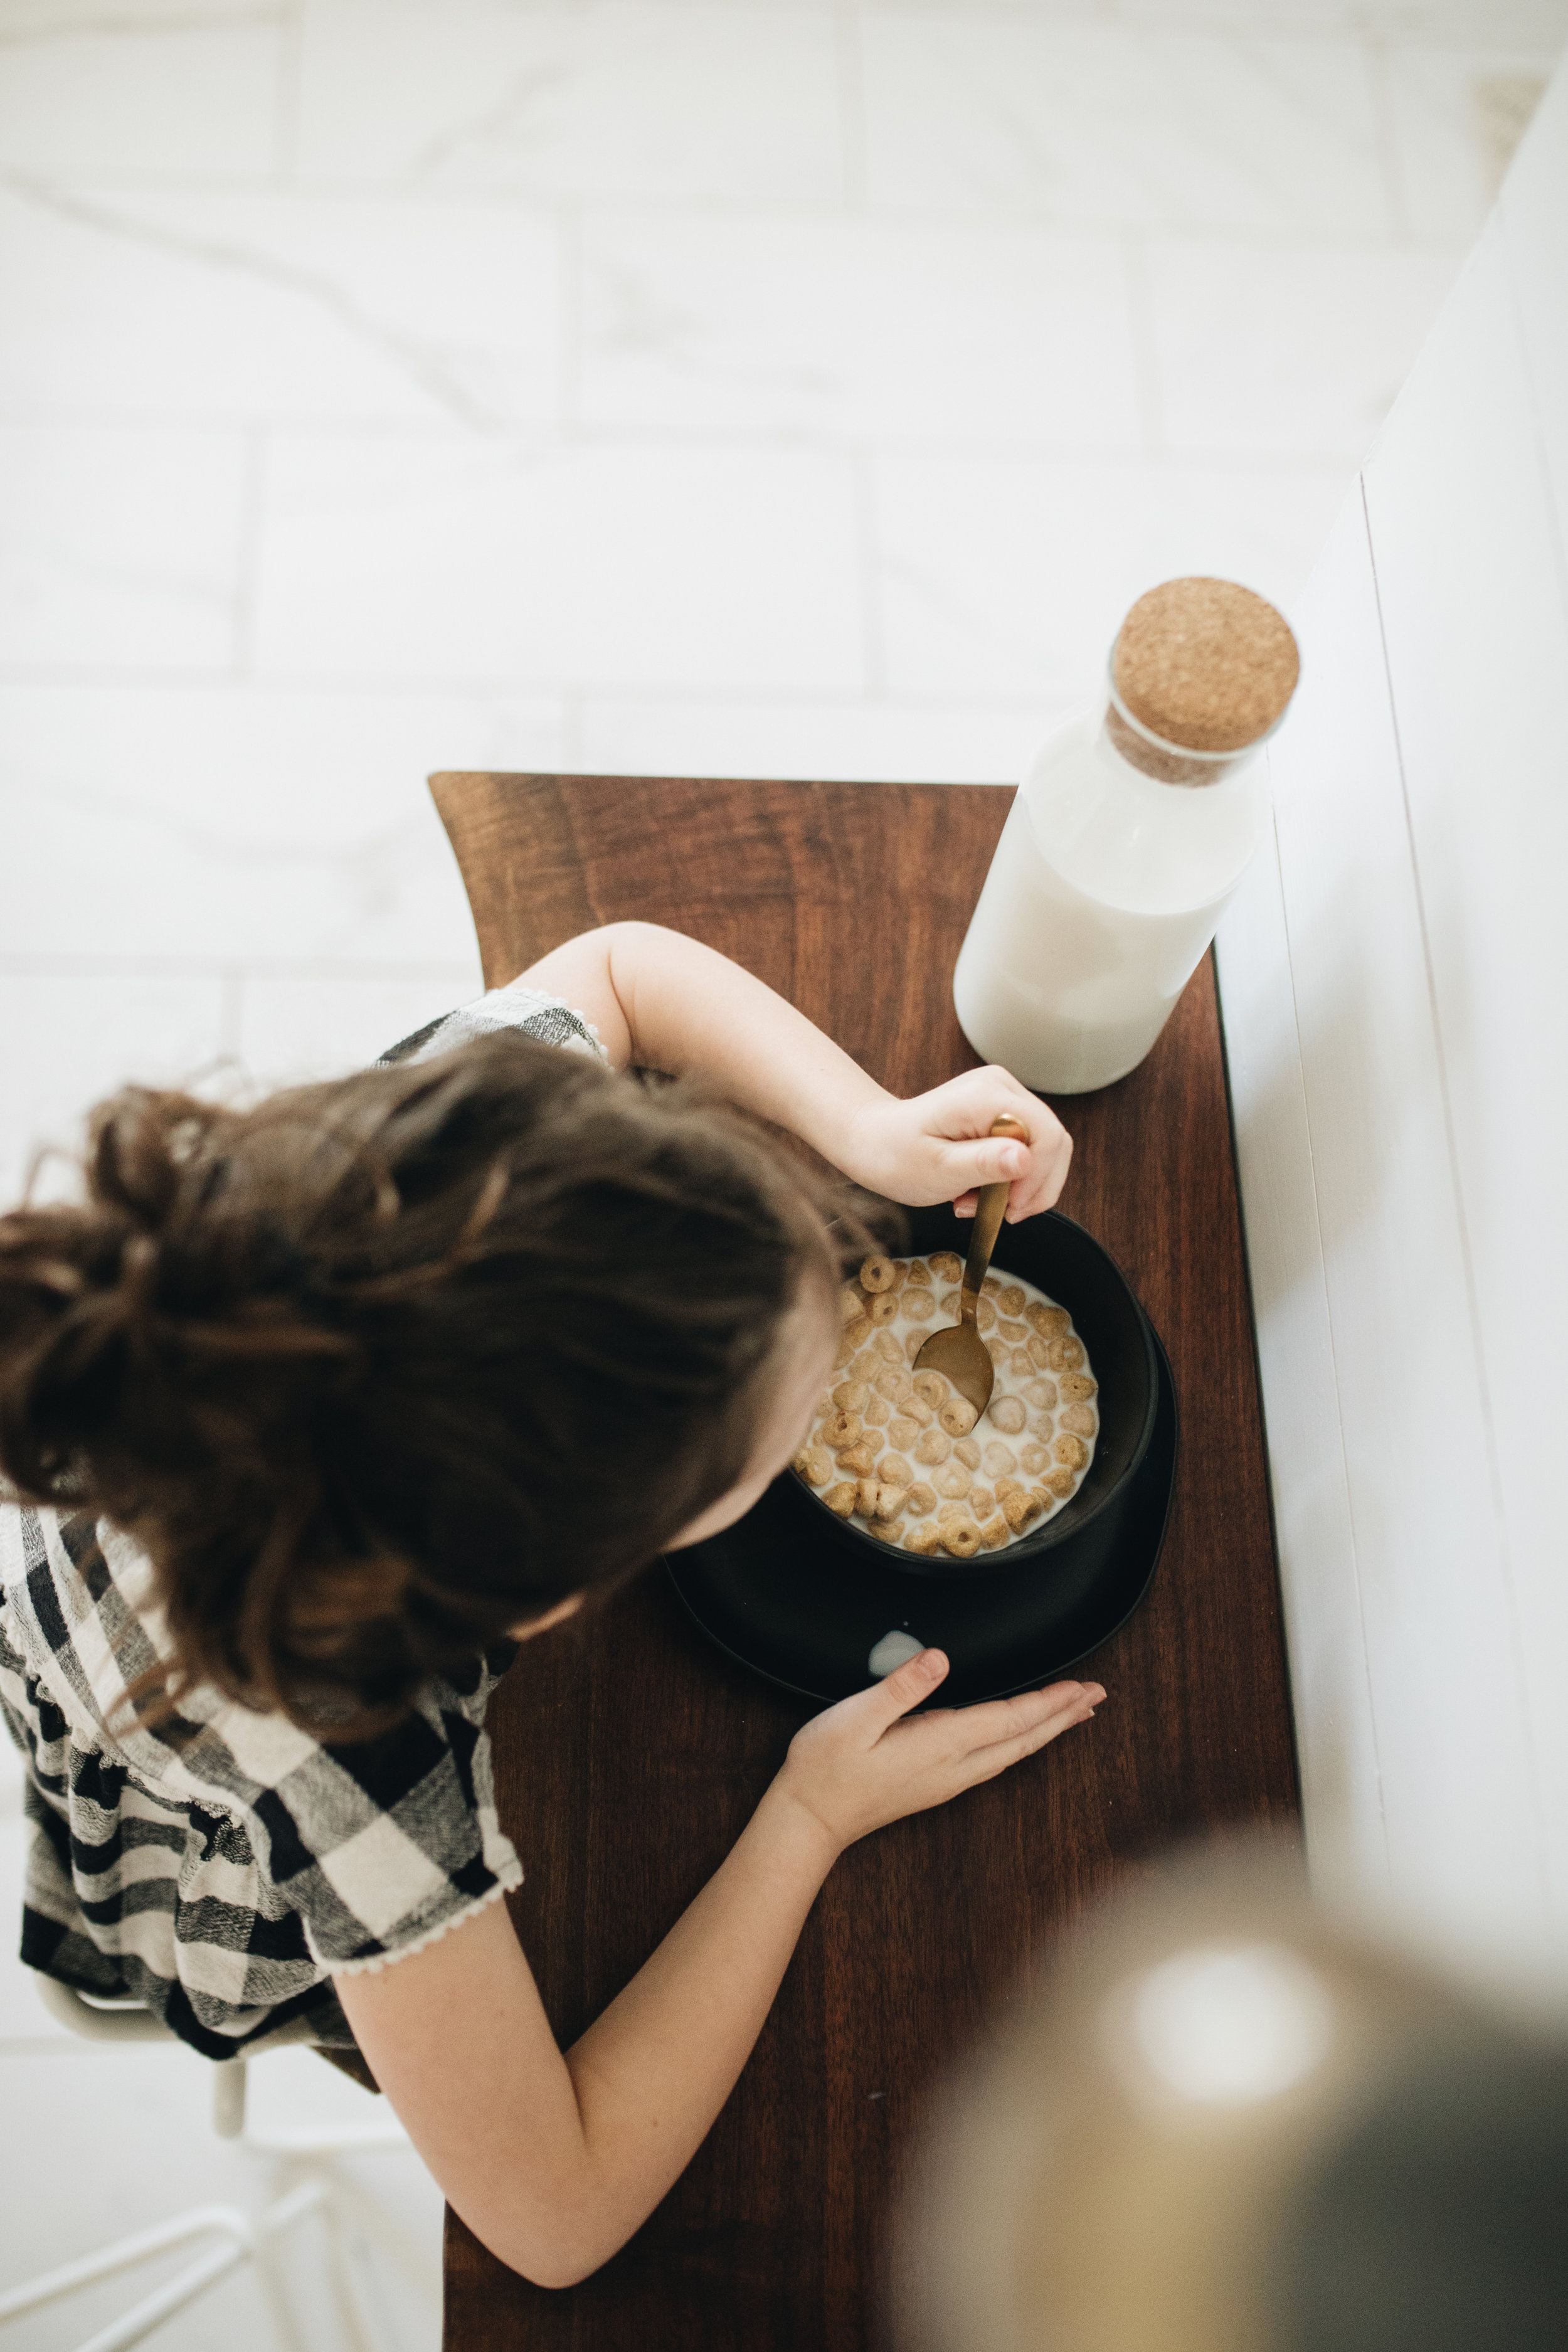
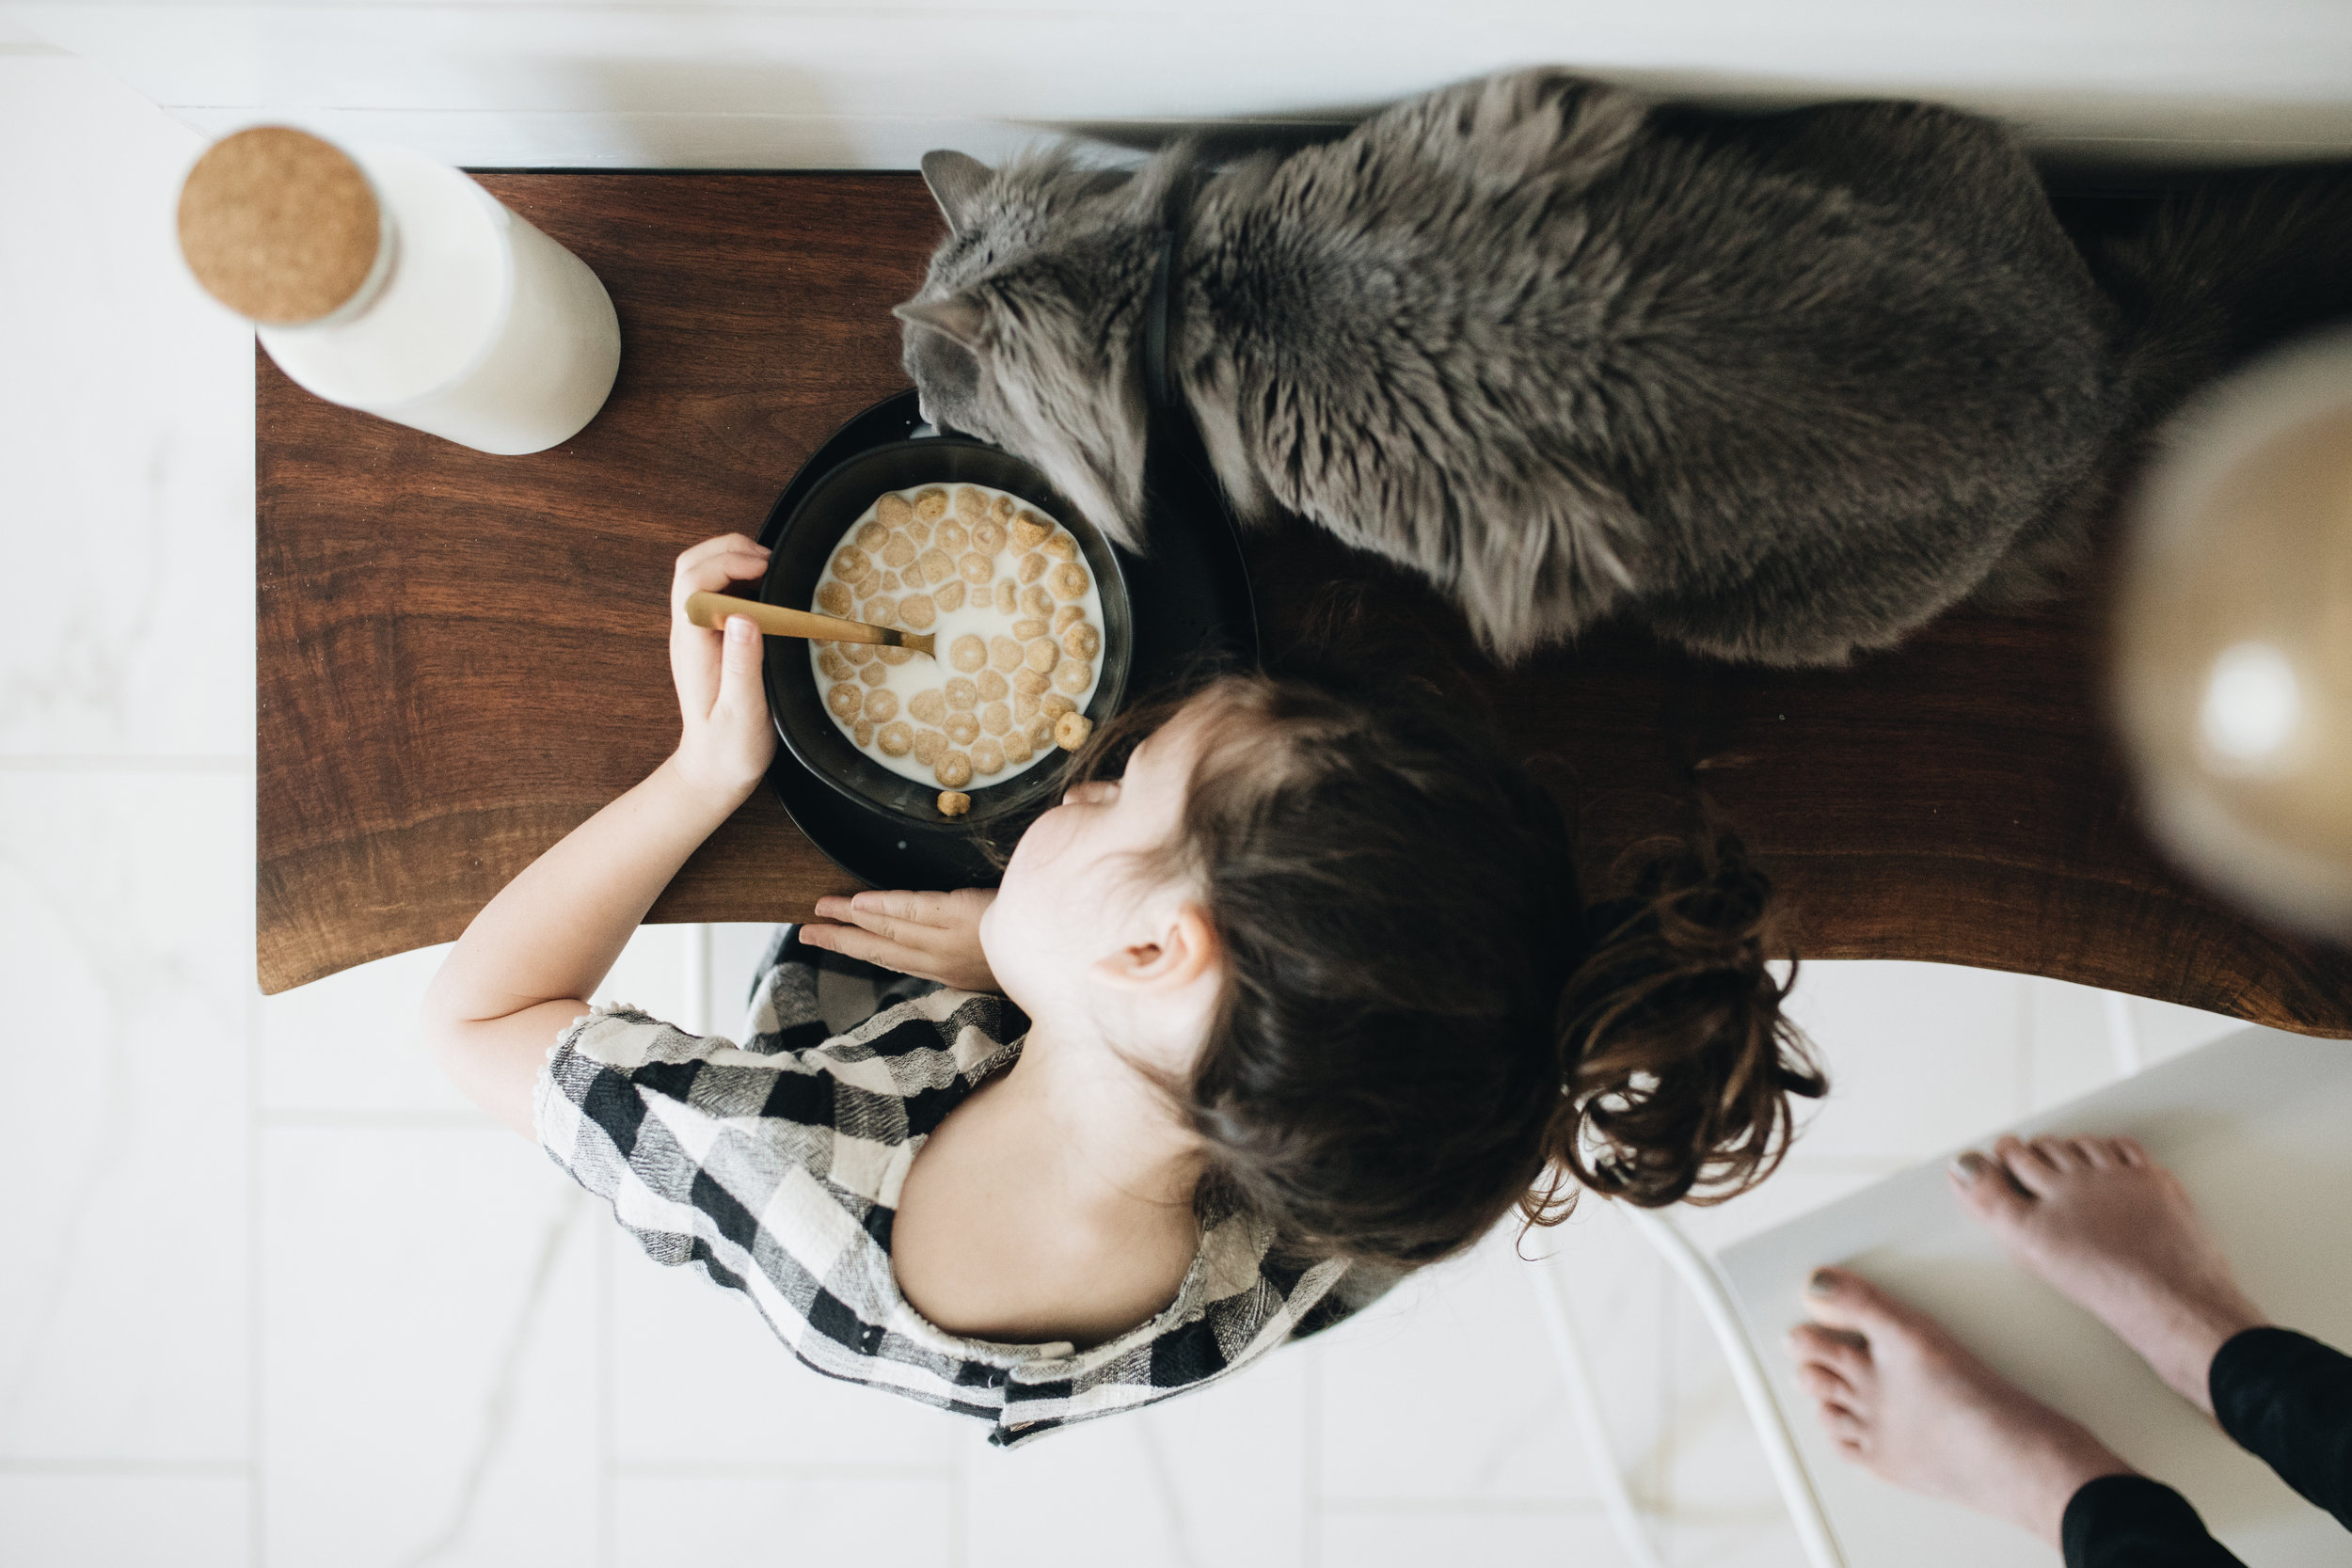
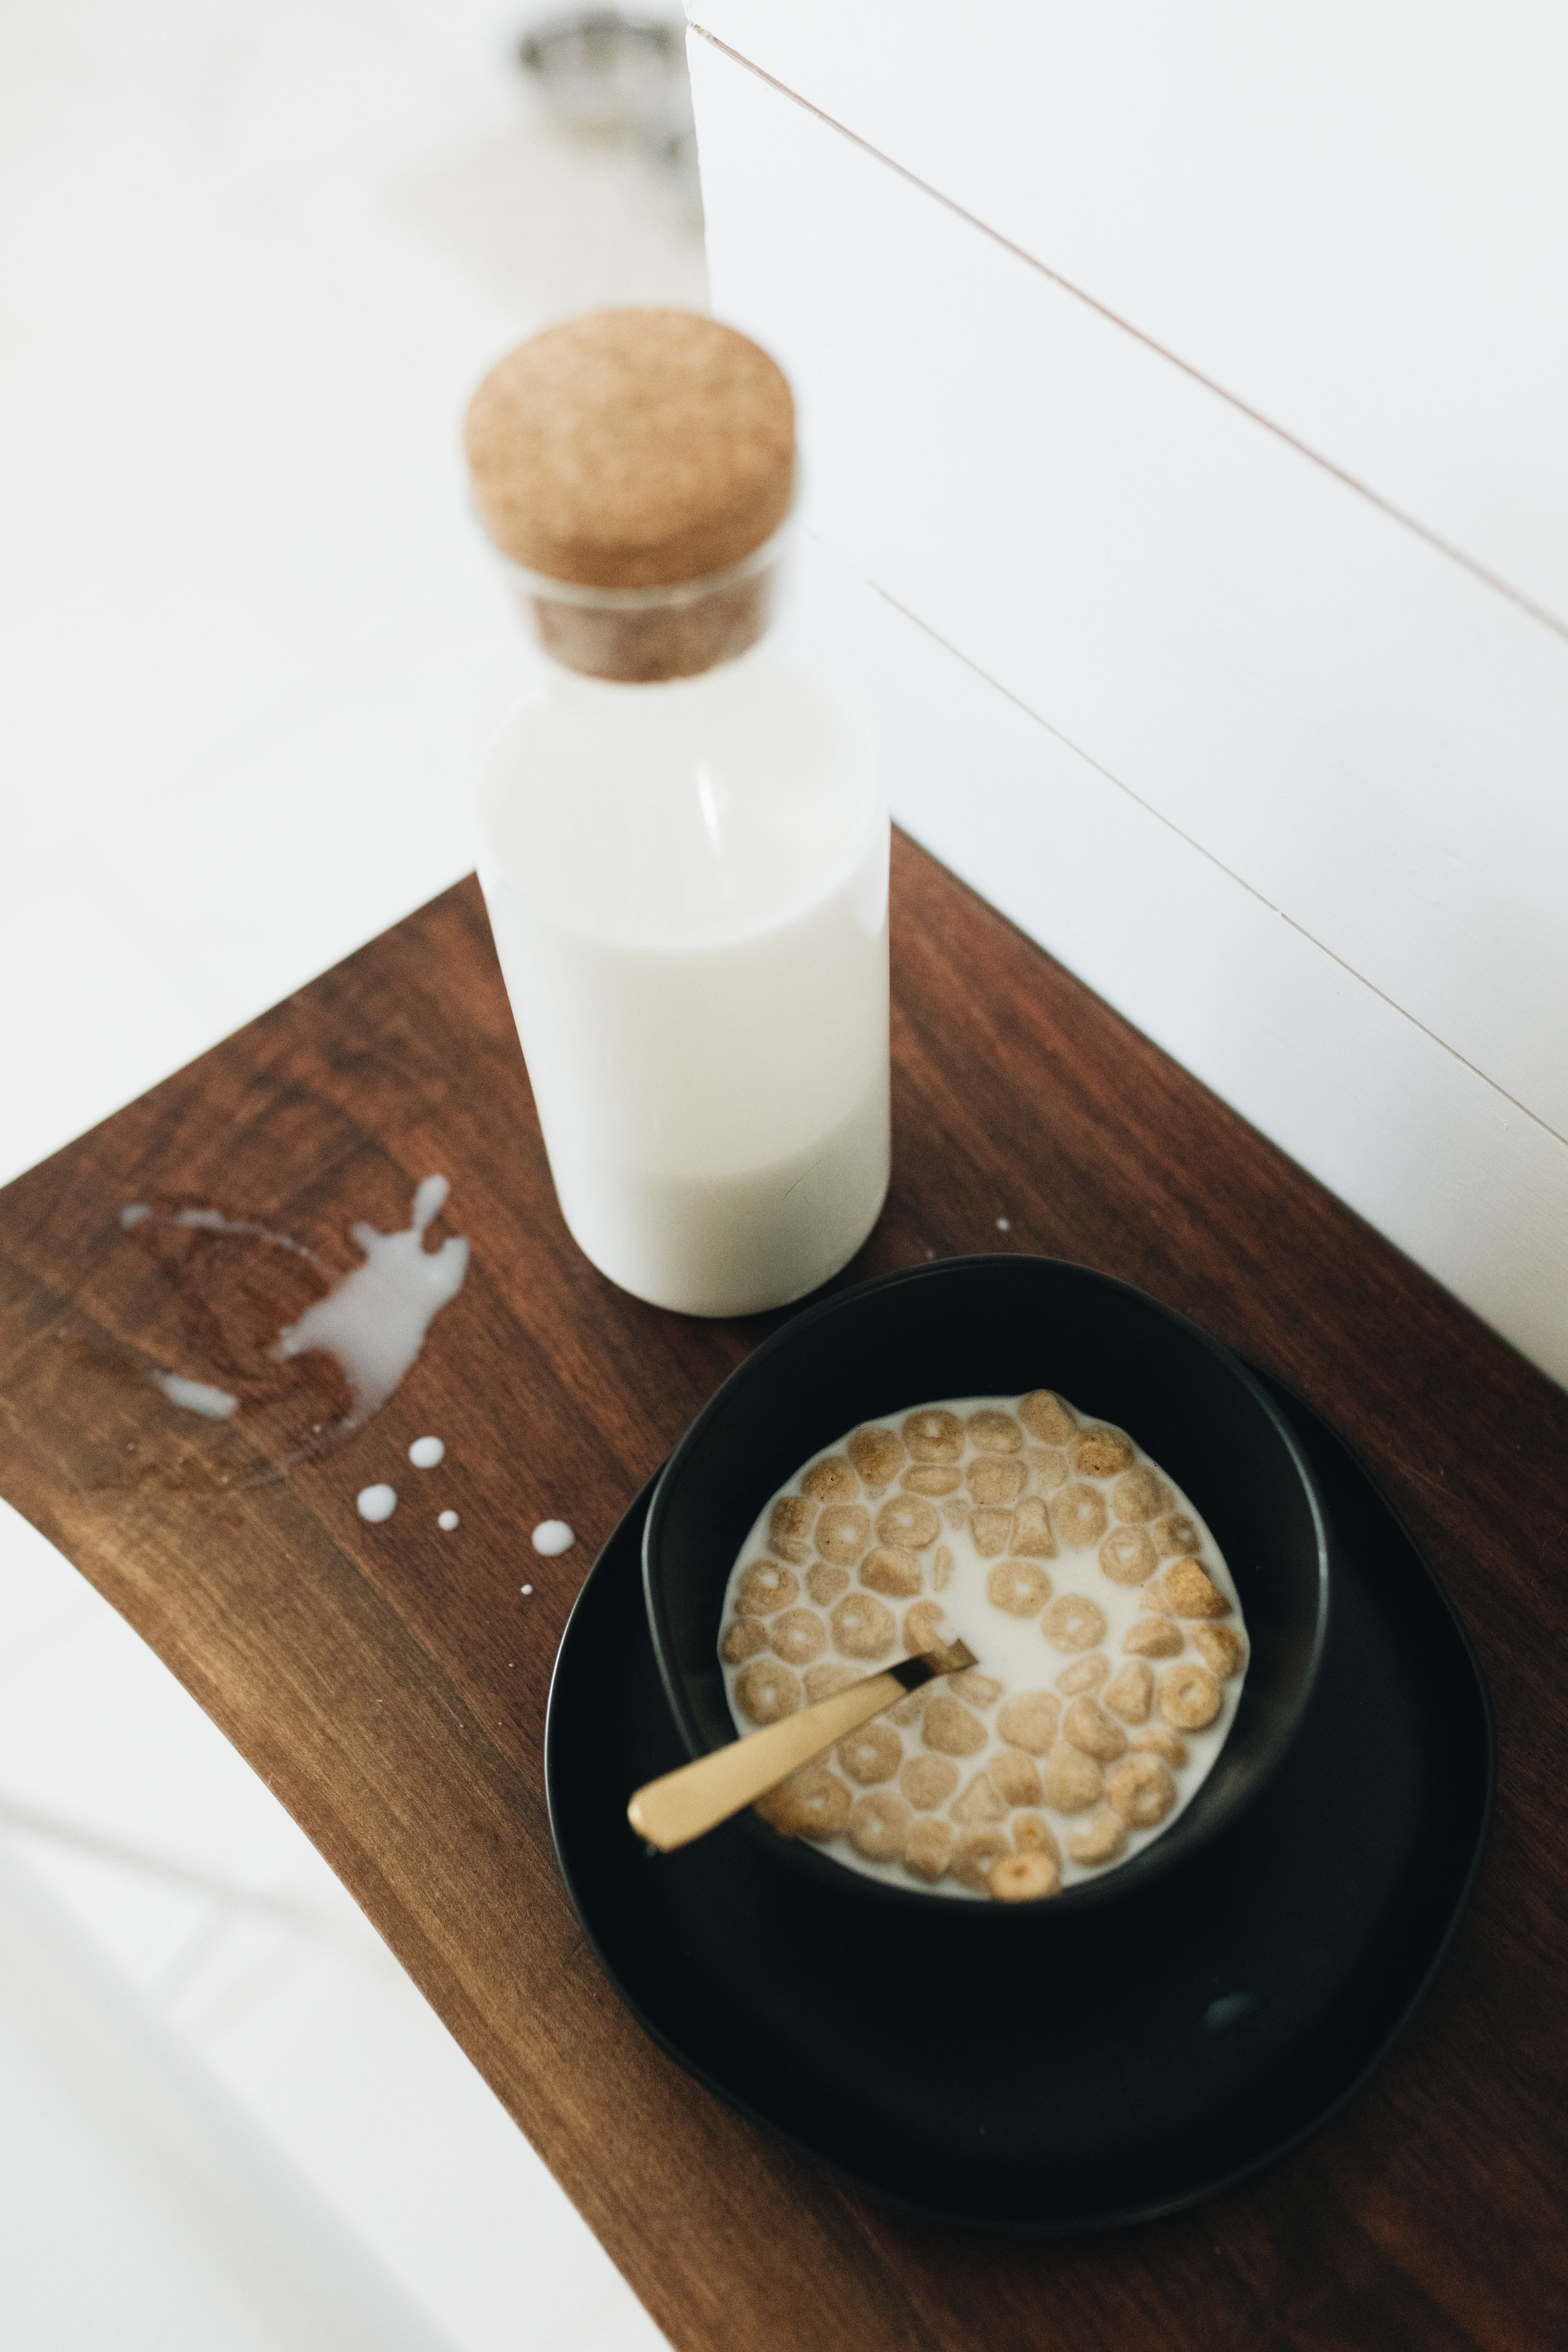
So even though that may seem like it has little to do with our breakfast bar, I don't think I would have ever pushed myself to take these images if I had not forced myself to be creative even when I didn't feel like it. I'll post a brief how-to from Jarrod's POV after the images, so keep scrolling!!!
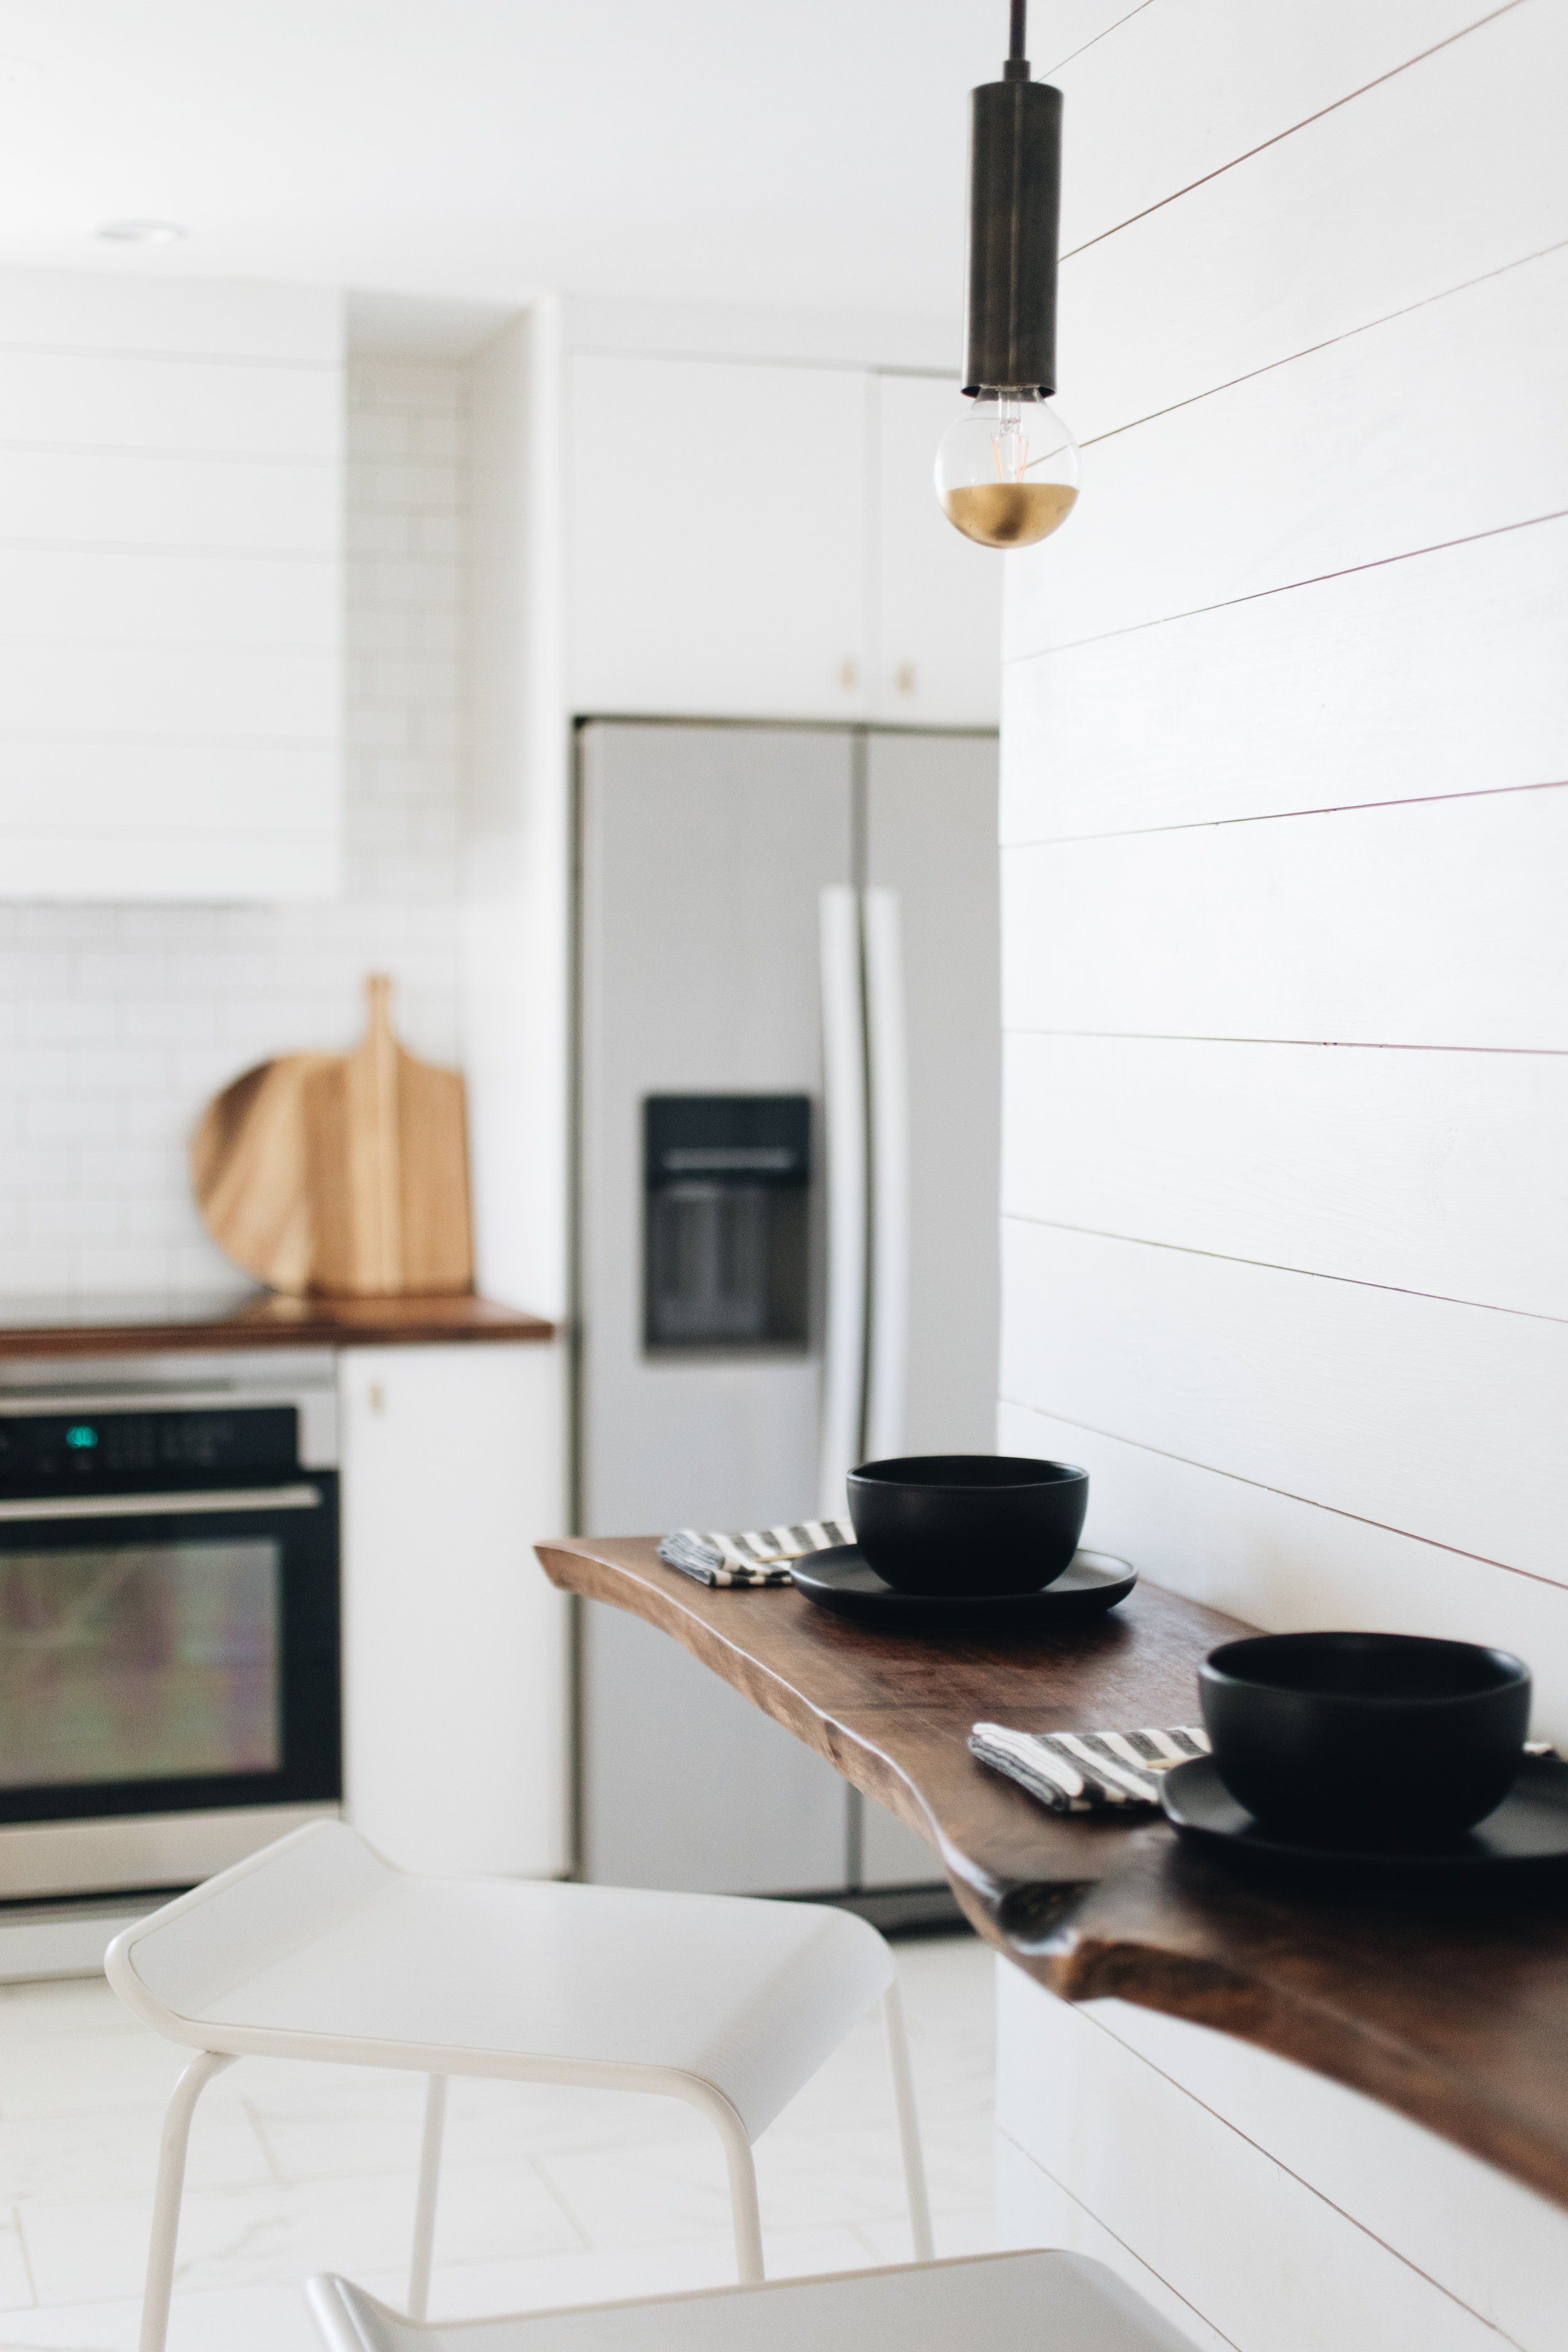
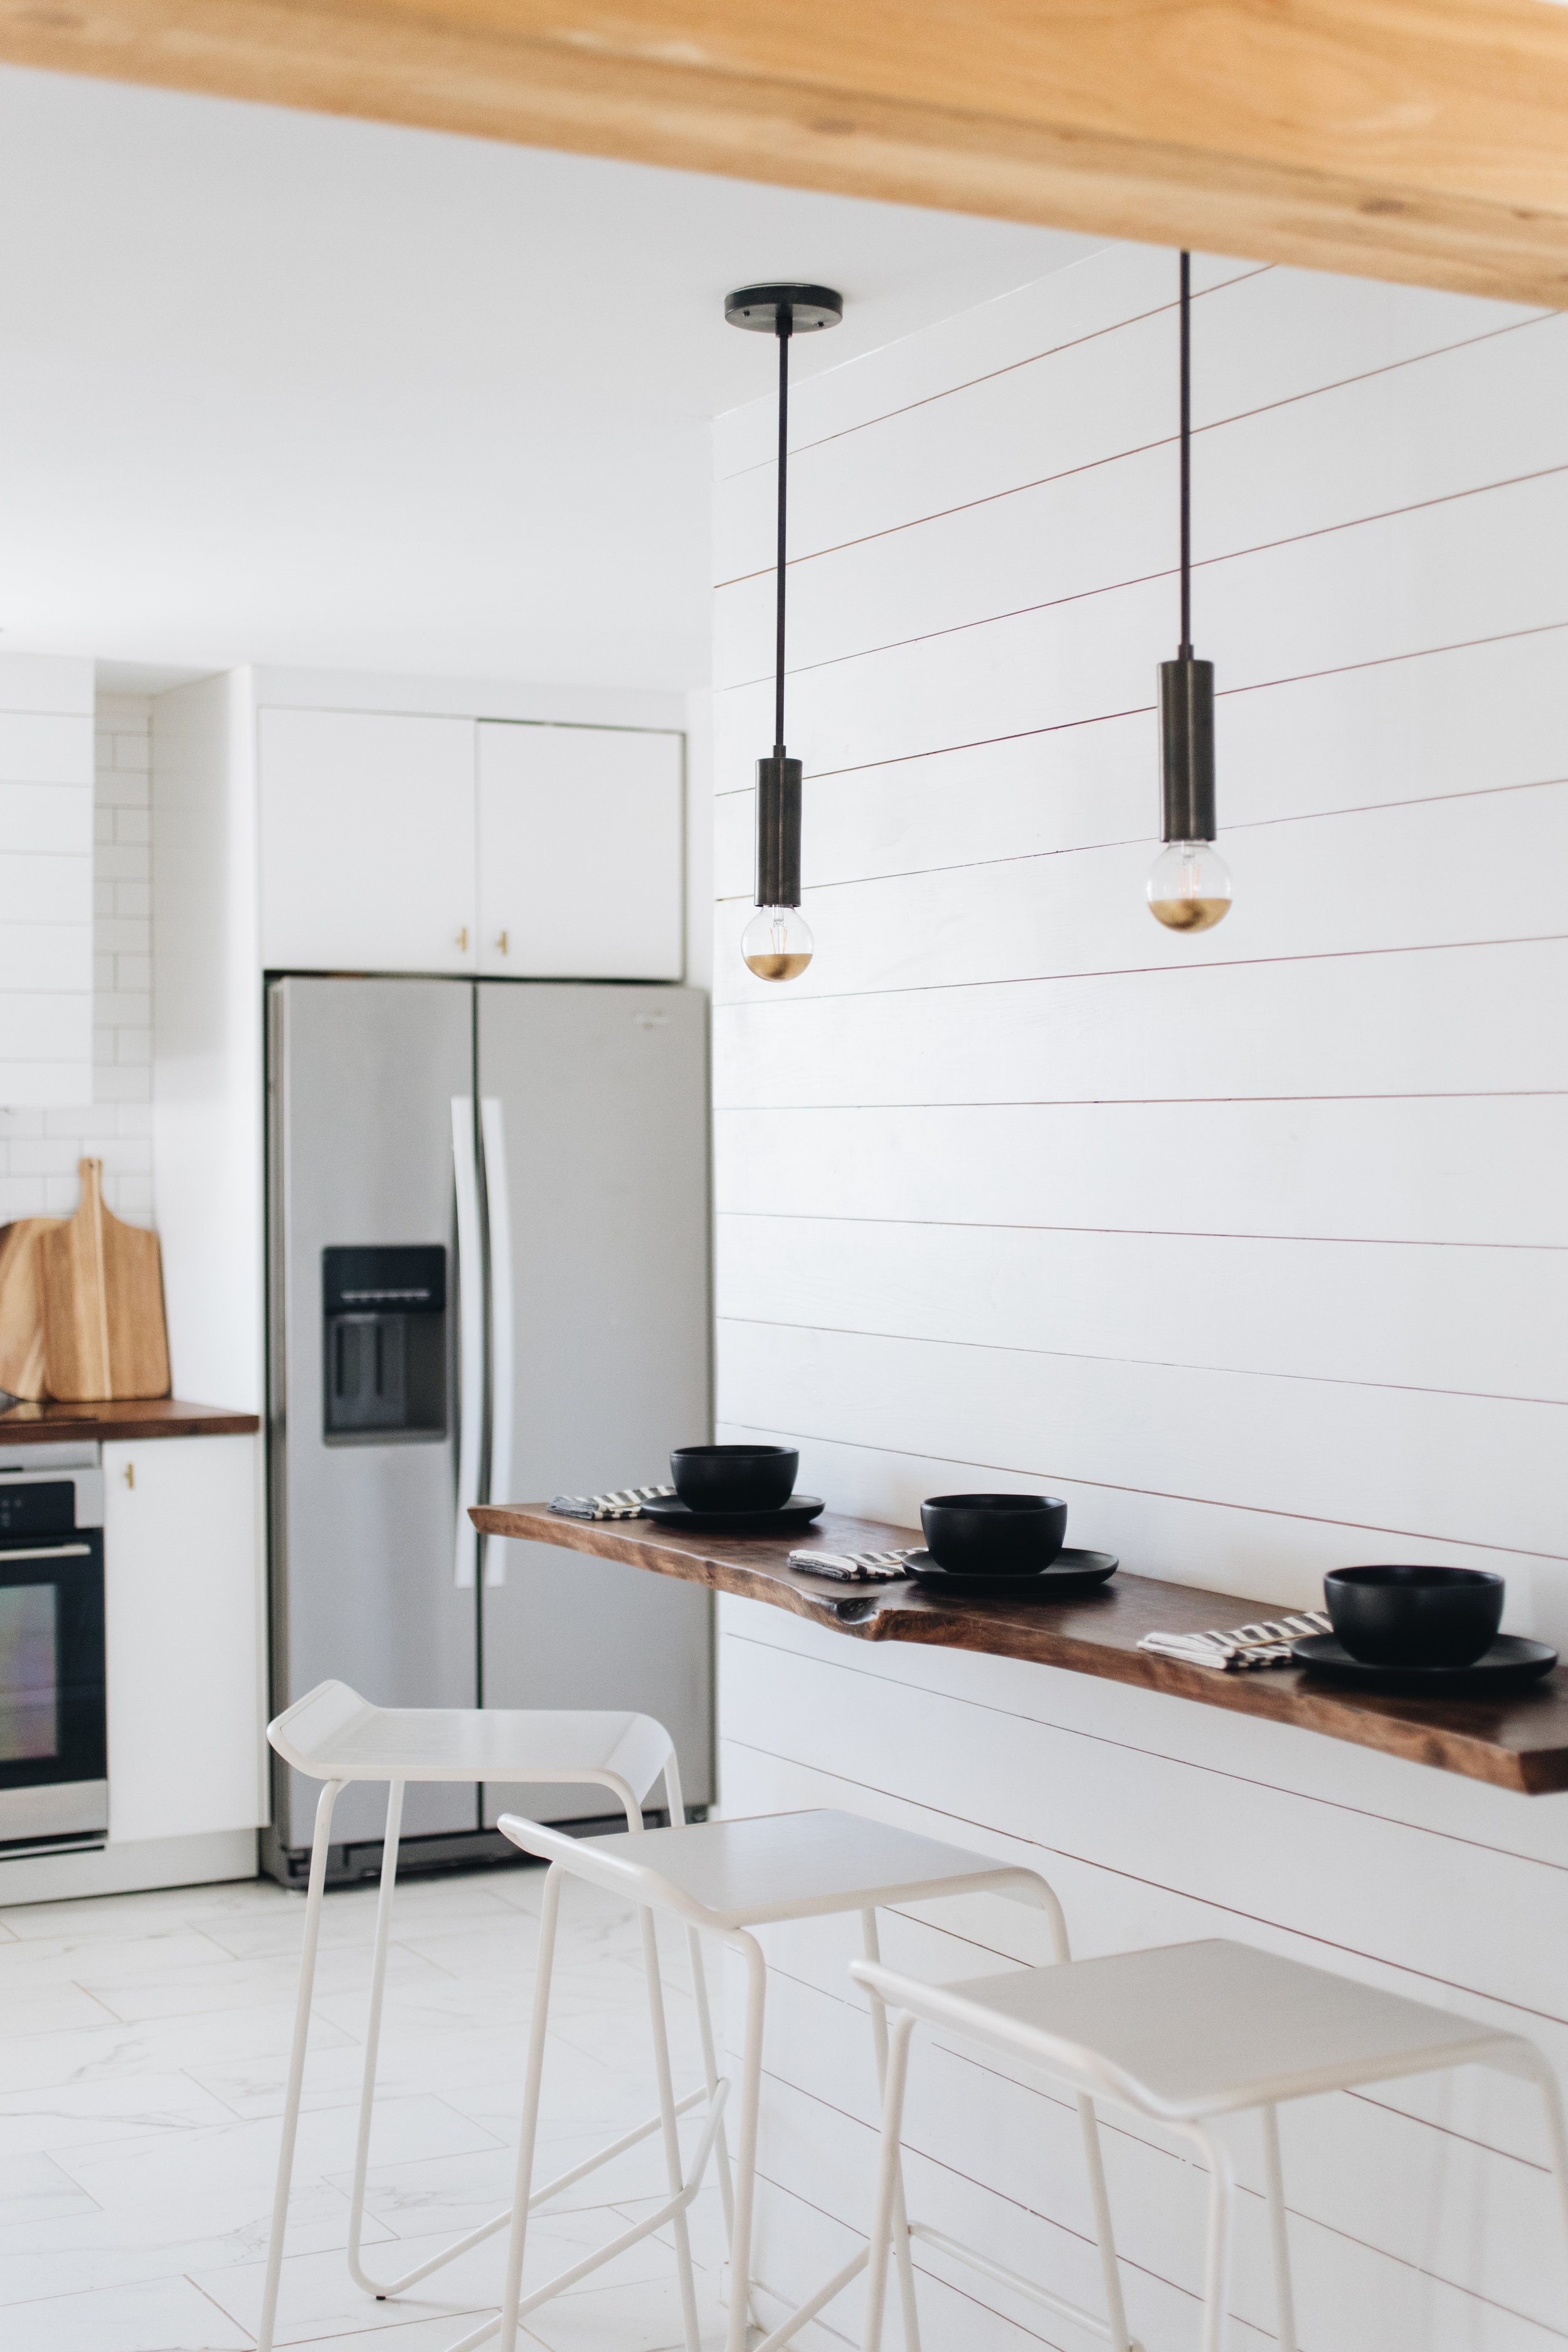
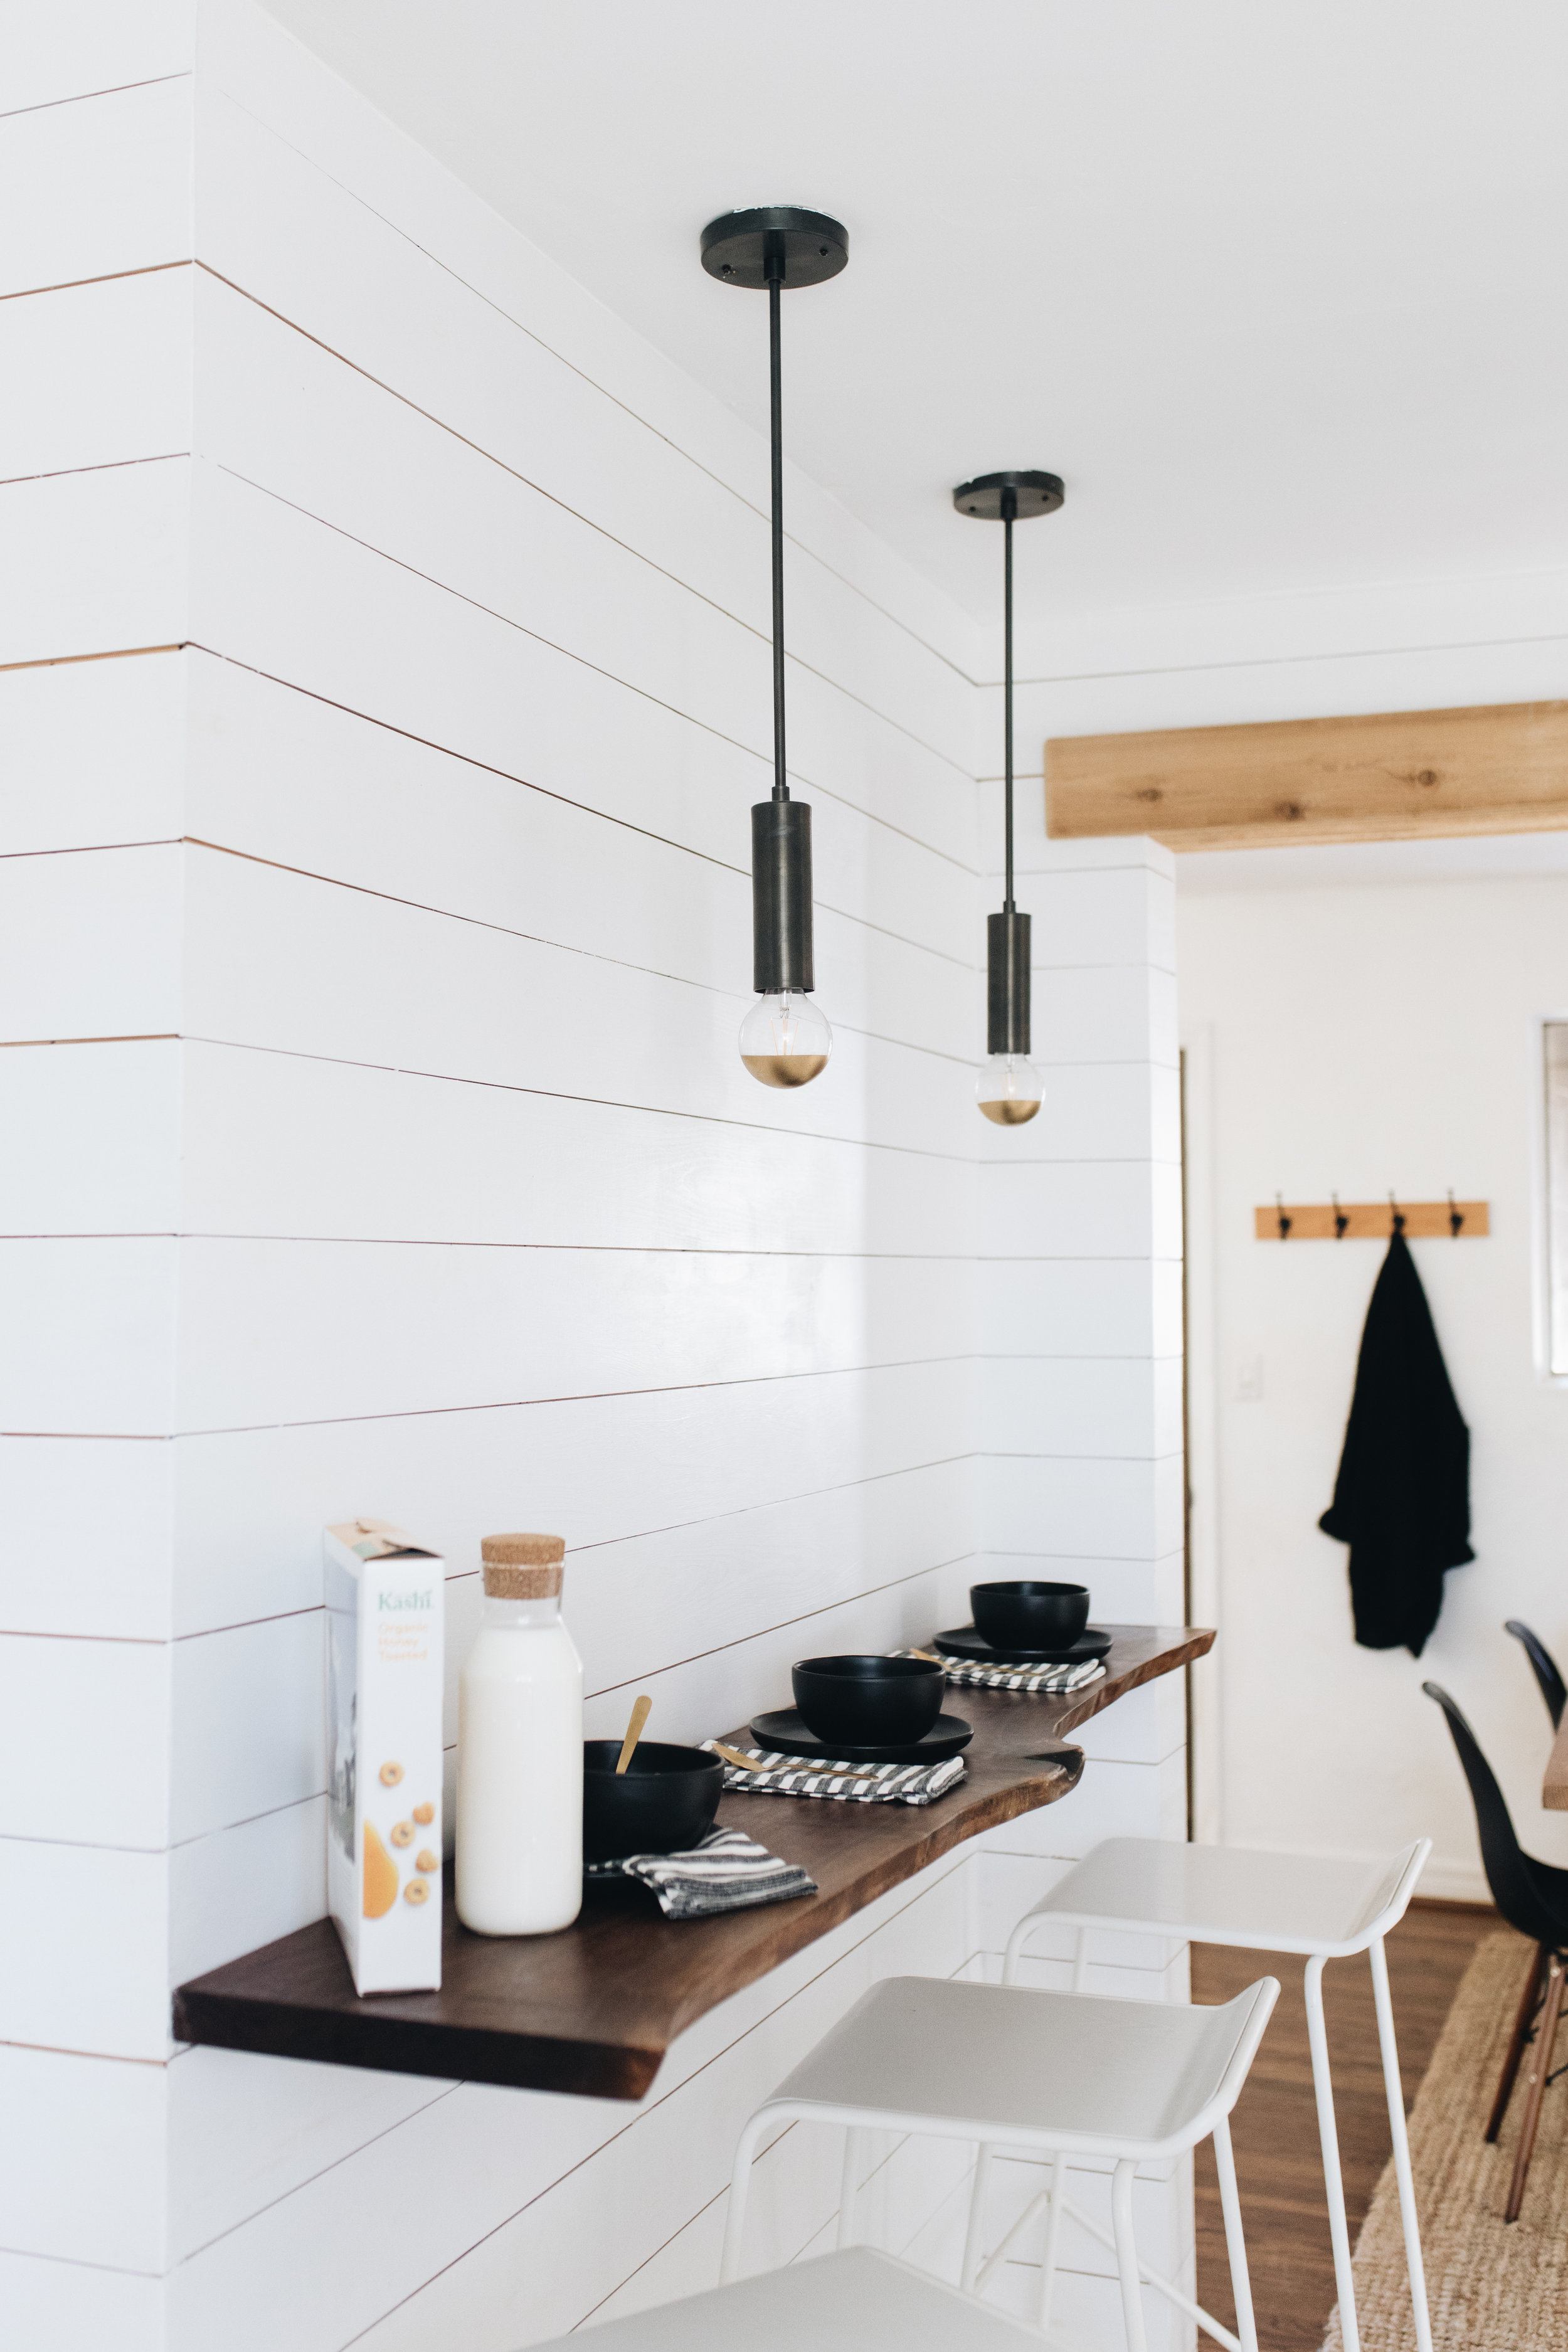
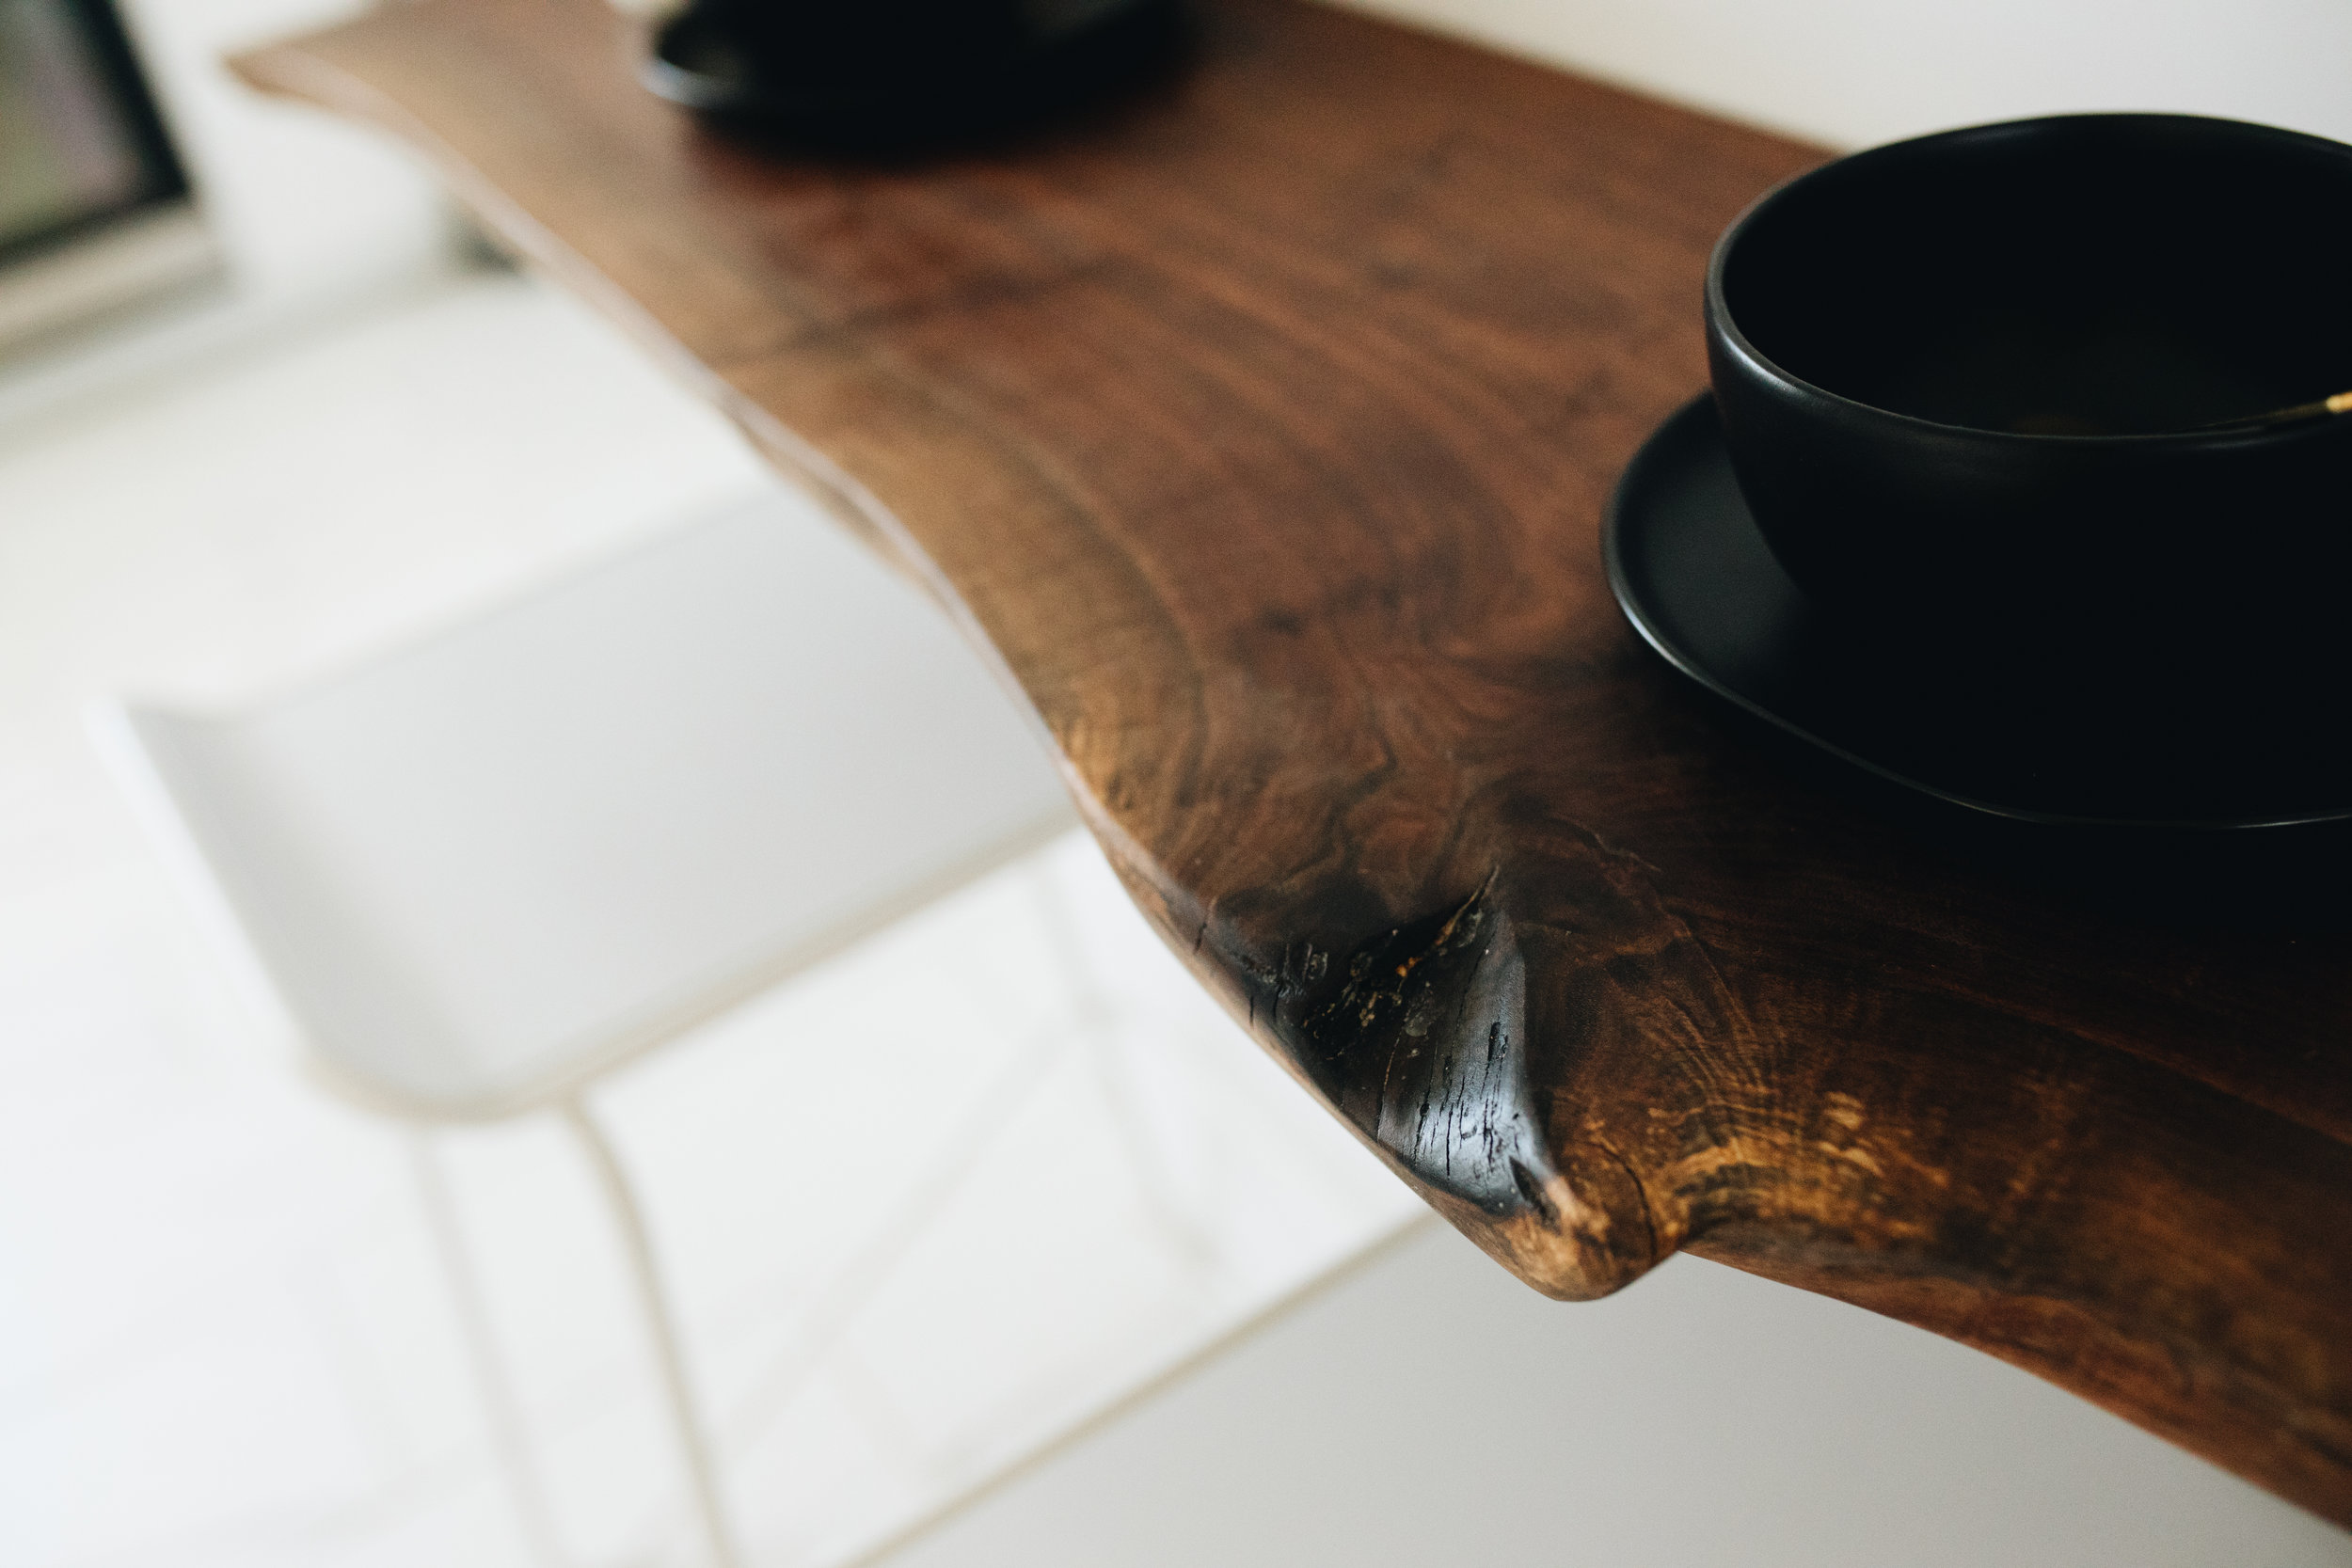
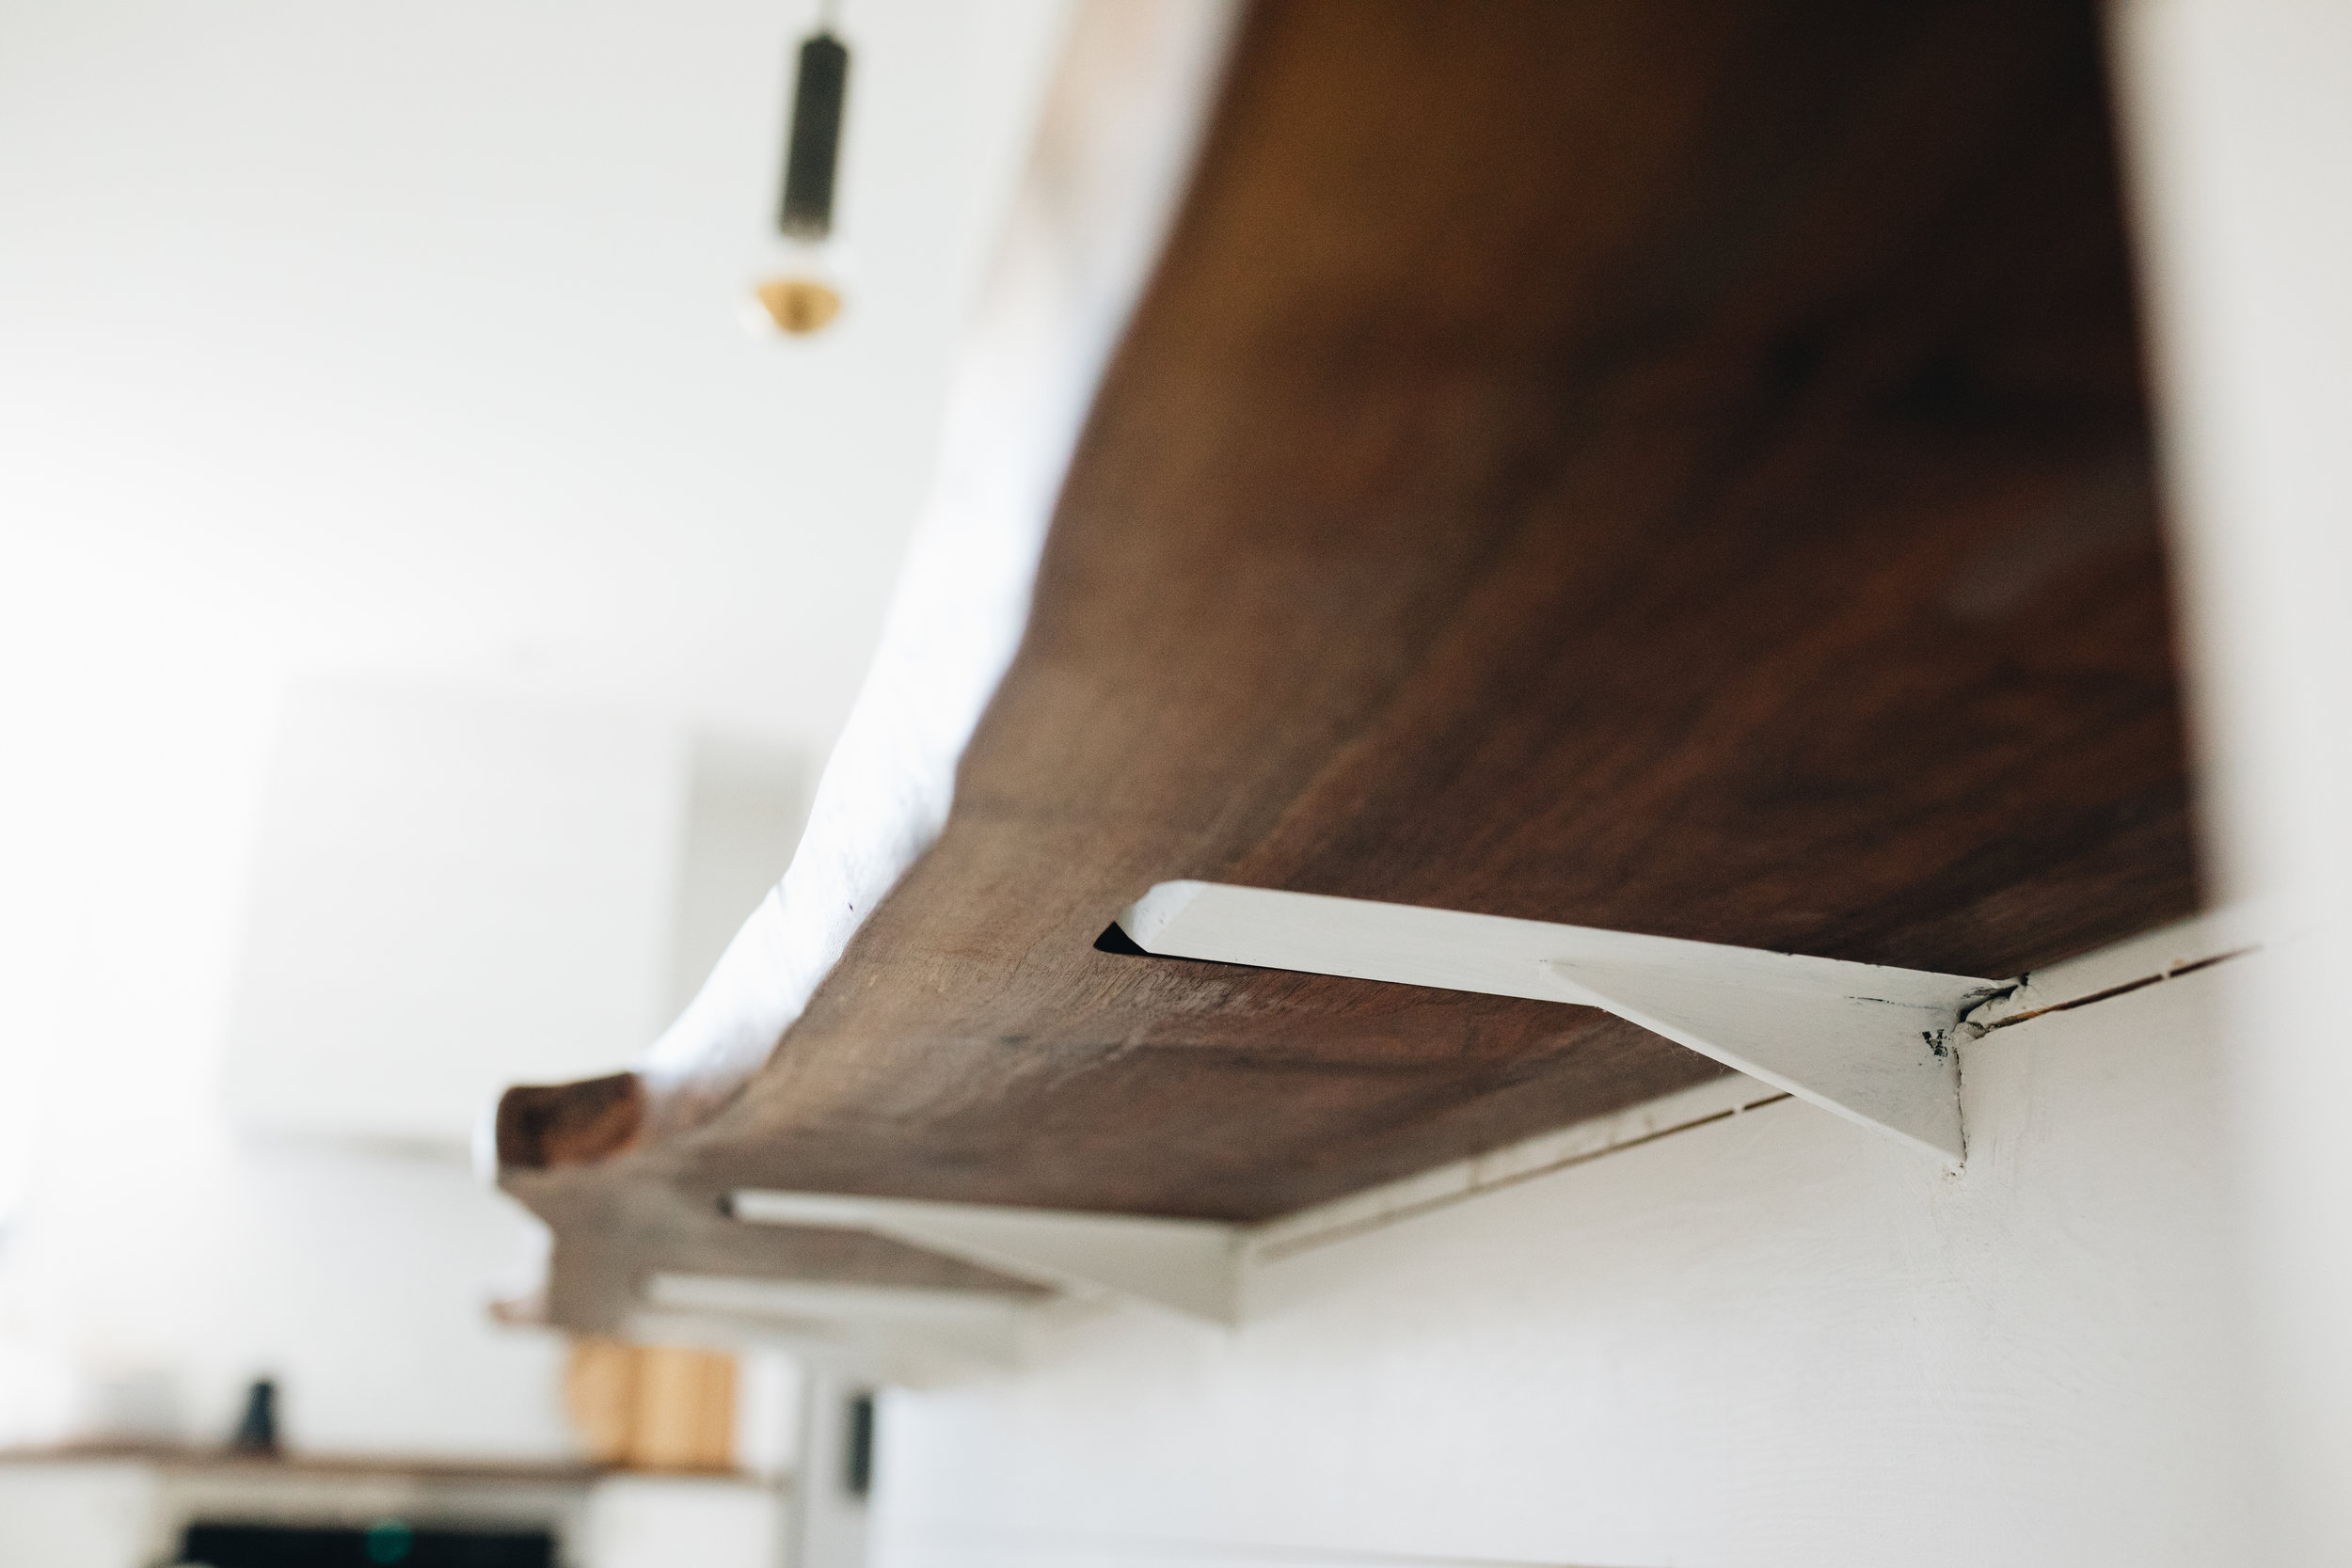
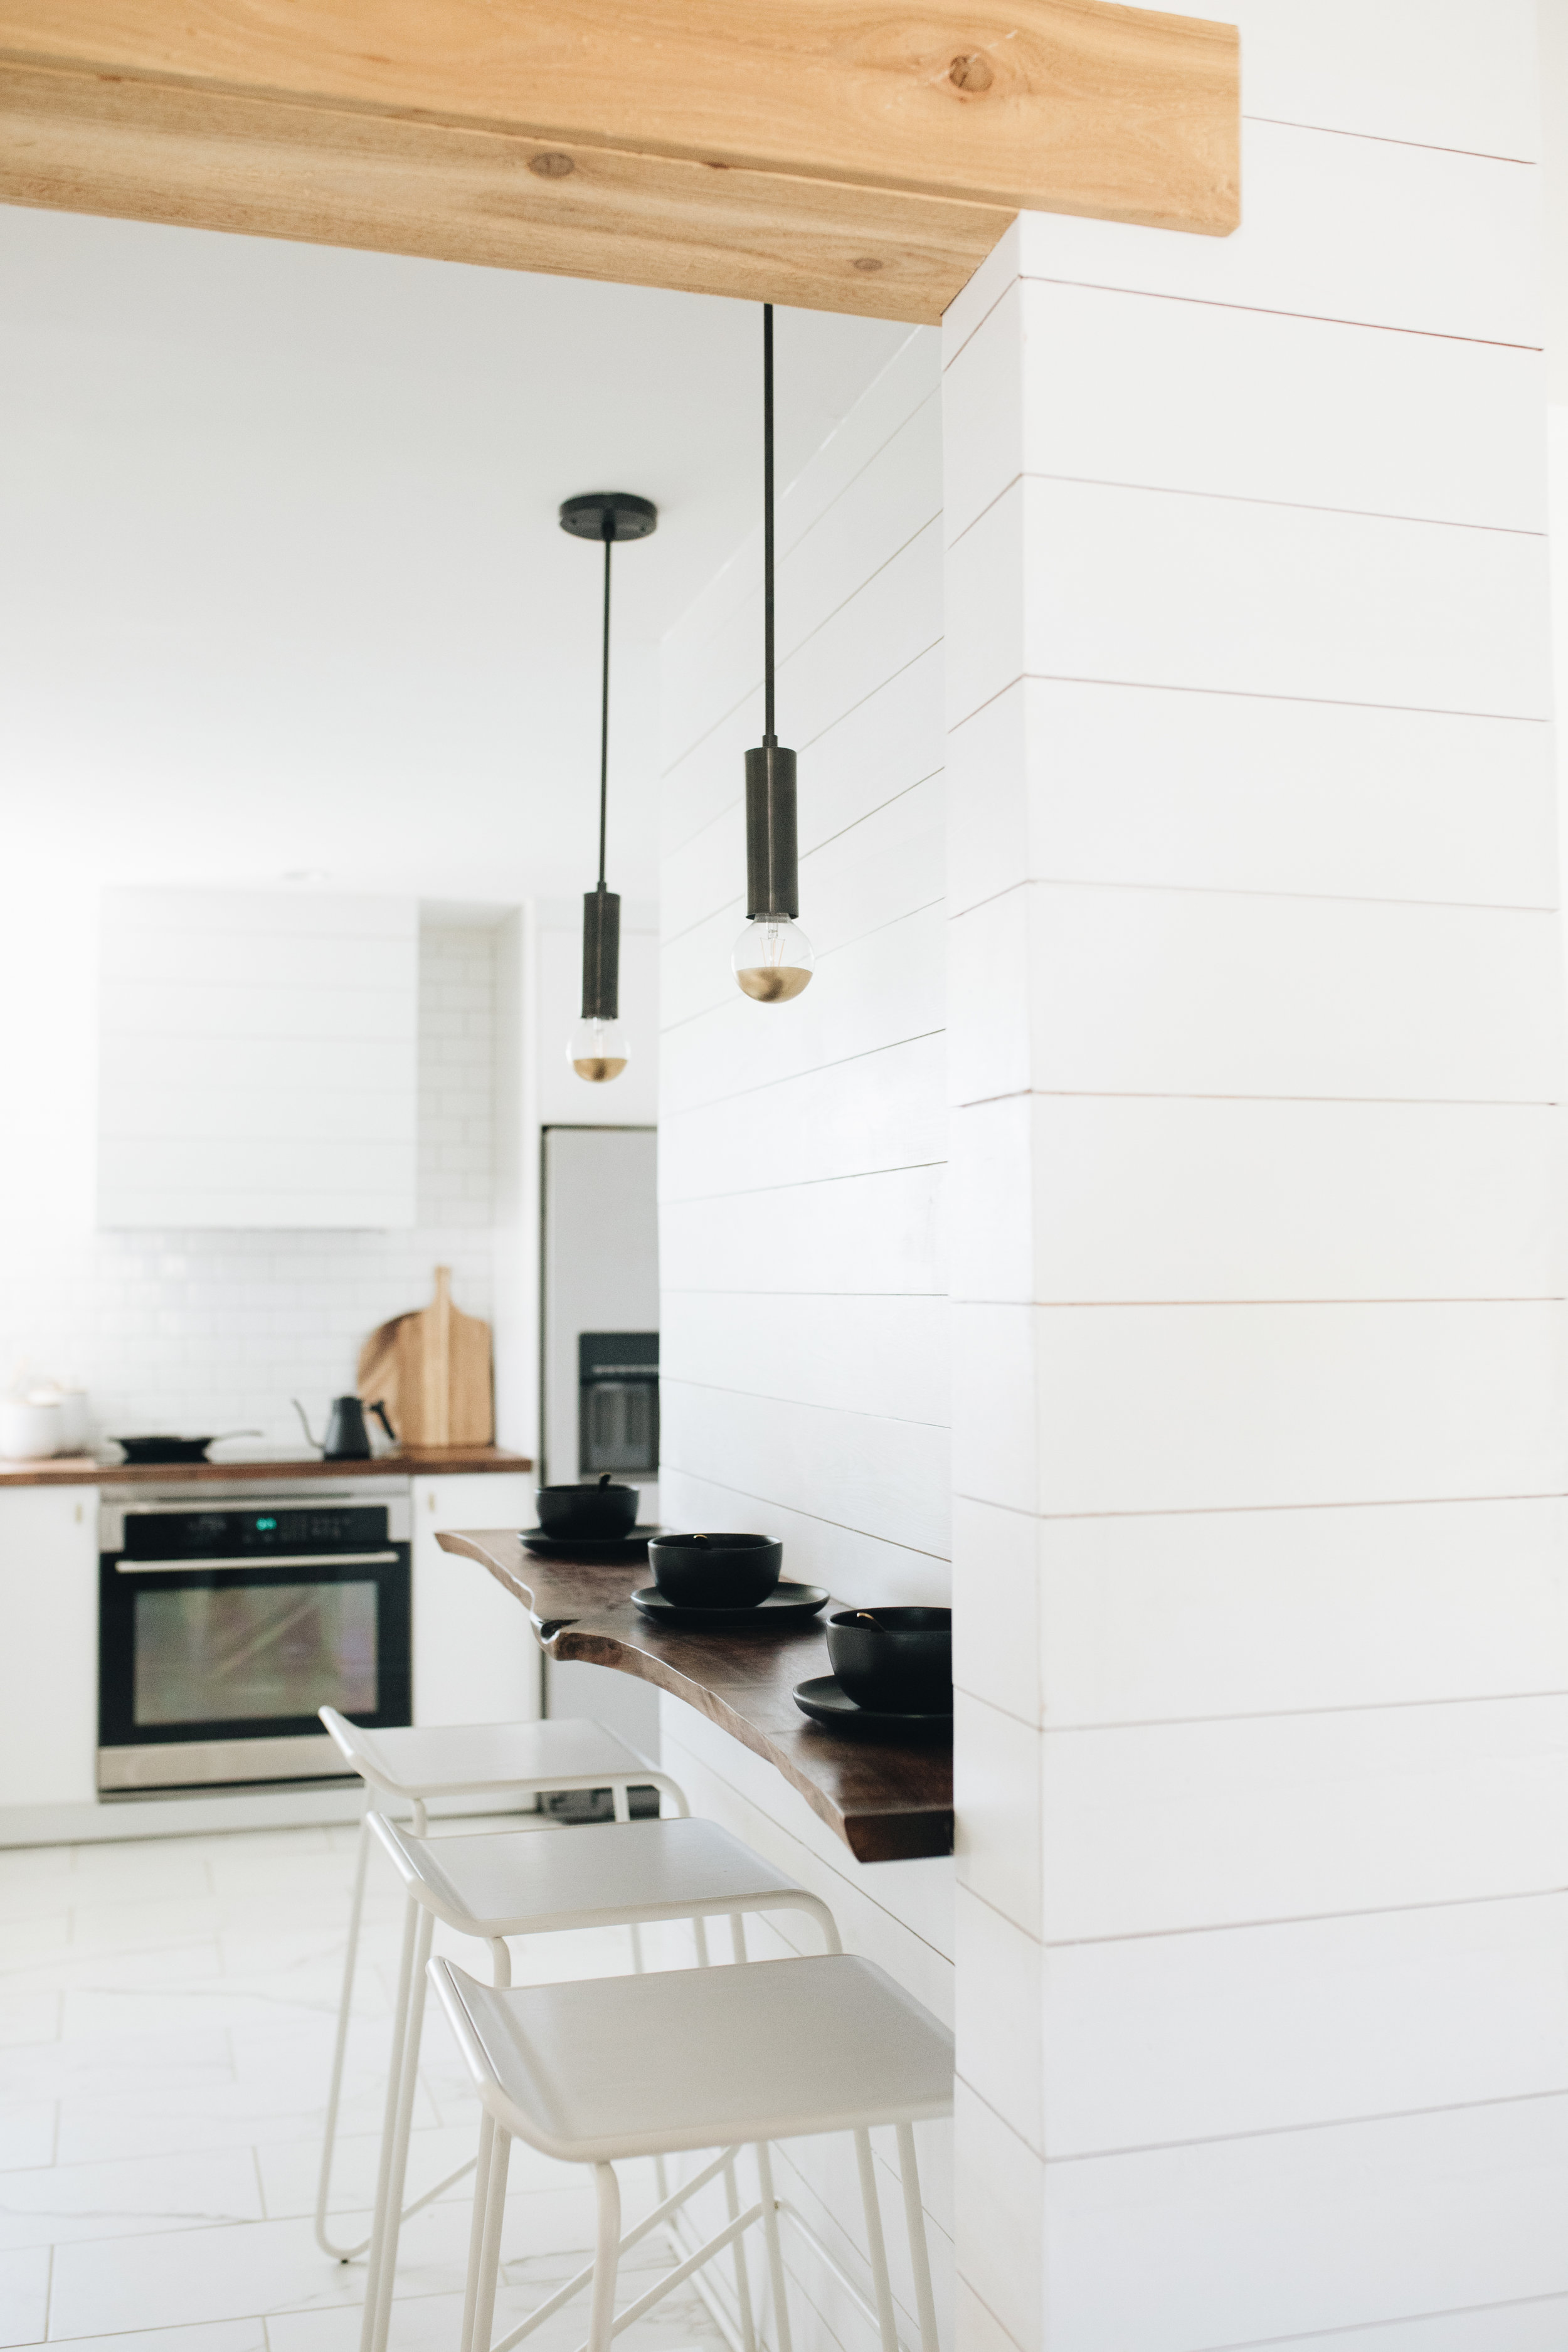
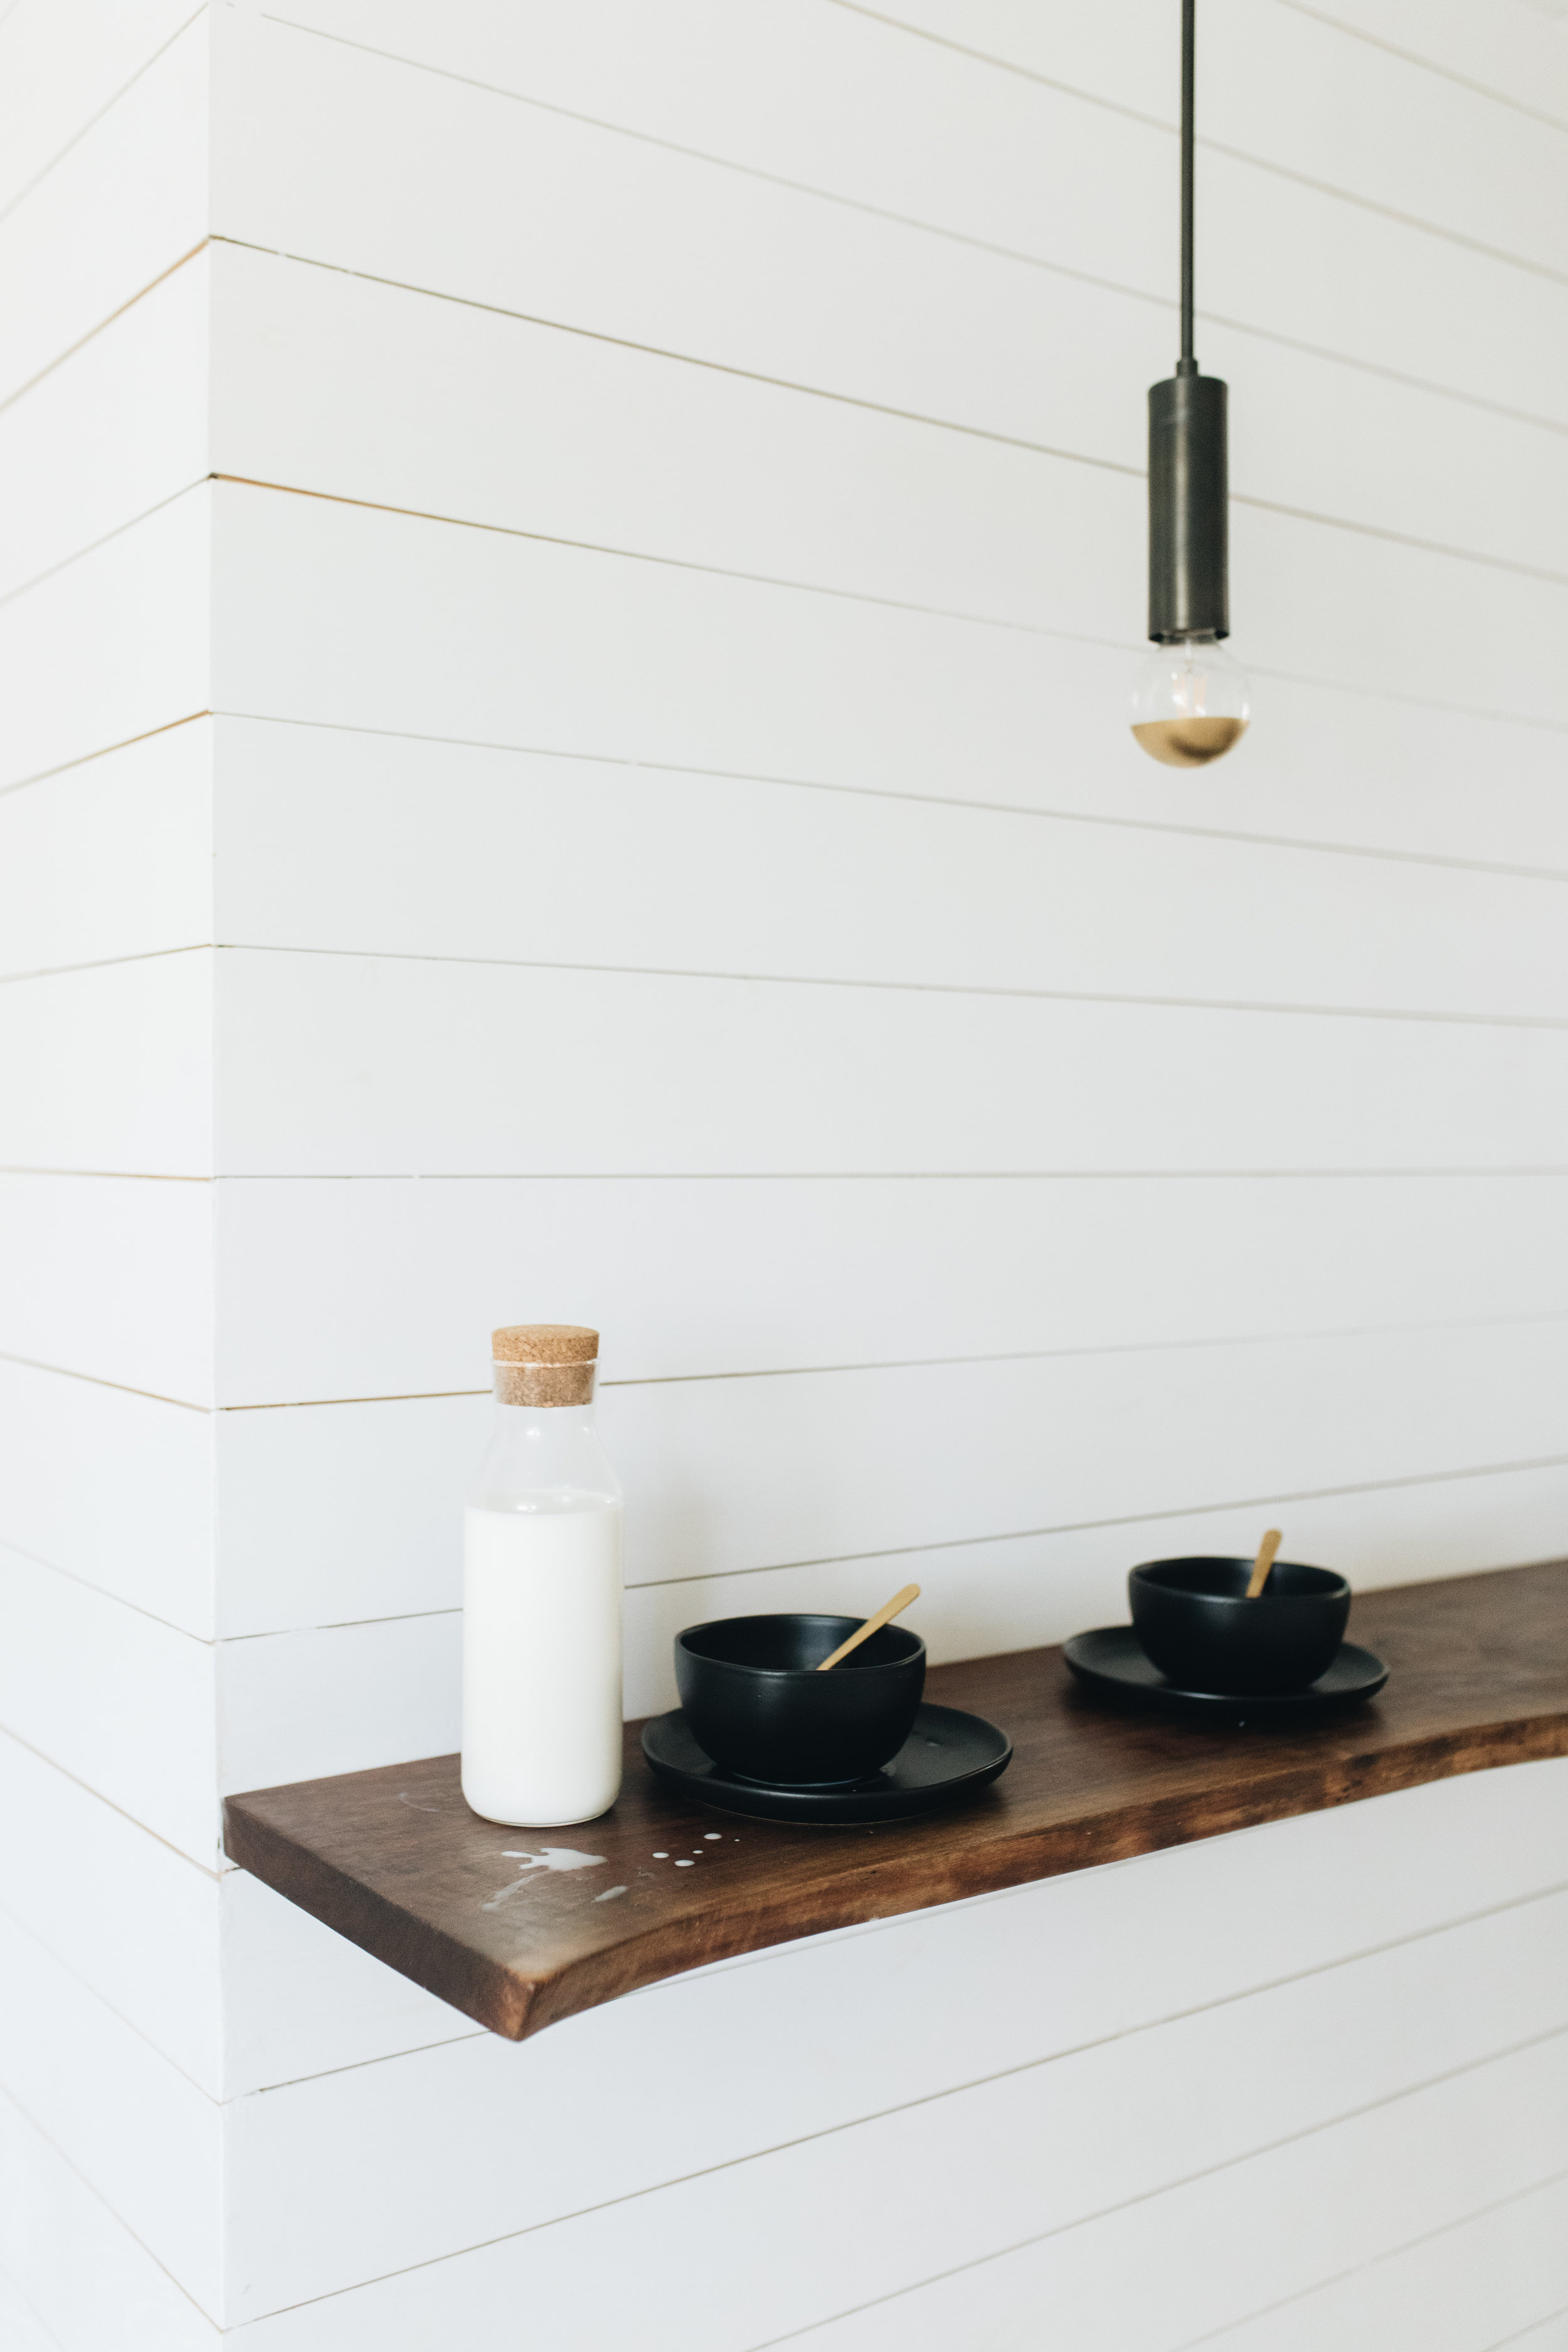
"This material was felled, dried and milled by the grandfather of a friend and was one of the last trees he processed. The slab of material was originally 1-1/2 thick but after plaining, went down to around 1-1/4". We wanted a finish that was smooth, durable and natural. So we opted for a hand rubbed danish oil process. I applied the danish oil using a hand sanding block starting initially with 400 and then stepping up to 600 grit and eventually 0000 steel wool. The particles of wood released from the sandpaper and fuse back in to the dried oil providing a very smooth hand rubbed finish. If you choose this finish, don't be alarmed by how dark your walnut is in the end. Walnut lightens over time as it is exposed to UV and Light. It was important to us that the length of the slab be exactly the same as the wall with finsihed cladding. I used a scribe method to cut both the back edge and right side of the bar to align snug into the corner. To support the countertop, we embeded centerline bracket in both the wall and into the bottom face of the walnut countertop using a router and a 1/2" mortising bit.To make the final attachment of the bar top to the brackets, no fasteners were used. Due to the natural expansion and contraction of wood over time, threadded fasteners can be problematic. A small amount of white silicone adhesive on top of the brackets to adhere the top down." - Jarrod
Our pendants are from Cedar and Moss. Our bar stools were purchased from Blu Dot. The light bulbs were purchased at Home Depot and we added the brass accent by taping off the bulb and spray painting it with golden/brass spray paint.