
Planning an IKEA kitchen or bathroom renovation soon? Great! We have some ideas for you before you get started that will help you eliminate waste and provide you with additional upgrades to the space you are renovating! When we were purchasing items for our kitchen and bathroom we always buy a little more countertop than we need, to allow for any mistakes. Which we totally make. All the time. In both projects we actually made mistakes but still had remnants from the countertops we purchased. So instead of allowing them to sit in your basement and grow mold, put them to use! I'll be covering two things ways we used our remnant pieces and one idea I wished I had known about before!
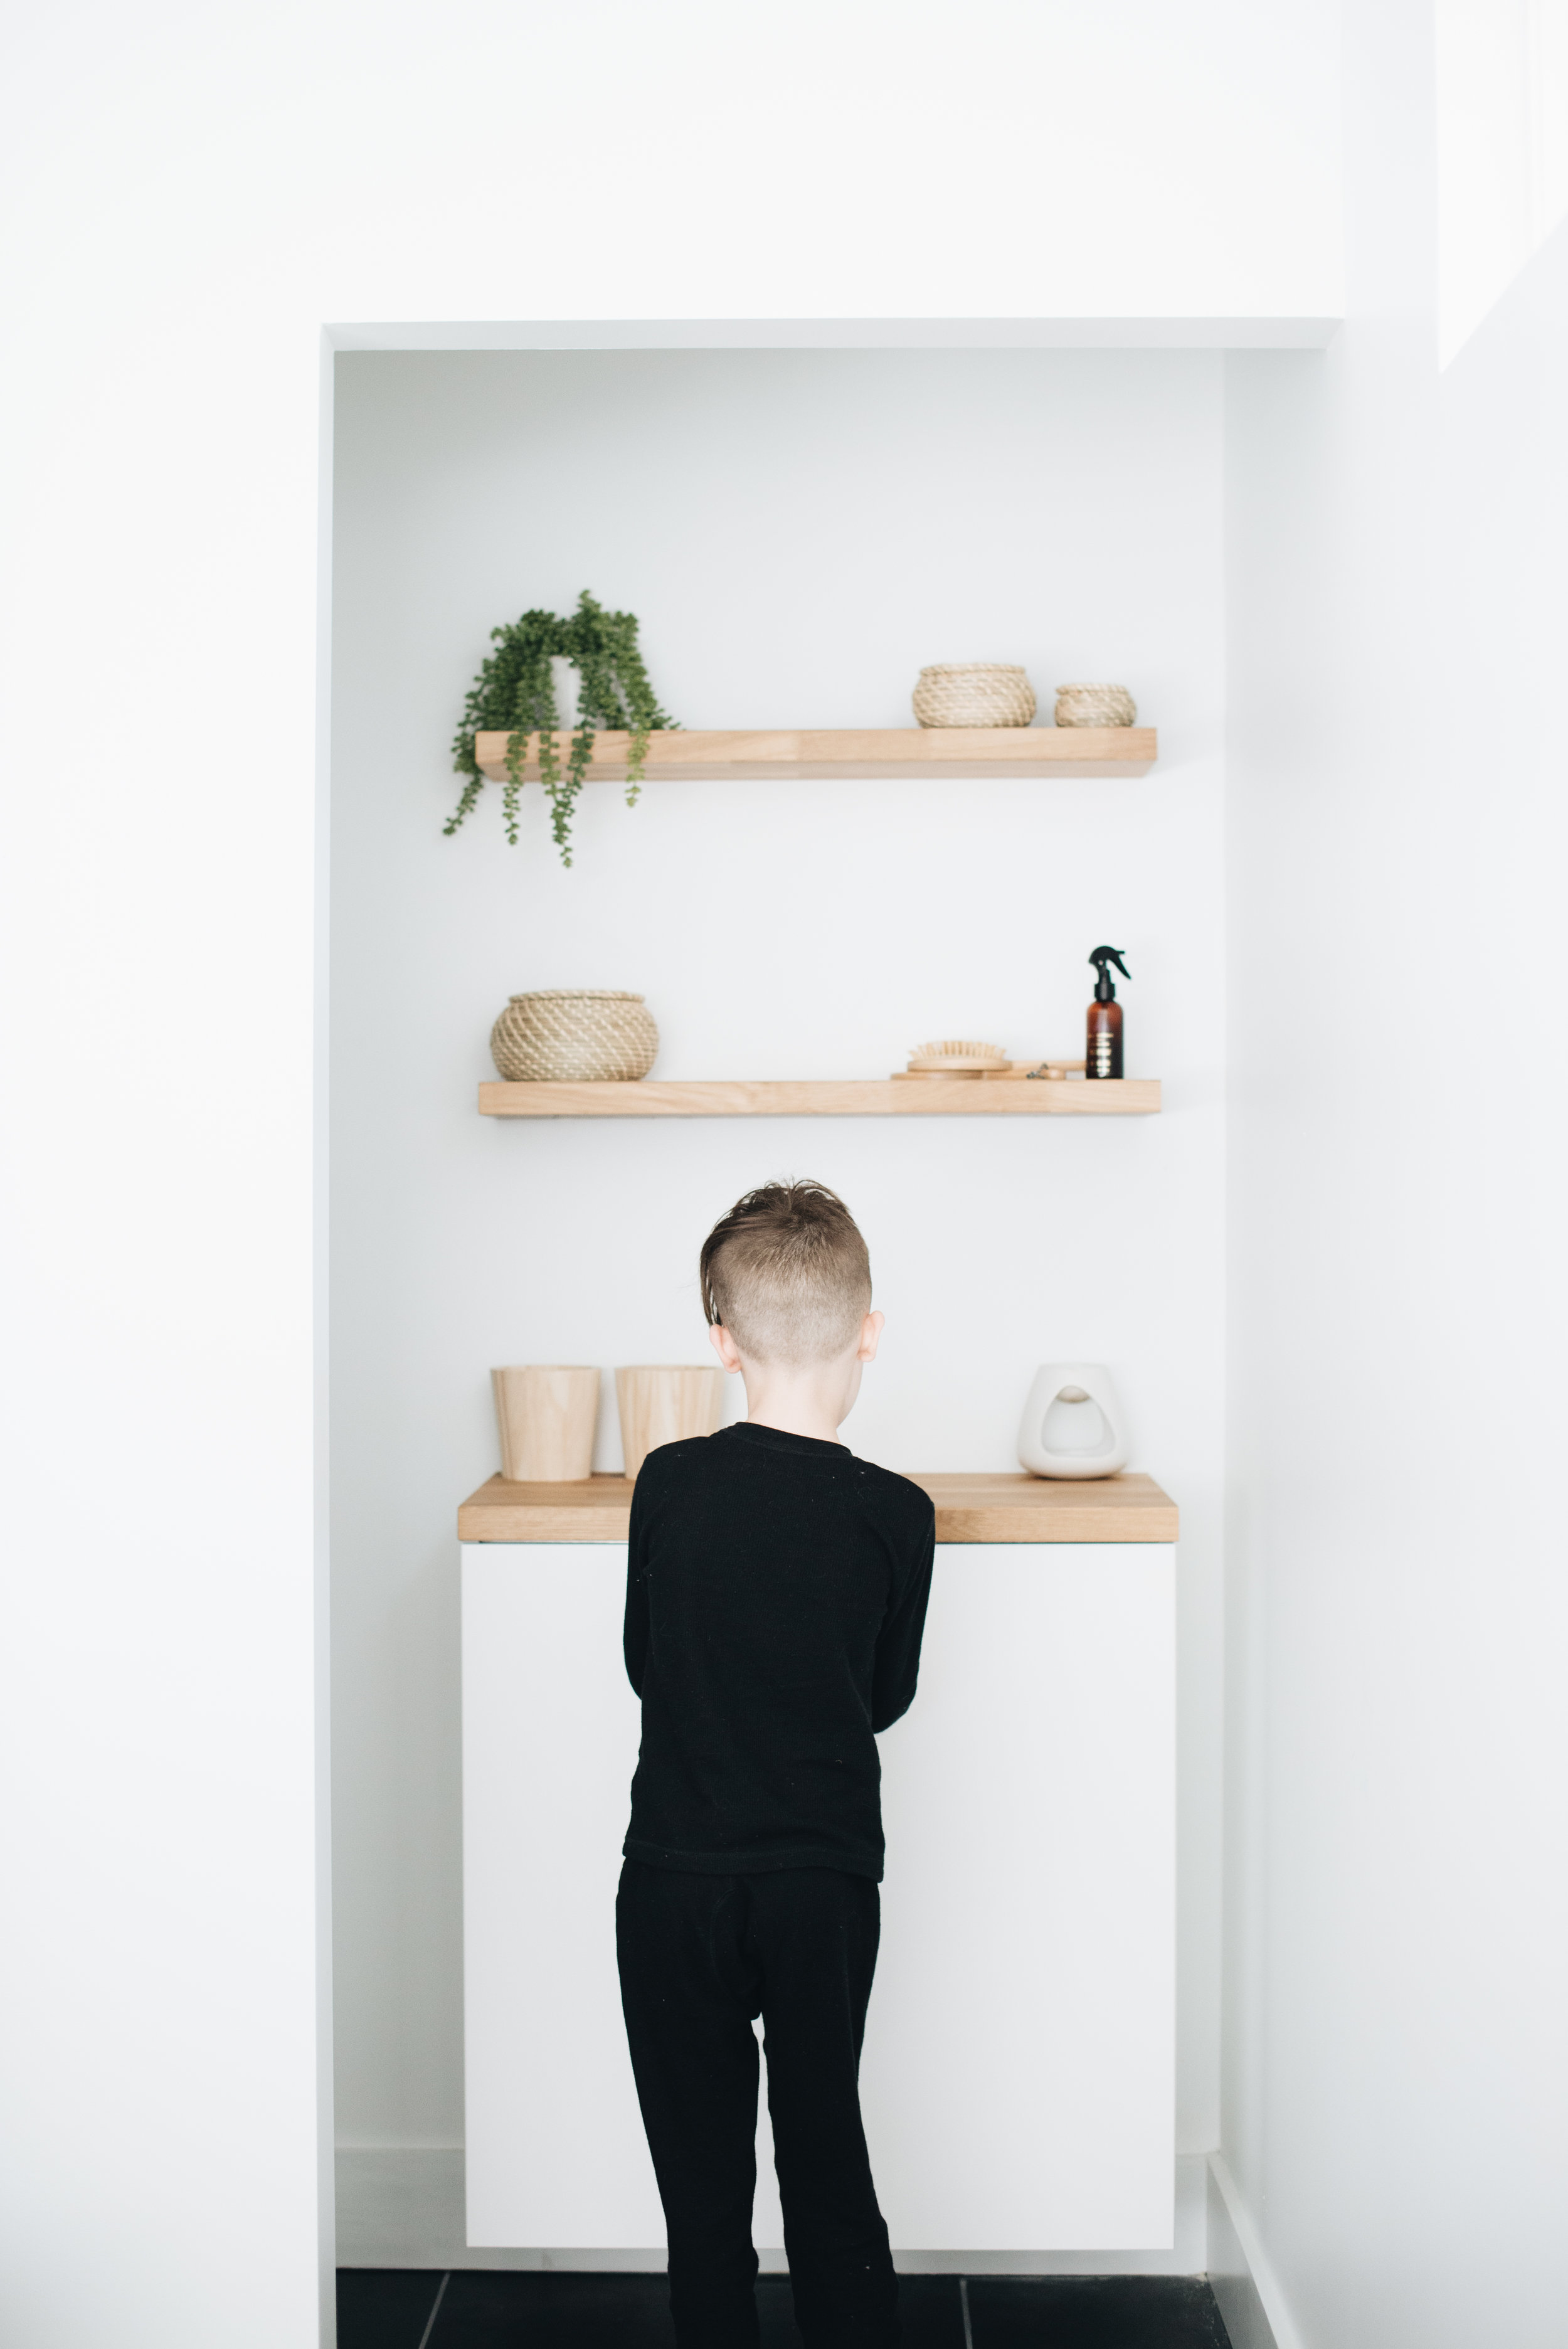
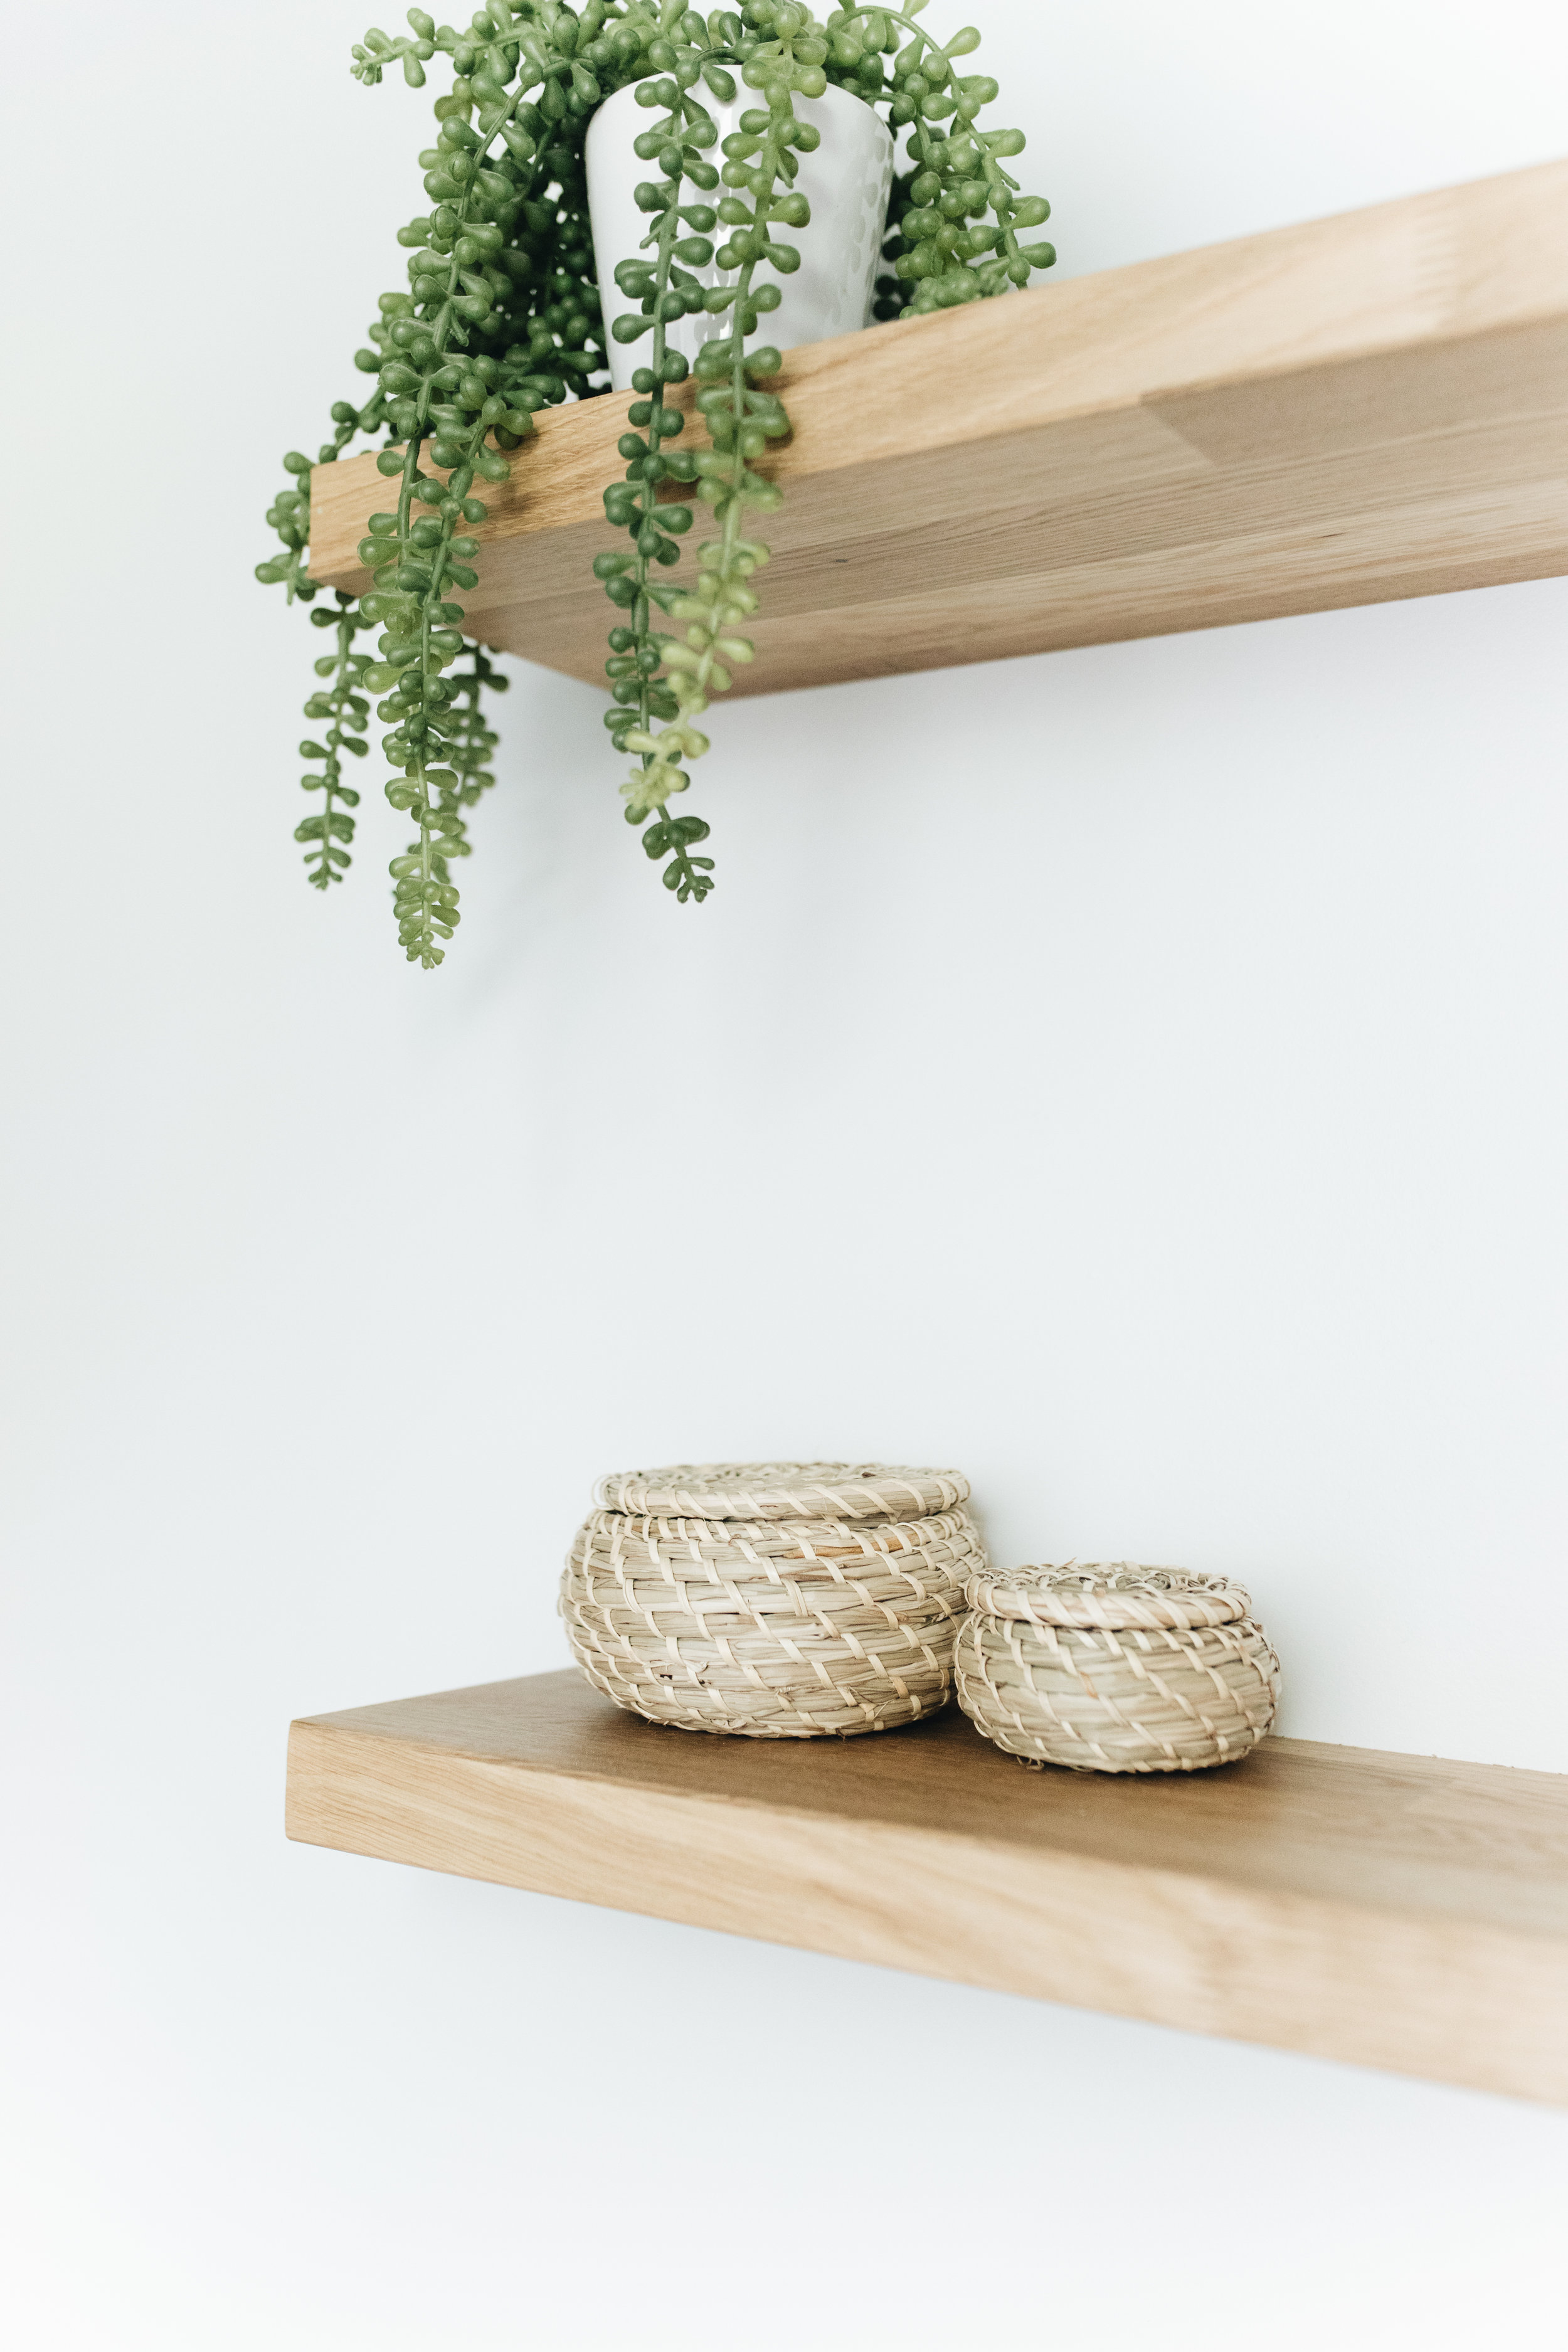
1. Floating shelves: Guys, this was so incredibly easy and was actually more cost effective than outright buying shelves! We had actually purchased shelves for this space, but ended up selling them because this idea seemed a lot more integrated and modern. The only tricky part is that, yes these are countertops, so they only have one "good" side. So the key is placing the bottom shelf right at eye level and the top pieces need to be flipped upside down so that you can't see the "bad side". It's a tricky little thing we did here, but so far no one has noticed the bad side on either piece! Since this is not a typical floating shelf kit that came with it's own hardware, we used lag bolts to attach to the shelves to the wall.
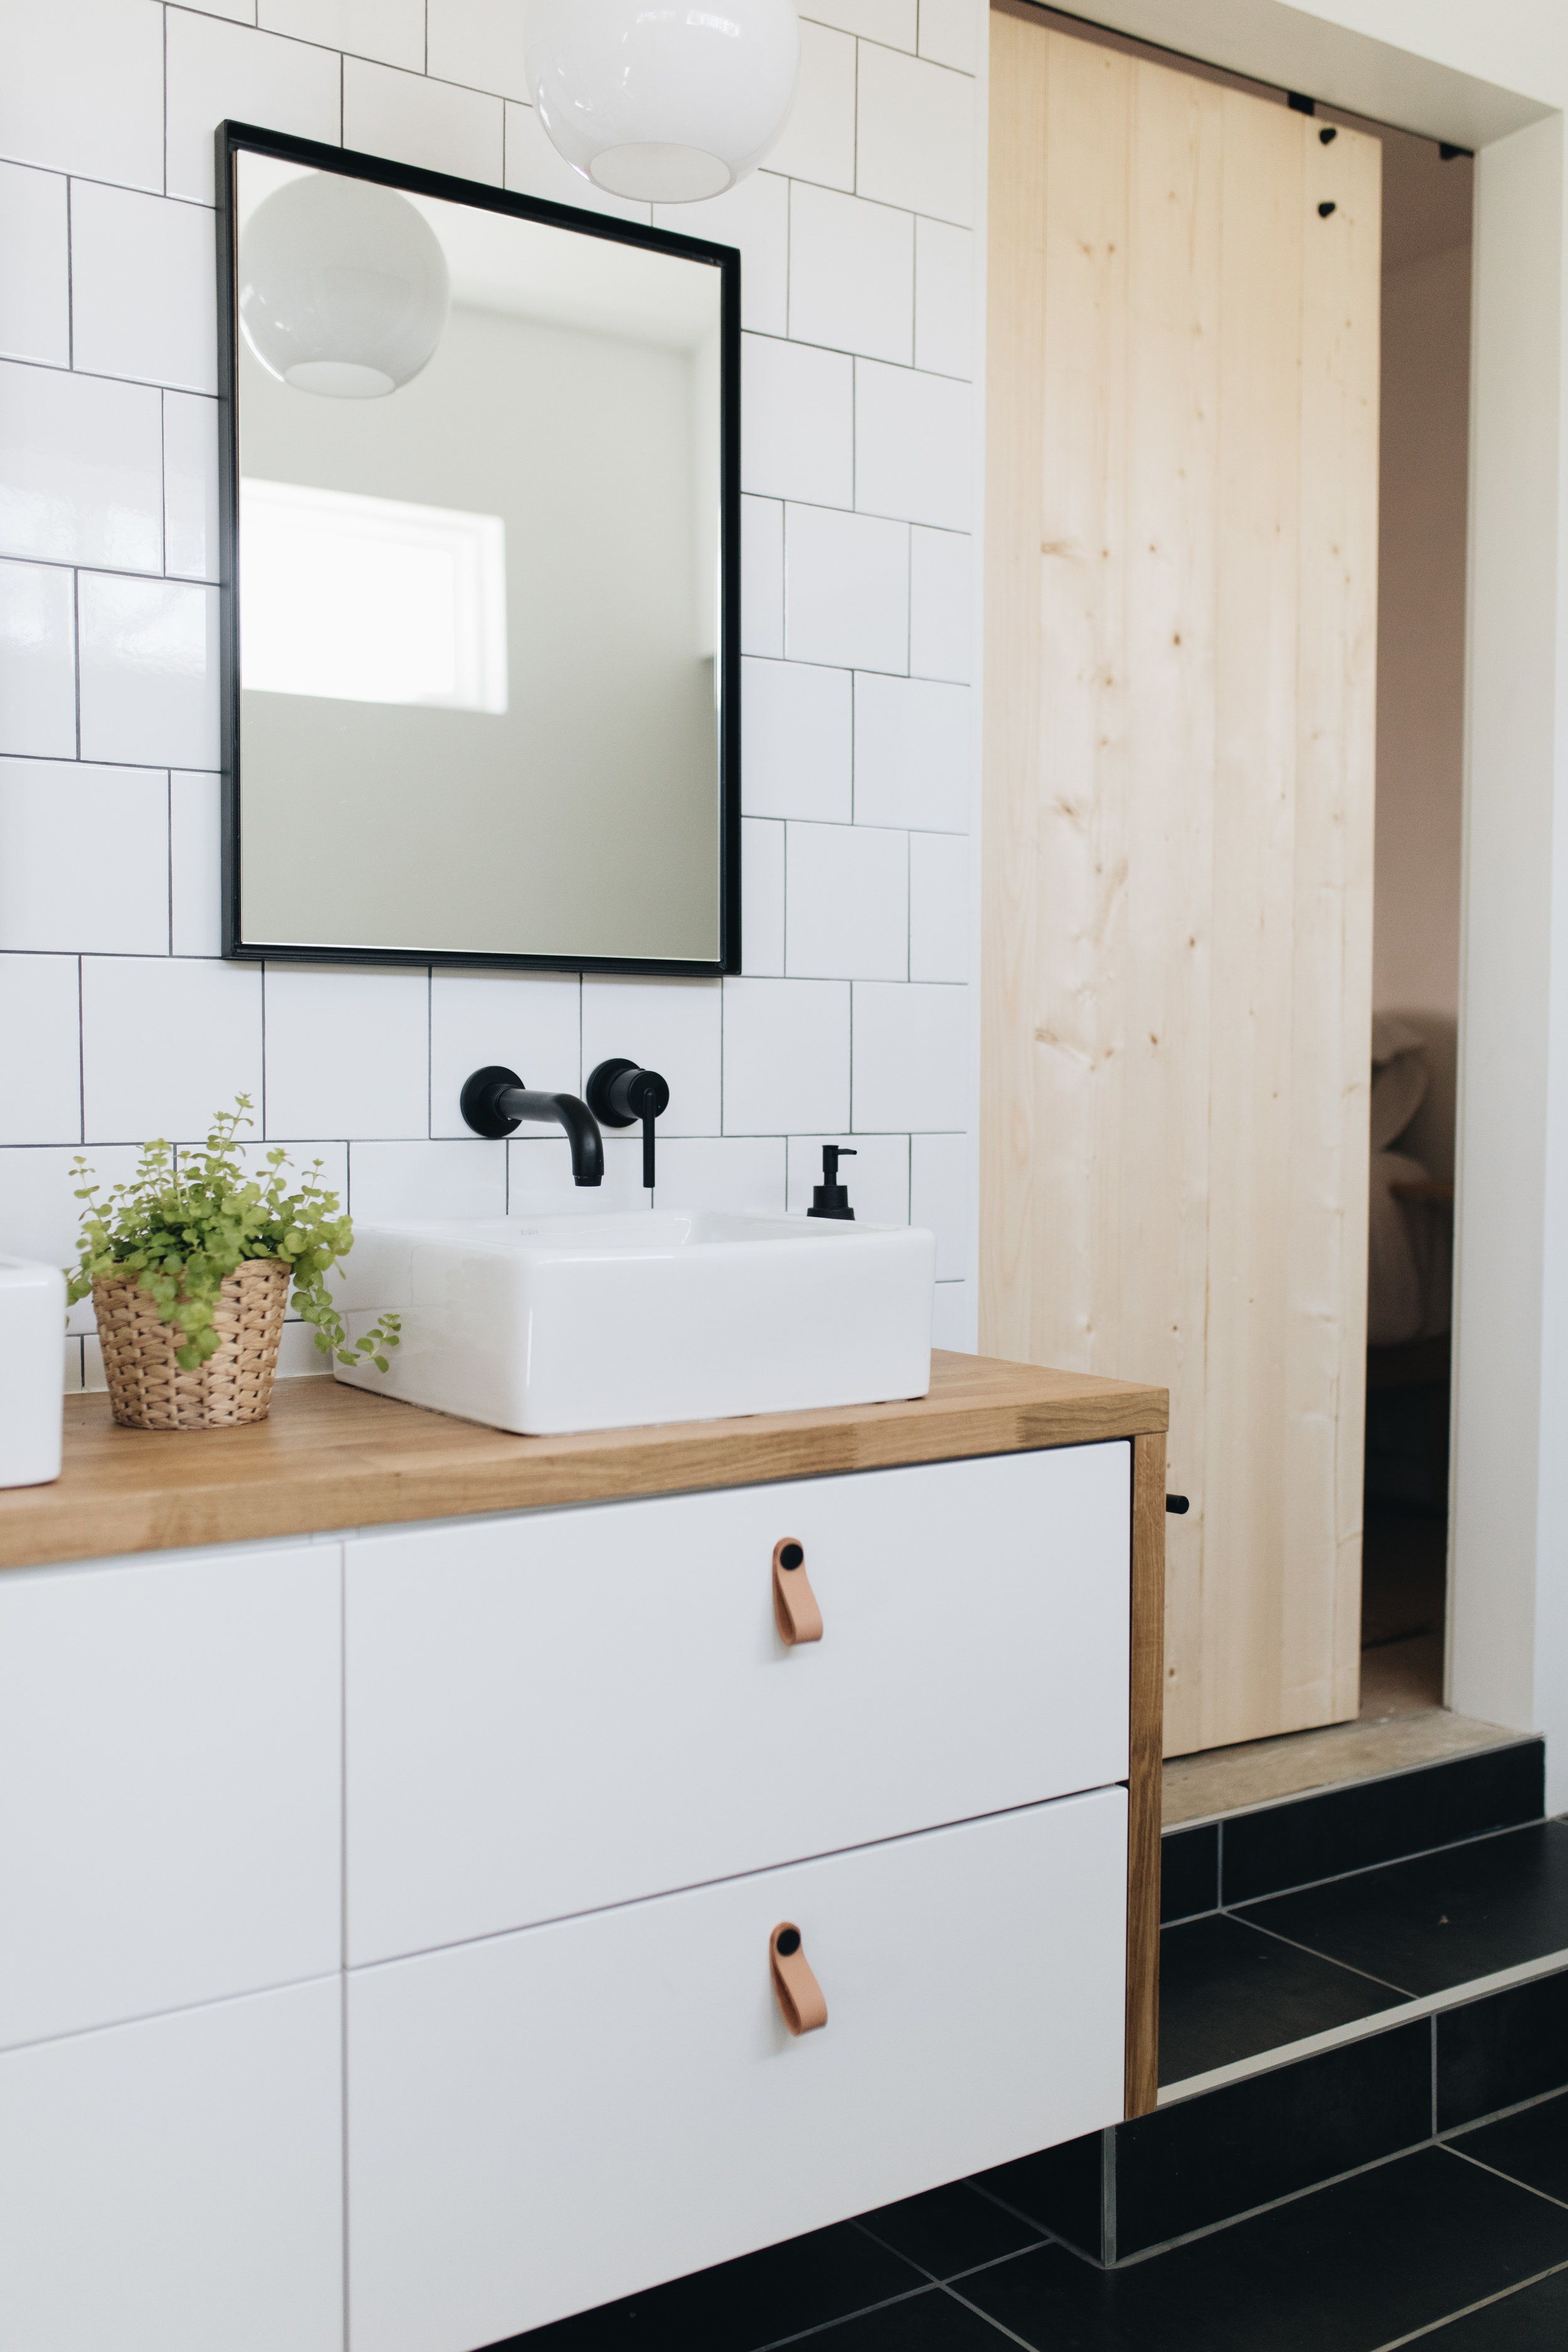
2. Waterfall countertops: We love the look of a marble or concrete waterfall countertop but wanted to use the materials we already had and give it sort of an individualistic twist. To make the waterfall counters, Jarrod first removed the drawers so that he could access the inside of the cabinet. He then went to work on his cuts. He ripped one edge of the counter top off to achieve the desired depth (the drops from this cut were actually what gave him the idea for the shelves!) He cut the countertop 3 inches longer than the top of the base cabinet to account for the thickness of the wood sides on the left and right. The top was fairly easy to set in place as we had gravity working on our side. The waterfall ends were held up with clamps for test fitting and eventually glued and set in place with 1 1/2 inch screws.

3. Photo surfaces: This is the idea that came to me after we tossed the remnants of our remnants. Sad day. I don't always get the best light in my kitchen and wanted to stage some plated food shots by a window in my home. I could have basically had a real piece of my kitchen counter that I could have used for this very thing AND I could have taken it with me to editorial shoots. So if any of ya'll end up buying our Herringbone counter please send me a square! :)
Thanks for reading! All of our sources are linked in our previous bathroom post.